
Installing macOS Catalina 10.15 on unsupported Mac Pro
If you have a Mac Pro 4,1/5,1 make sure to have Boot ROM 144.0.0.0.0 installed. If not, please follow this guide: Installing macOS Mojave 10.14 and performing Mac Pro 5,1 Boot ROM update
You need one USB flash drive with a size of at least 16 GB.
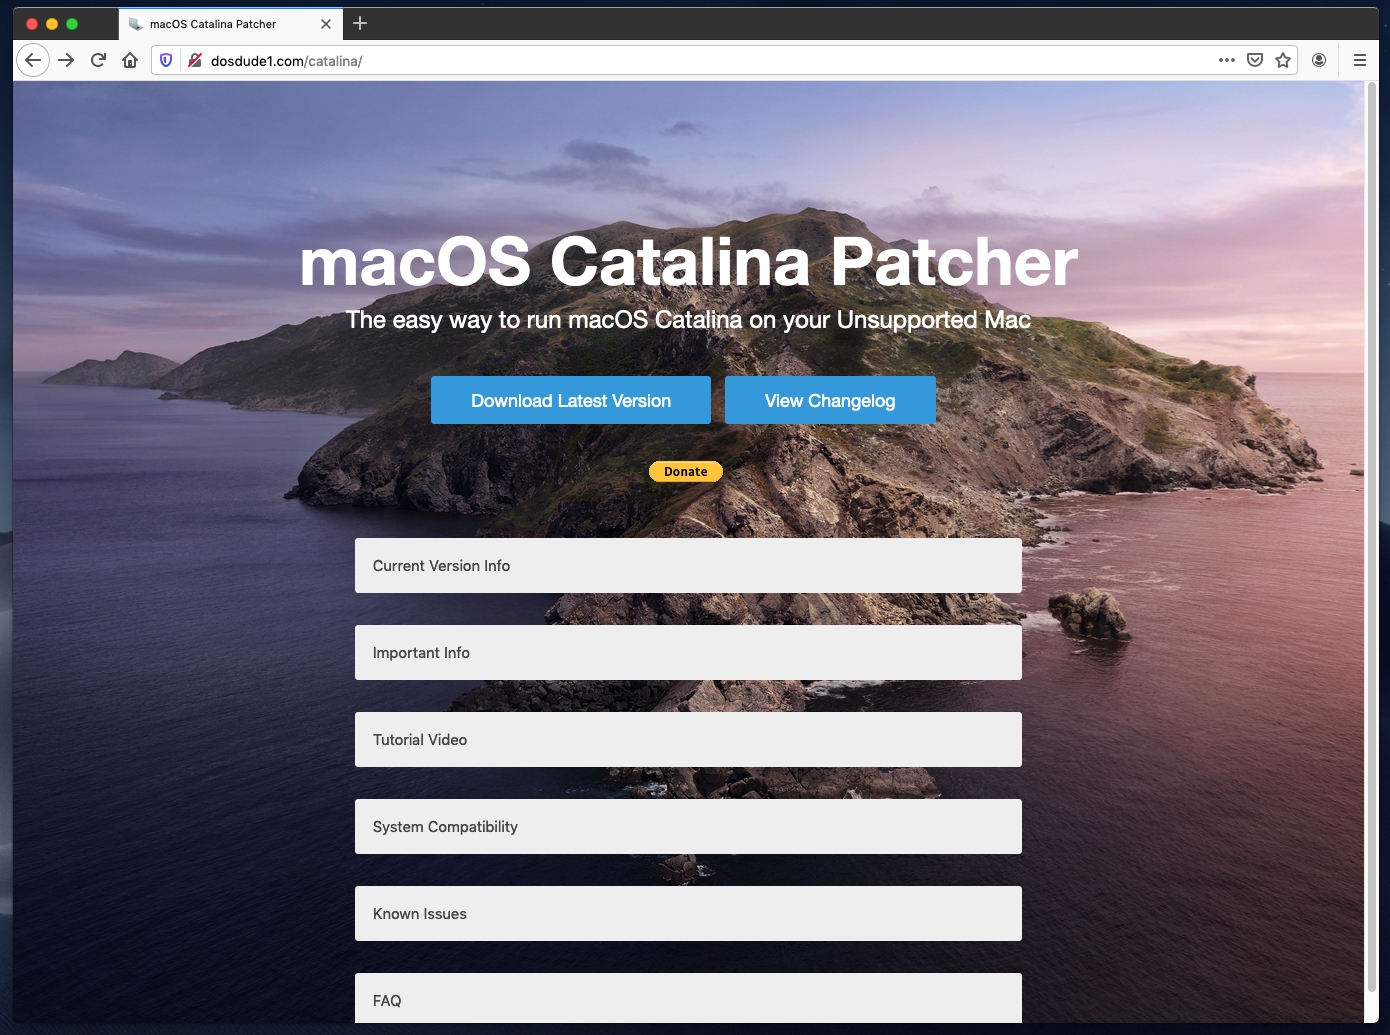
Step 1First you need to download DosDude Catalina patcher from https://dosdude1.com/catalina website by clicking Download Latest Version button. |
 |
|
|
|
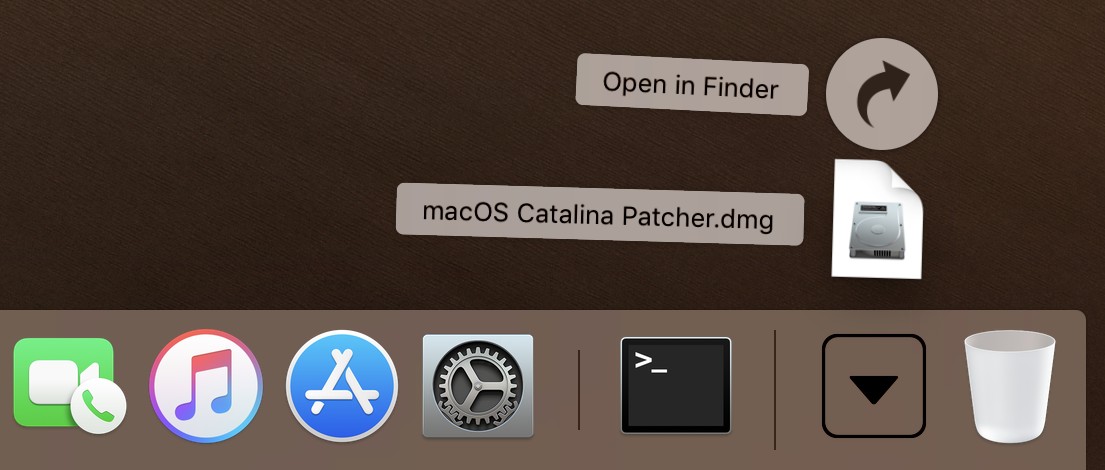
Step 2Click macOS Catalina Patcher.dmg file inside Downloads folder to open it. |
 |
|
|
|
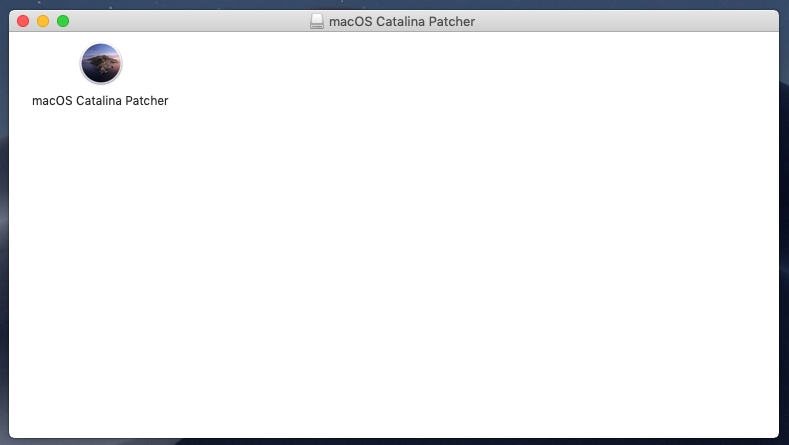
Step 3Double-click macOS Catalina Patcher icon to run it. |
 |
|
|
|
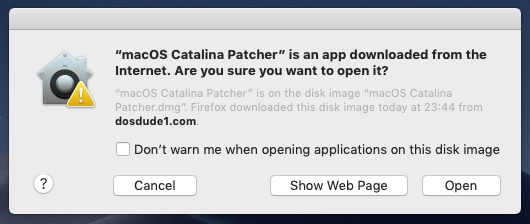
Step 4Click Open button to run patcher.
If macOS is blocking it, you need to unlock it in System Preferences -> Security & Privacy -> General pane, by clicking Allow button. |
 |
|
|
|
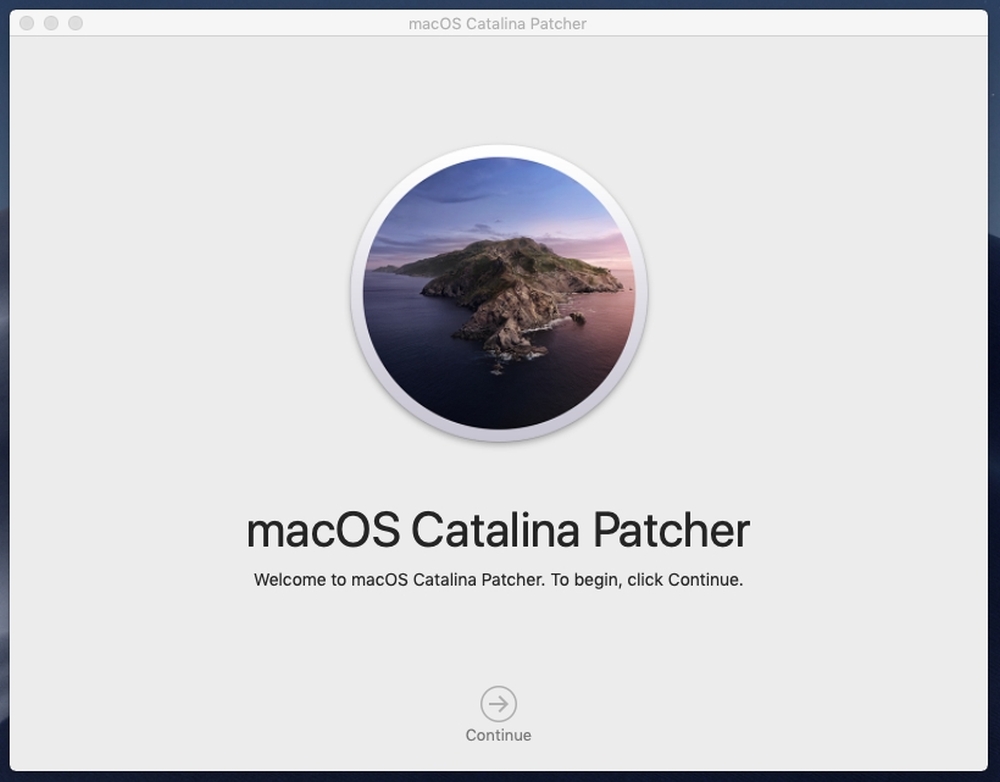
Step 5Click Continue on welcome screen. |
 |
|
|
|
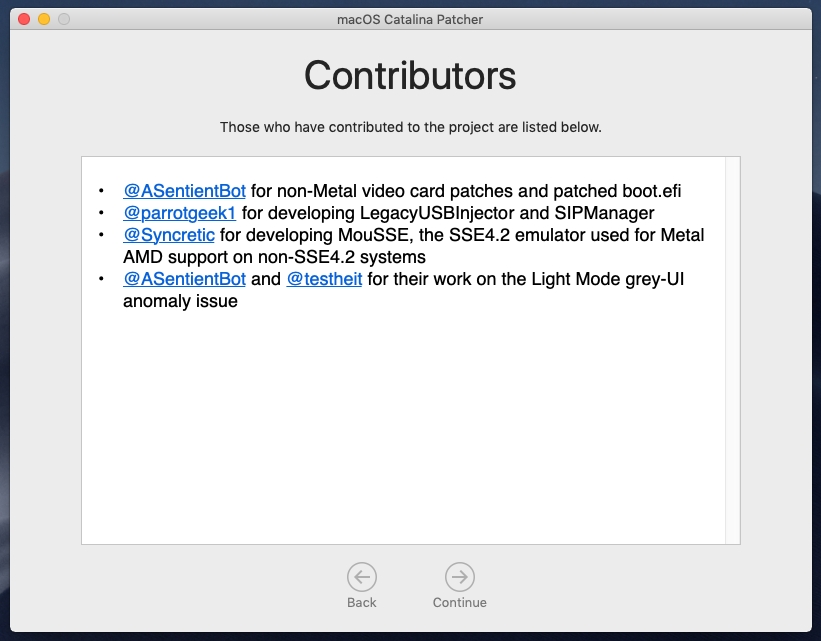
Step 6Click Continue again on contributors screen. |
 |
|
|
|
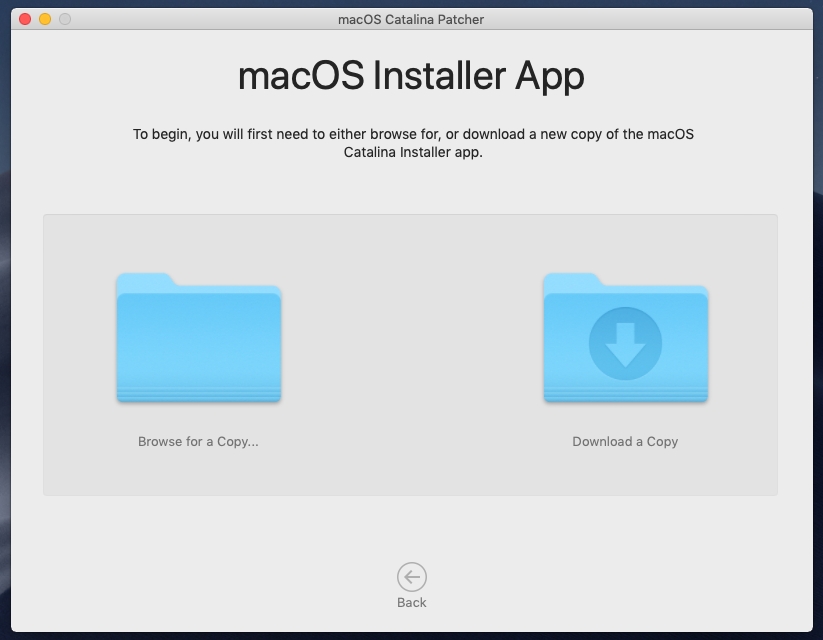
Step 7Click Download a Copy icon. |
 |
|
|
|
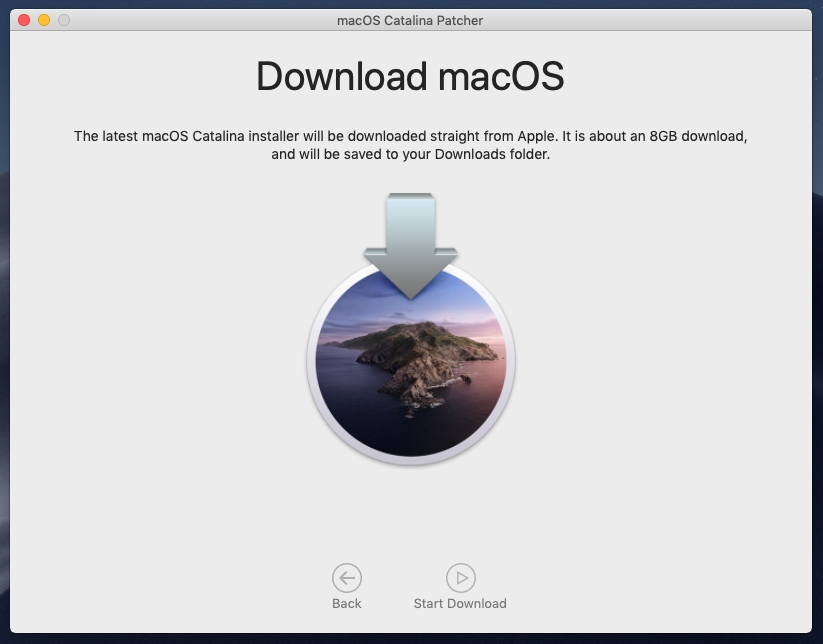
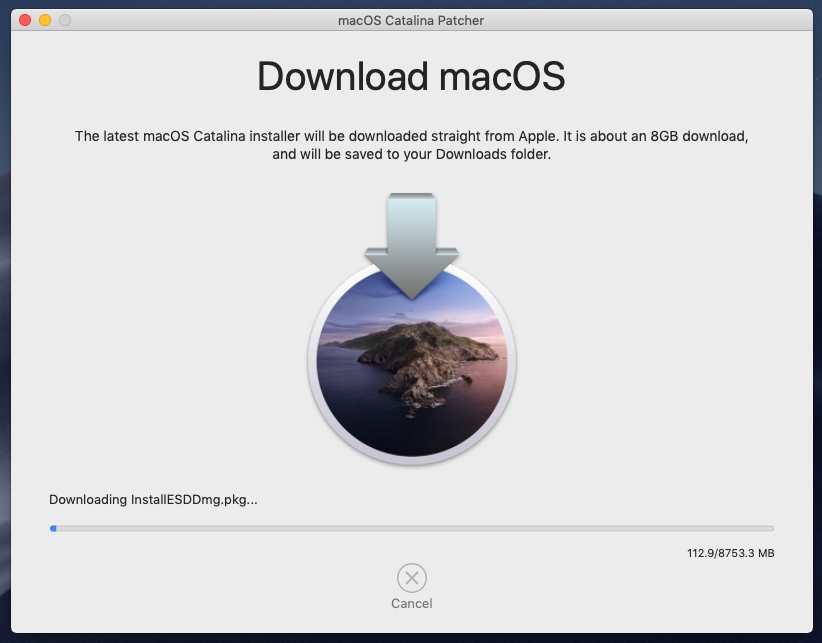
Step 8Click Start Download to start downloading macOS Catalina installer image directly from Apple's servers. |
 |
|
|
|
Step 9Downloading macOS installer image will take several minutes to complete depending on your Internet connection speed. |
 |
|
|
|
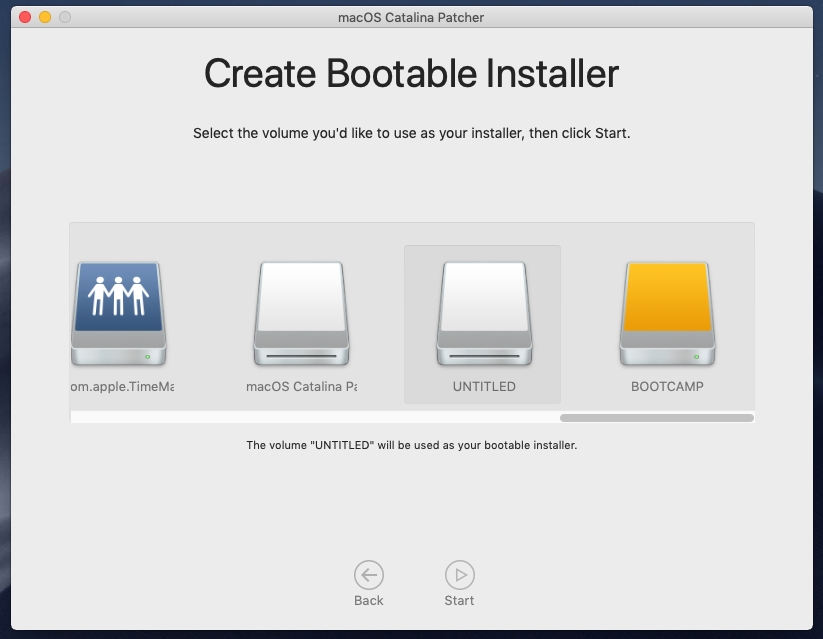
Step 10Click Create a Bootable Installer icon to start creating a bootable USB flash drive installer.
Insert at least 16 GB USB flash drive to any of the built-in USB ports inside Mac Pro. |
 |
|
|
|
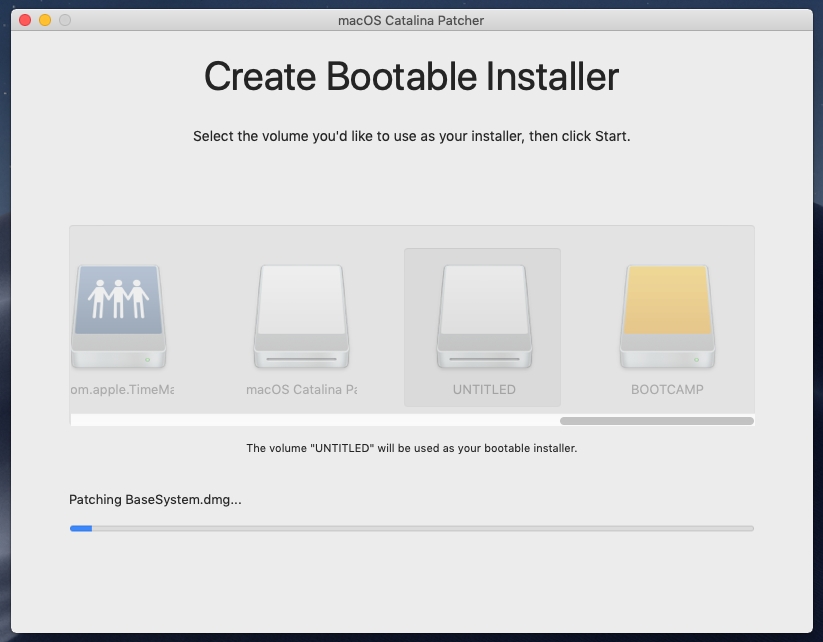
Step 11Select your USB flash drive icon and click Start button. |
 |
|
|
|
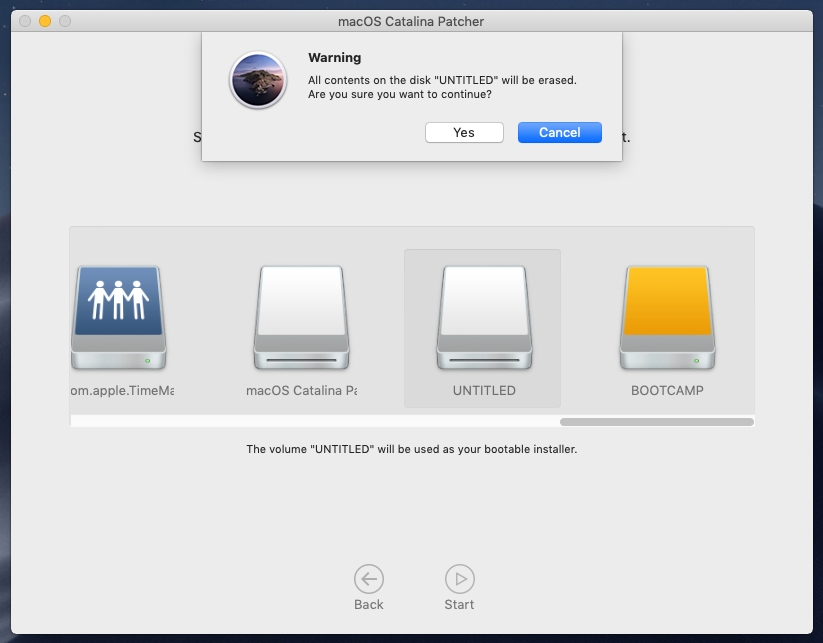
Step 12Click Yes button to erase all contents on your USB flash drive. |
 |
|
|
|
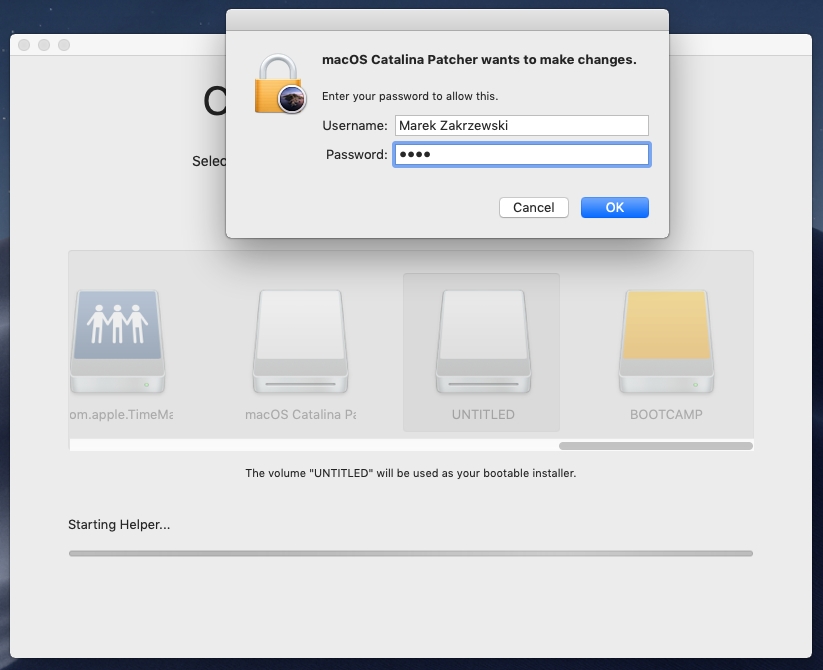
Step 13Enter your username password and click OK button to start creating patched USB flash drive. |
 |
|
|
|
Step 14Creating patched USB flash drive will take several minutes to complete. |
 |
|
|
|
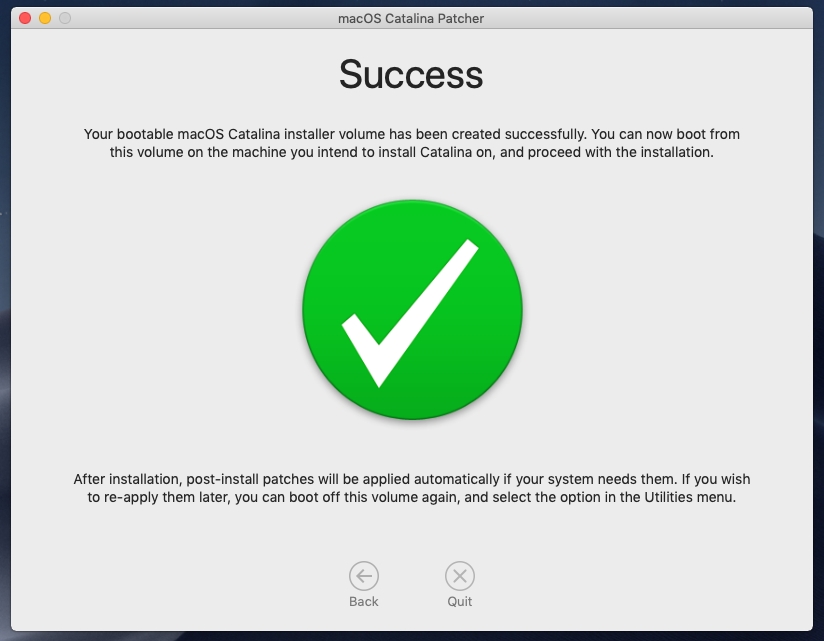
Step 15Your patched USB flash drive is now ready to use. Click Quit button to close DosDude Catalina patcher. You can now safely turn off your computer. |
 |
|
|
|
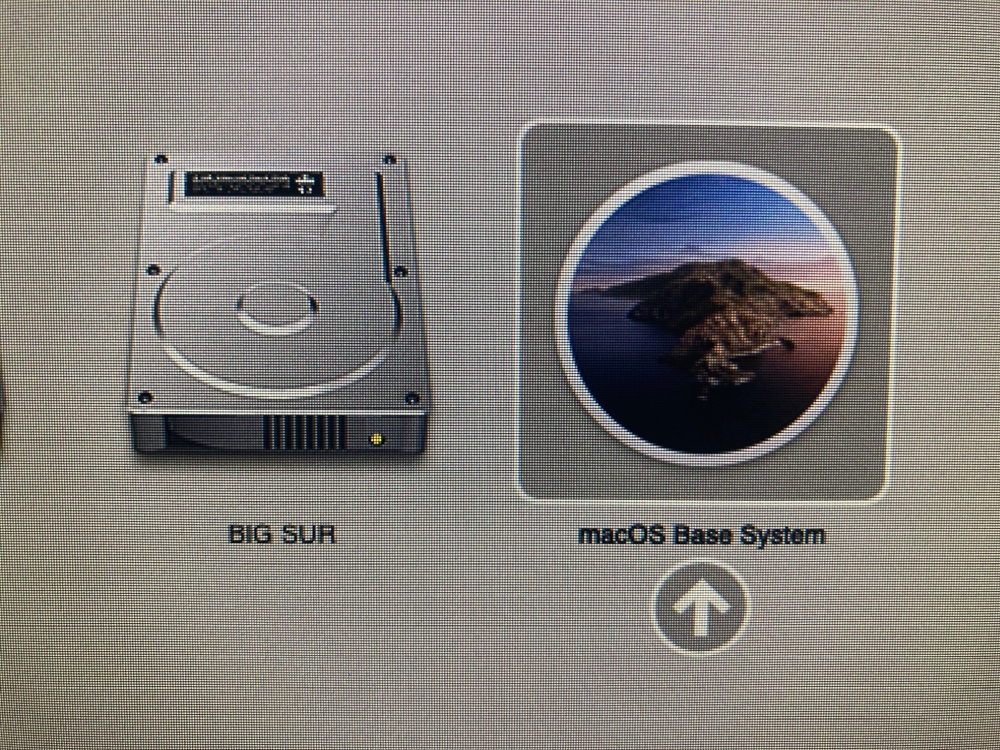
Step 16Start your computer by pressing and holding Option key (on Mac keyboard) or ALT key (on Windows keyboard), and click an arrow under macOS Base System to start macOS Catalina installer.
Make sure the USB flash drive is inserted into Mac Pro built-in USB hub (front or rear). Extra USB PCIe cards won't show bootable USB flash drive. |
 |
|
|
|
Step 17If you haven't created Catalina partition yet, you can use Disk Utility to create one now. If you have one, please skip to step 21.
Make sure partition is formatted as APFS filesystem and using GUID Partition Map. |
 |
|
|
|
Step 18Click the button above View on the left and choose Show All Devices from the list. |
 |
|
|
|
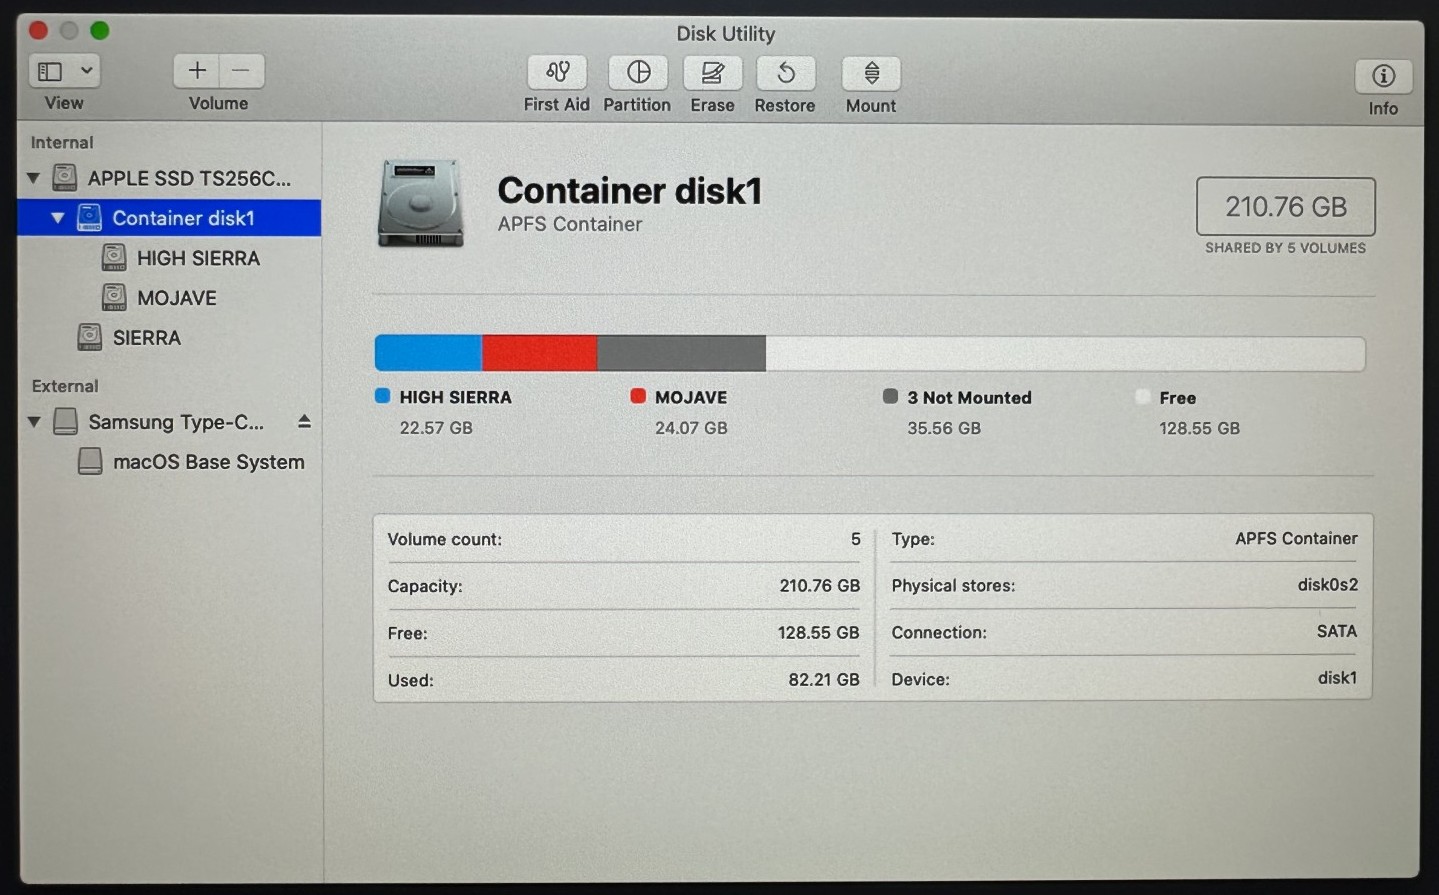
Step 19Click one of the existing APFS containers e.g. Container disk 1.
If you are installing macOS Catalina on a blank drive you need to click Partition button. |
 |
|
|
|
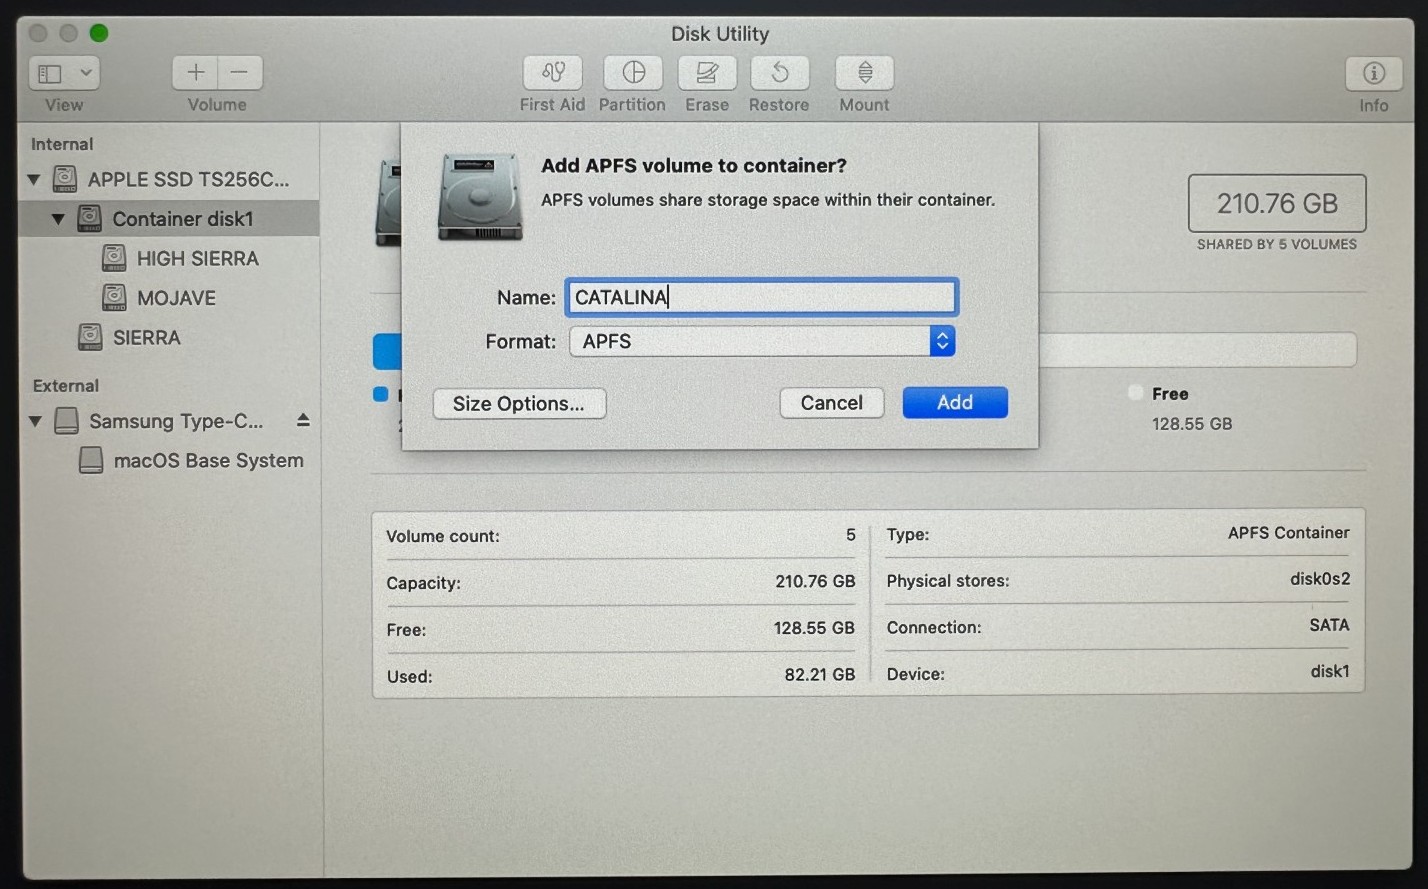
Step 20Click one of the existing APFS containers e.g. Container disk 1, then click + icon above Volume to add new APFS Volume to existing container.
Type your name e.g. CATALINA and click Add button to finish. |
 |
|
|
|
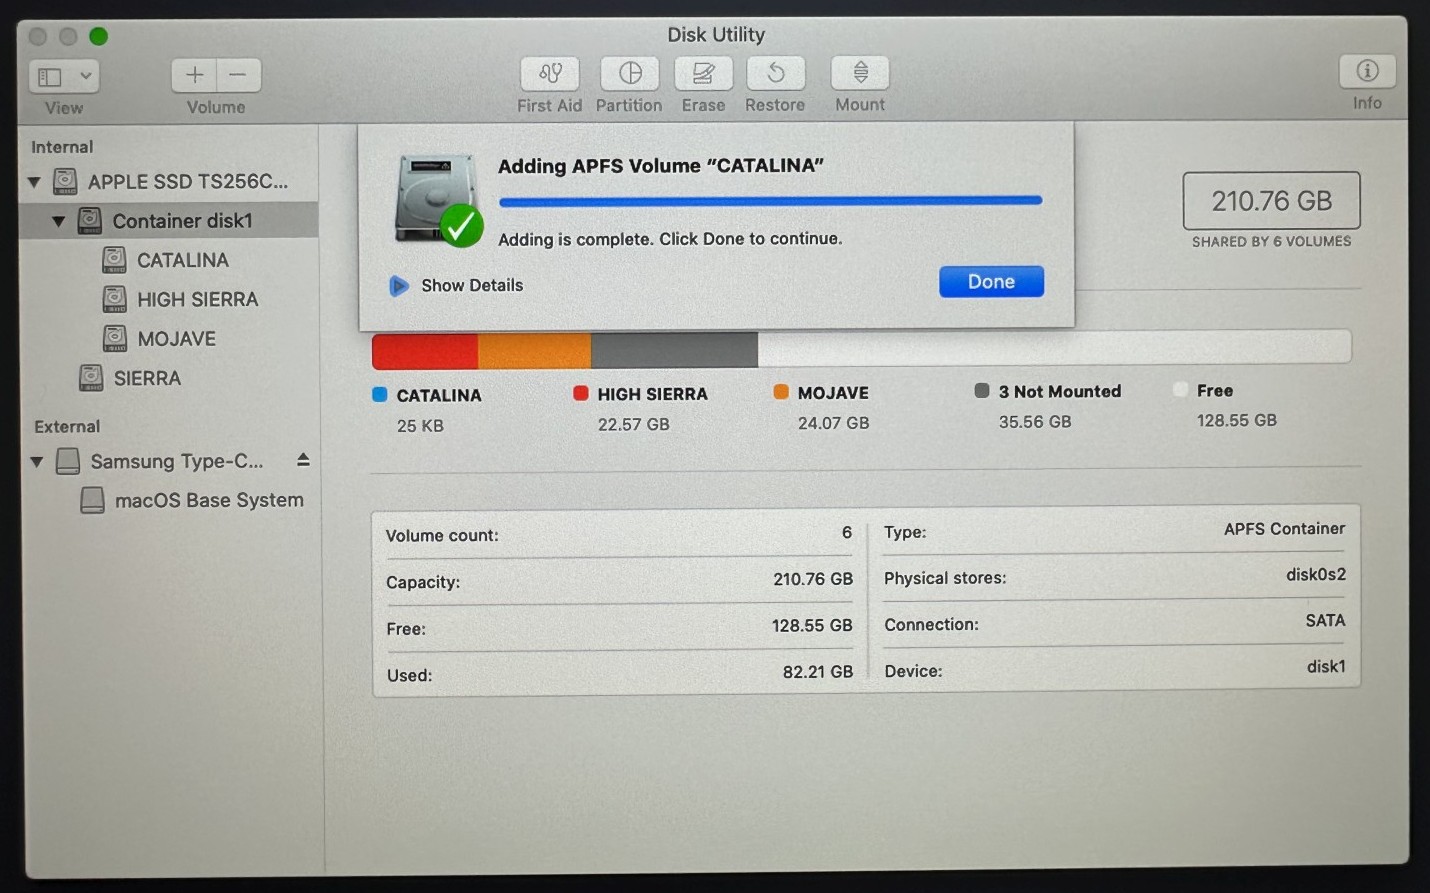
Step 21Click Done button to finish creating APFS volume. You can now safely close Disk Utility. |
 |
|
|
|
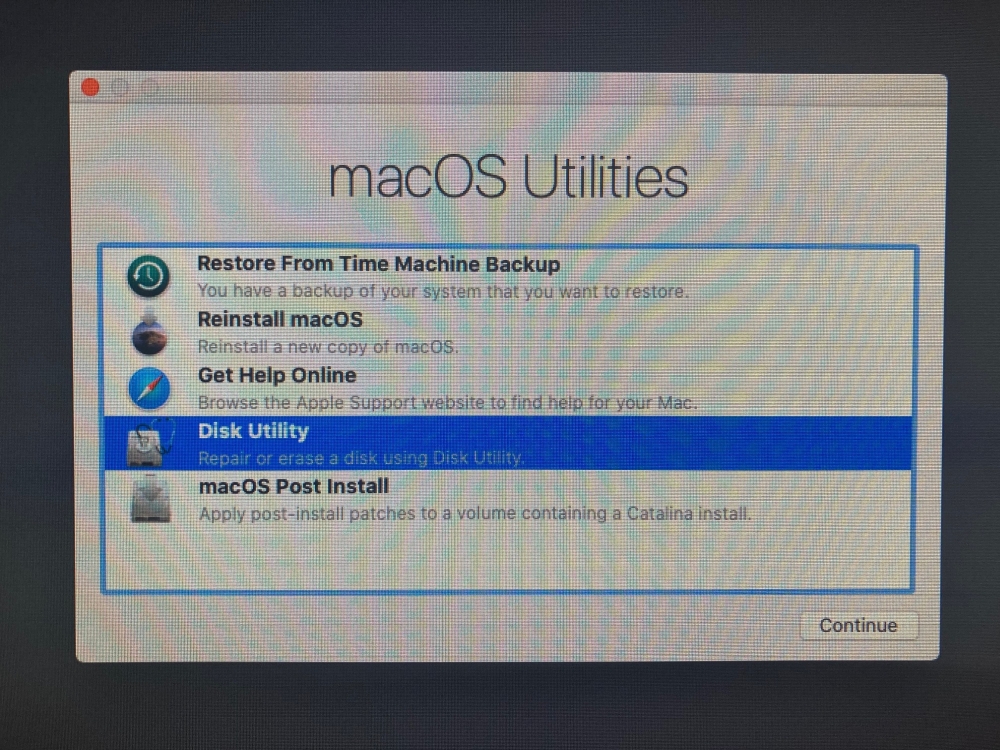
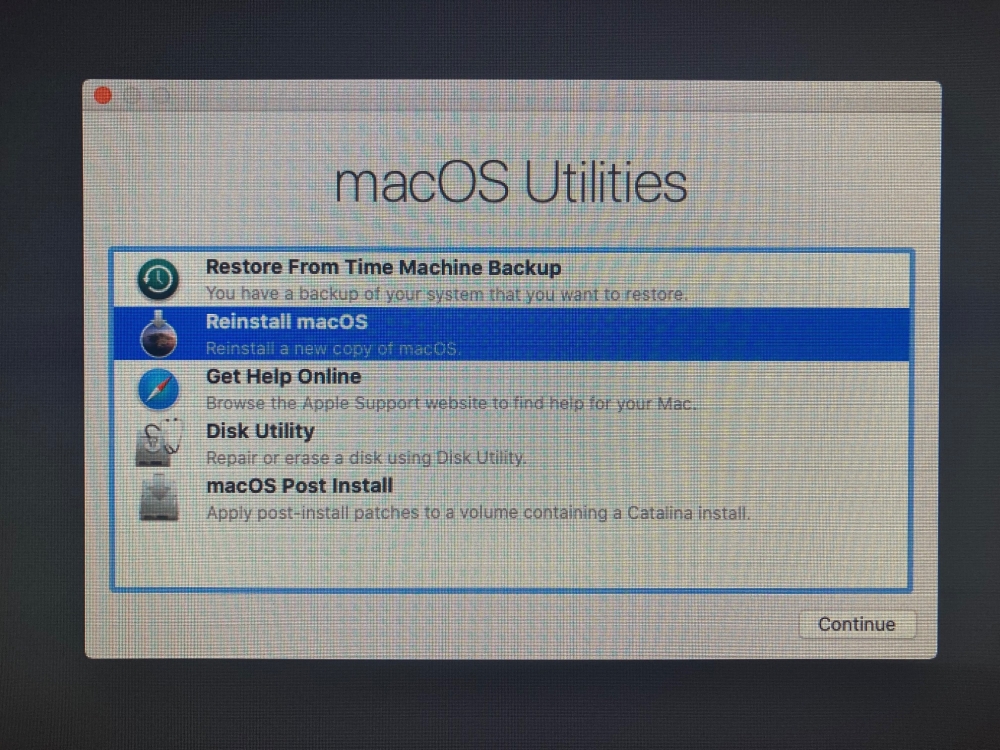
Step 22Now you can proceed with the installation itself.
Select Reinstall macOS from the list, and click Continue button to start the installation. |
 |
|
|
|
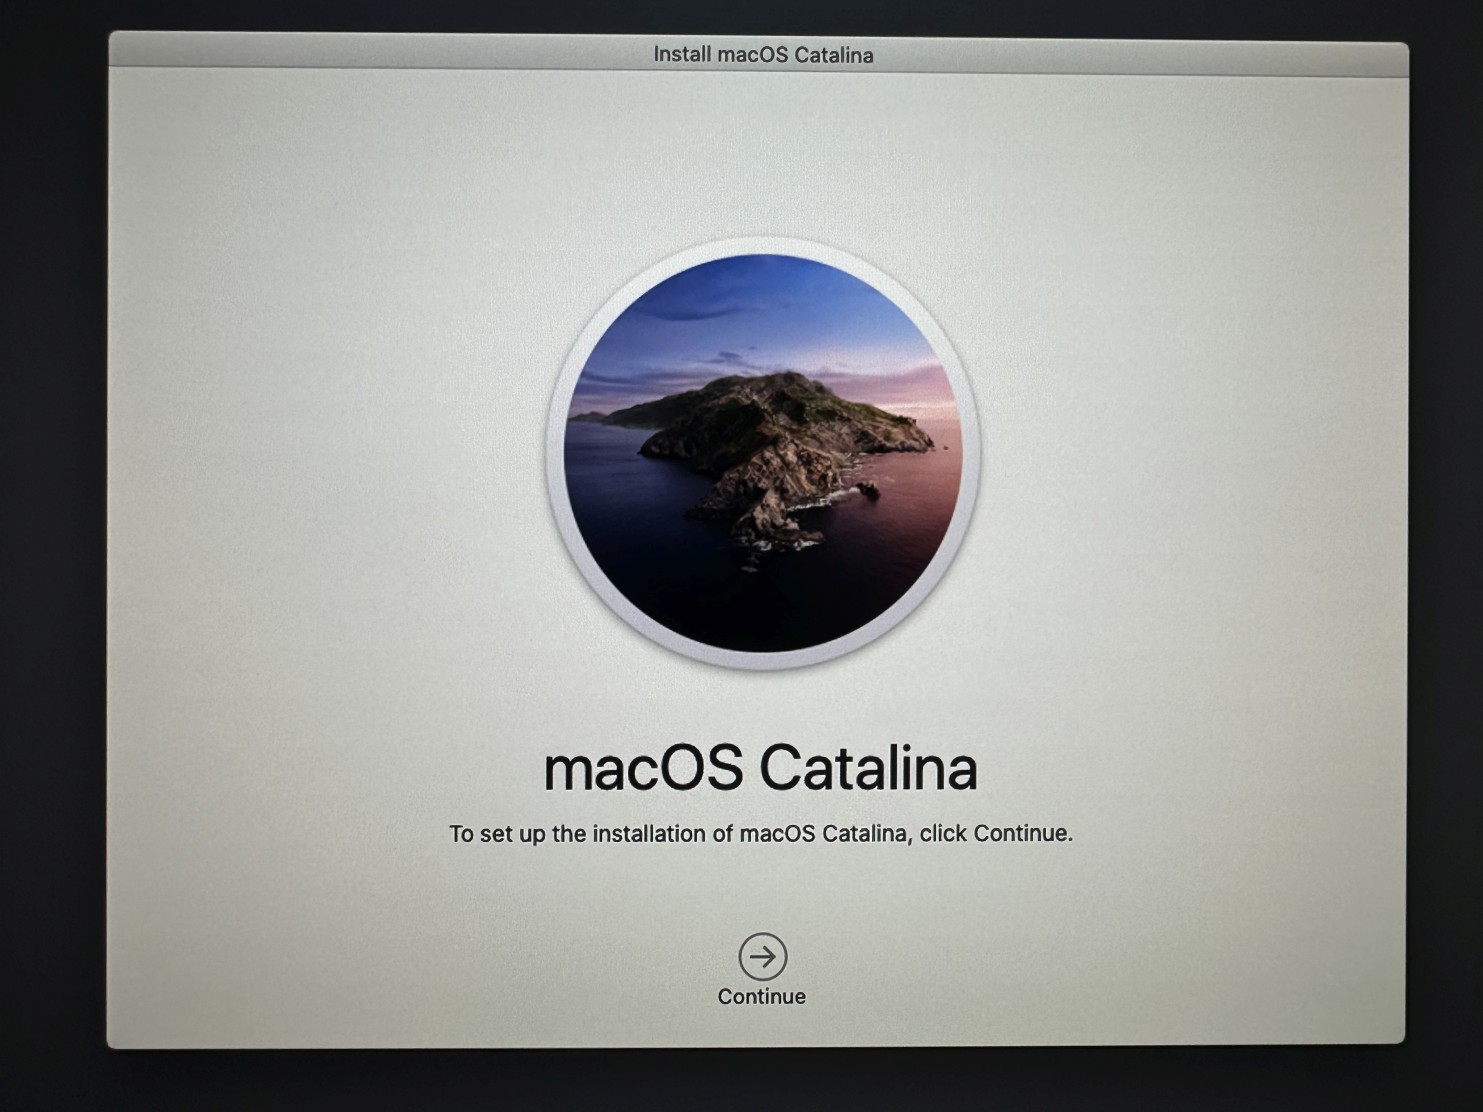
Step 23Click Continue button on installer splash screen. |
 |
|
|
|
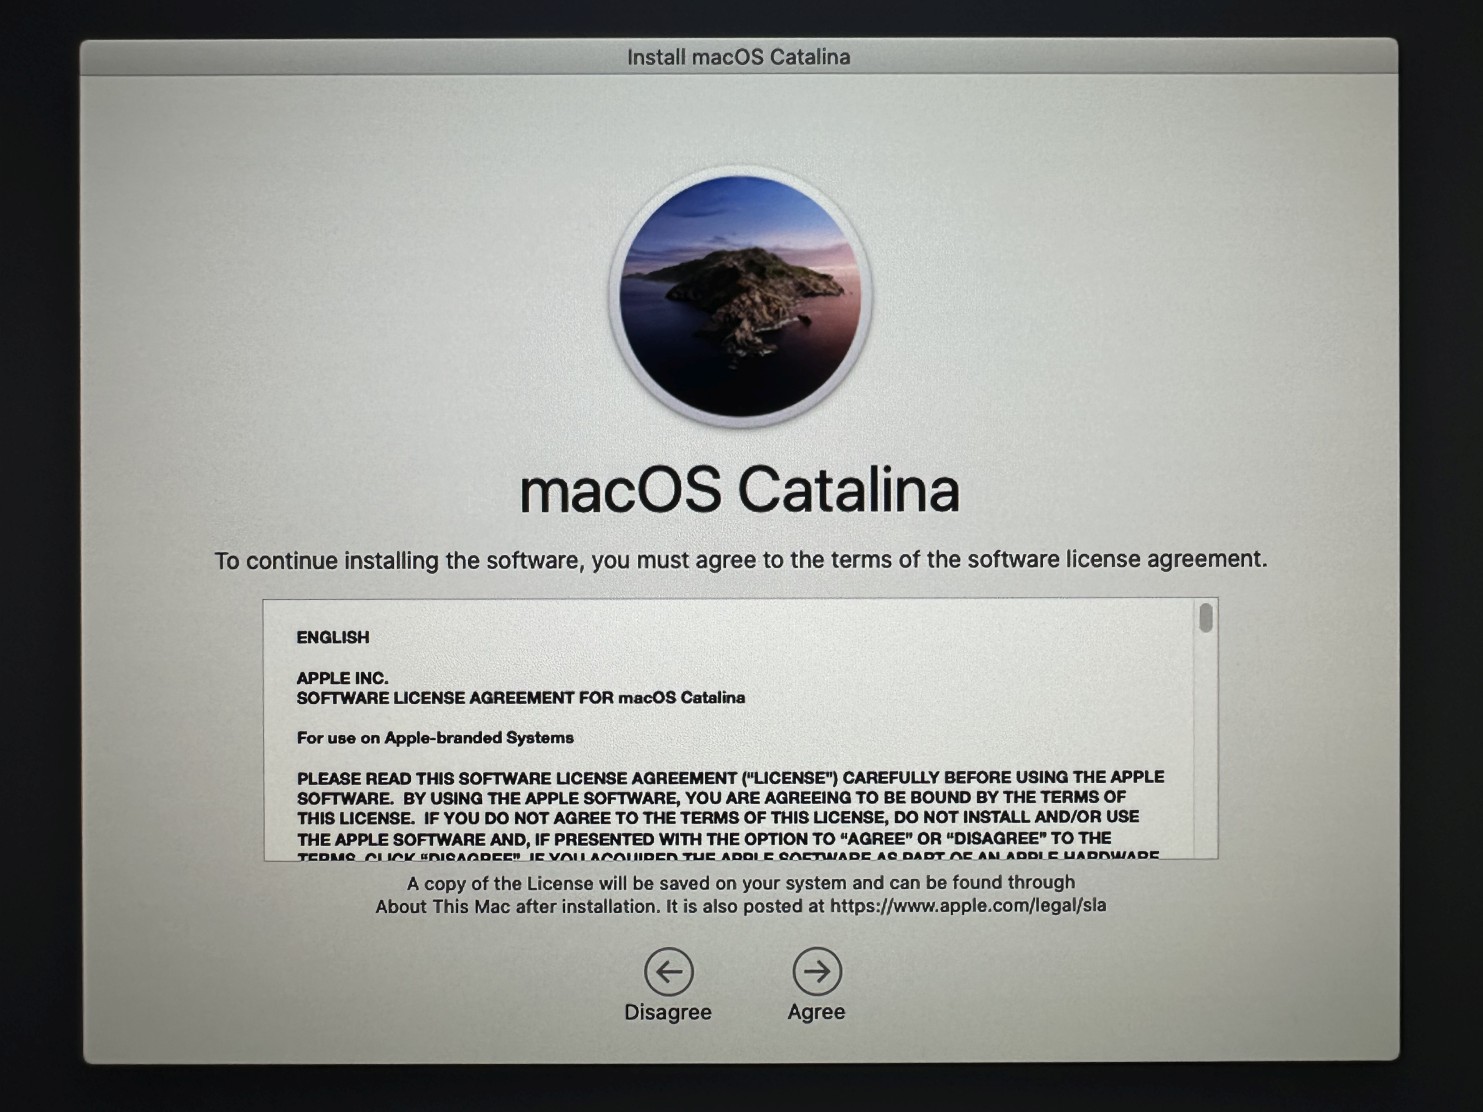
Step 24Click Agree button on software licence agreement screen. |
 |
|
|
|
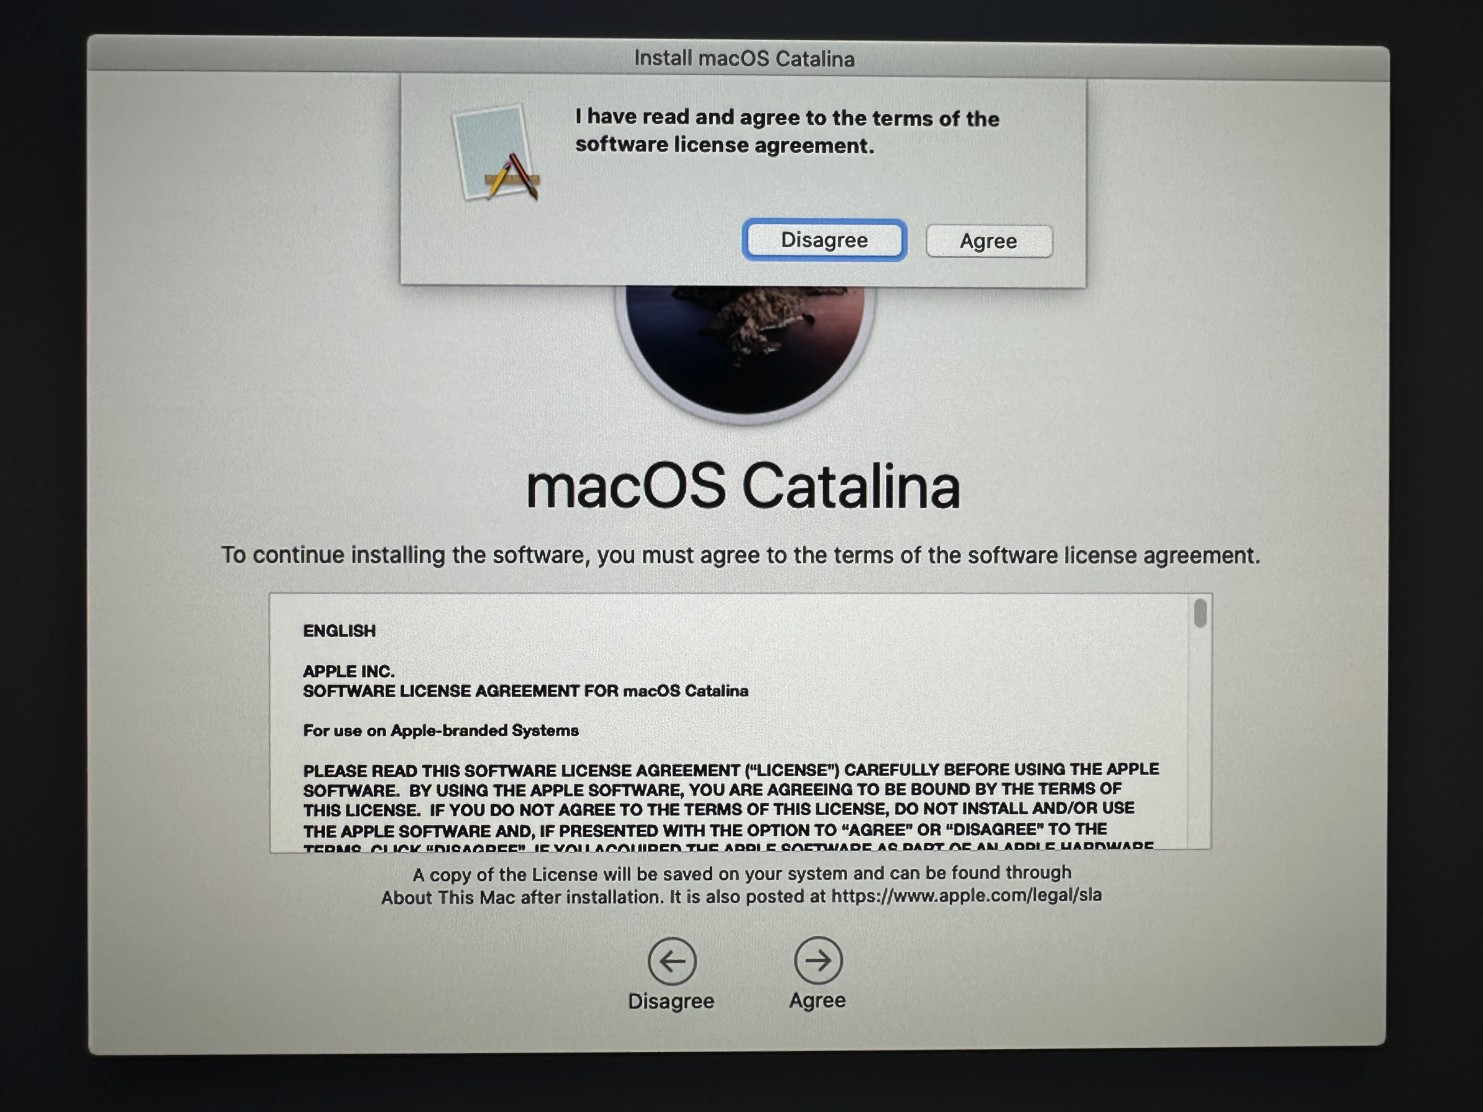
Step 25Again click Agree button. |
 |
|
|
|
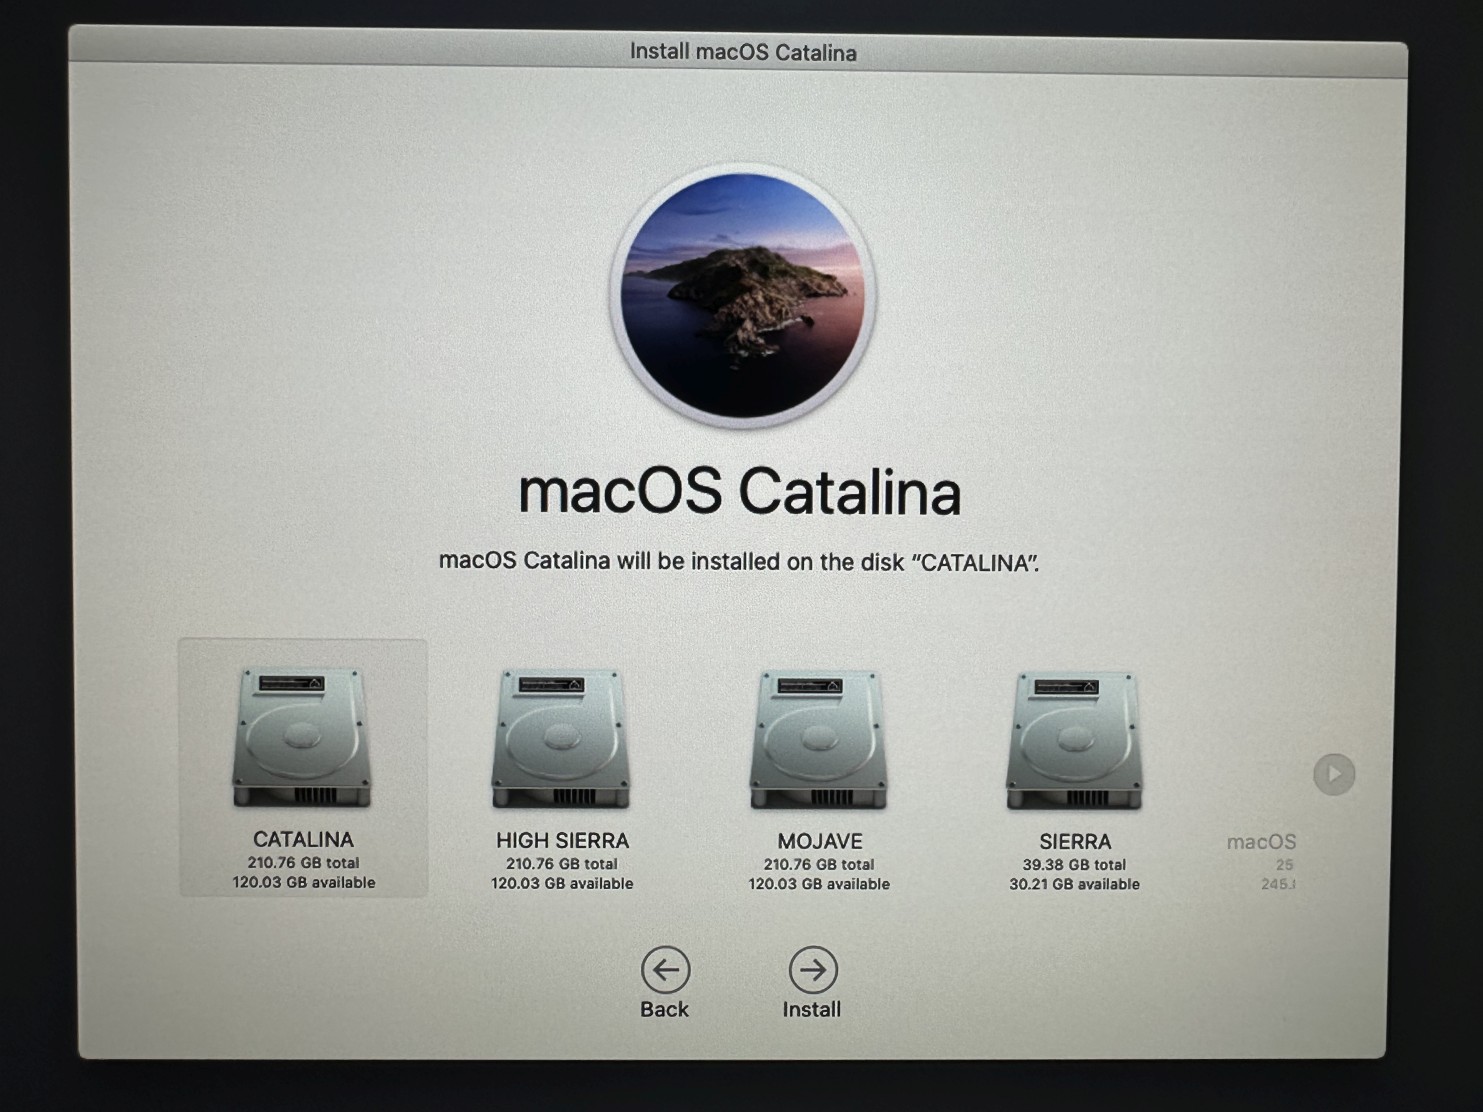
Step 26Choose your new CATALINA volume and click Continue button to continue the installation. The system will be rebooted automatically several times. It might take about an hour to fully install macOS Catalina. |
 |
|
|
|
Step 27When installation is ready, you will be presented with Transfer Information to This Mac screen. Click From a Mac, Time Machine backup, or startup disk radio button or leave the default option Don't transfer any information now, if you want to make a clean installation. |
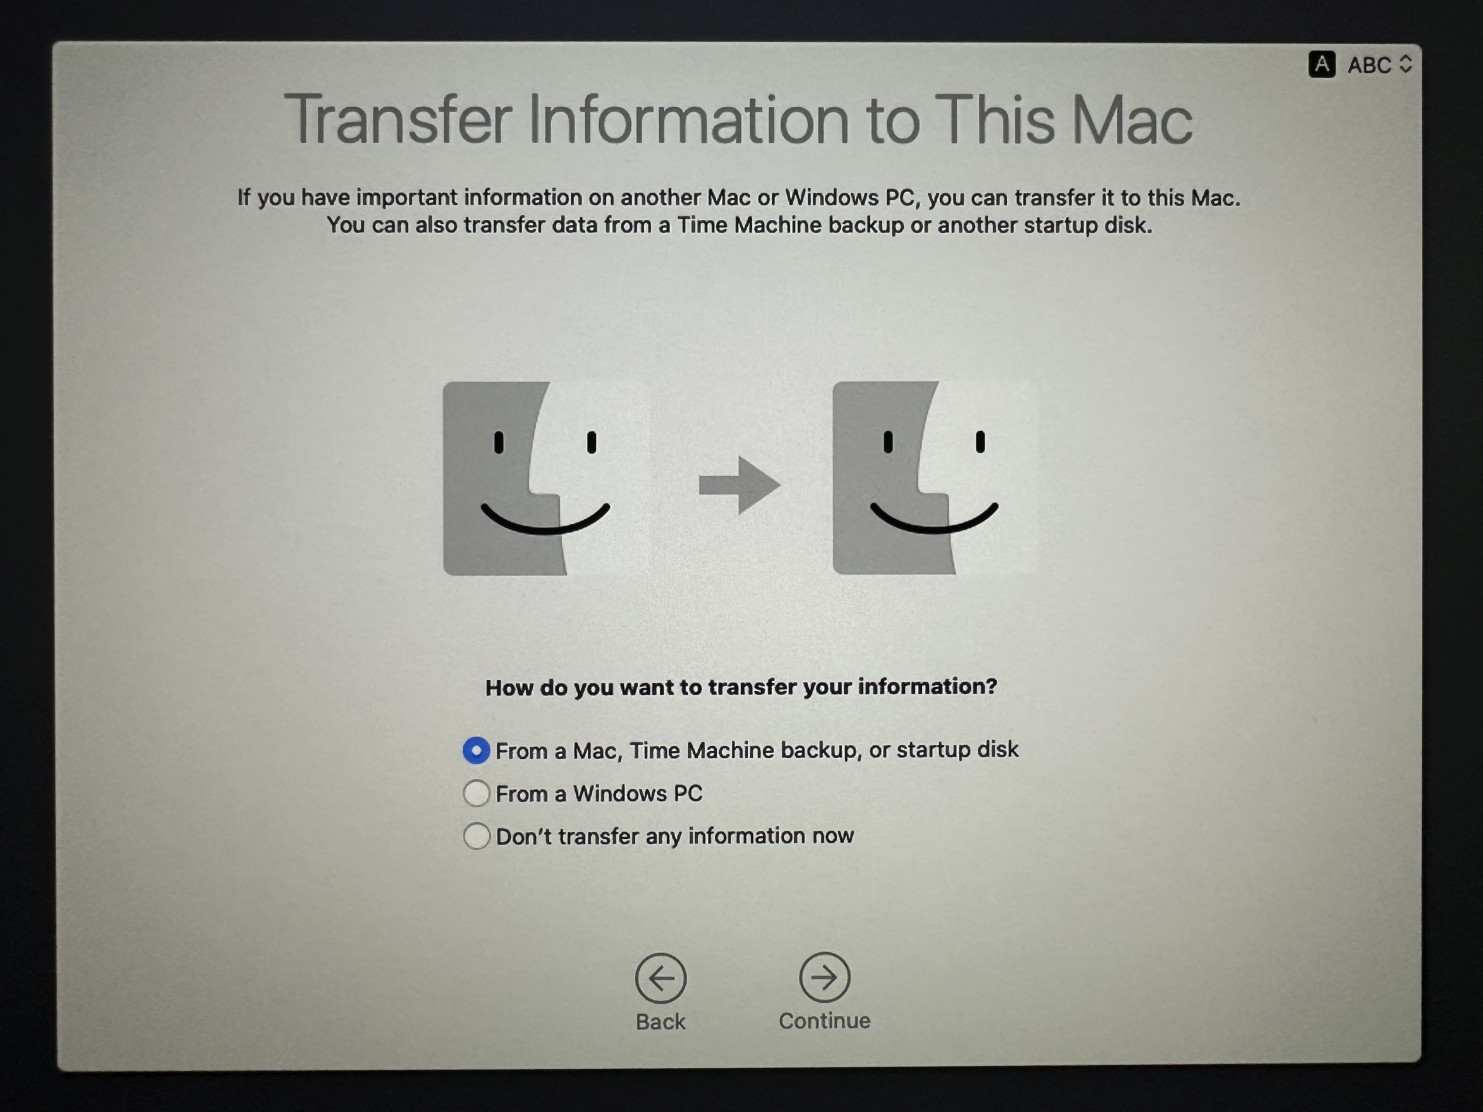 |
|
|
|
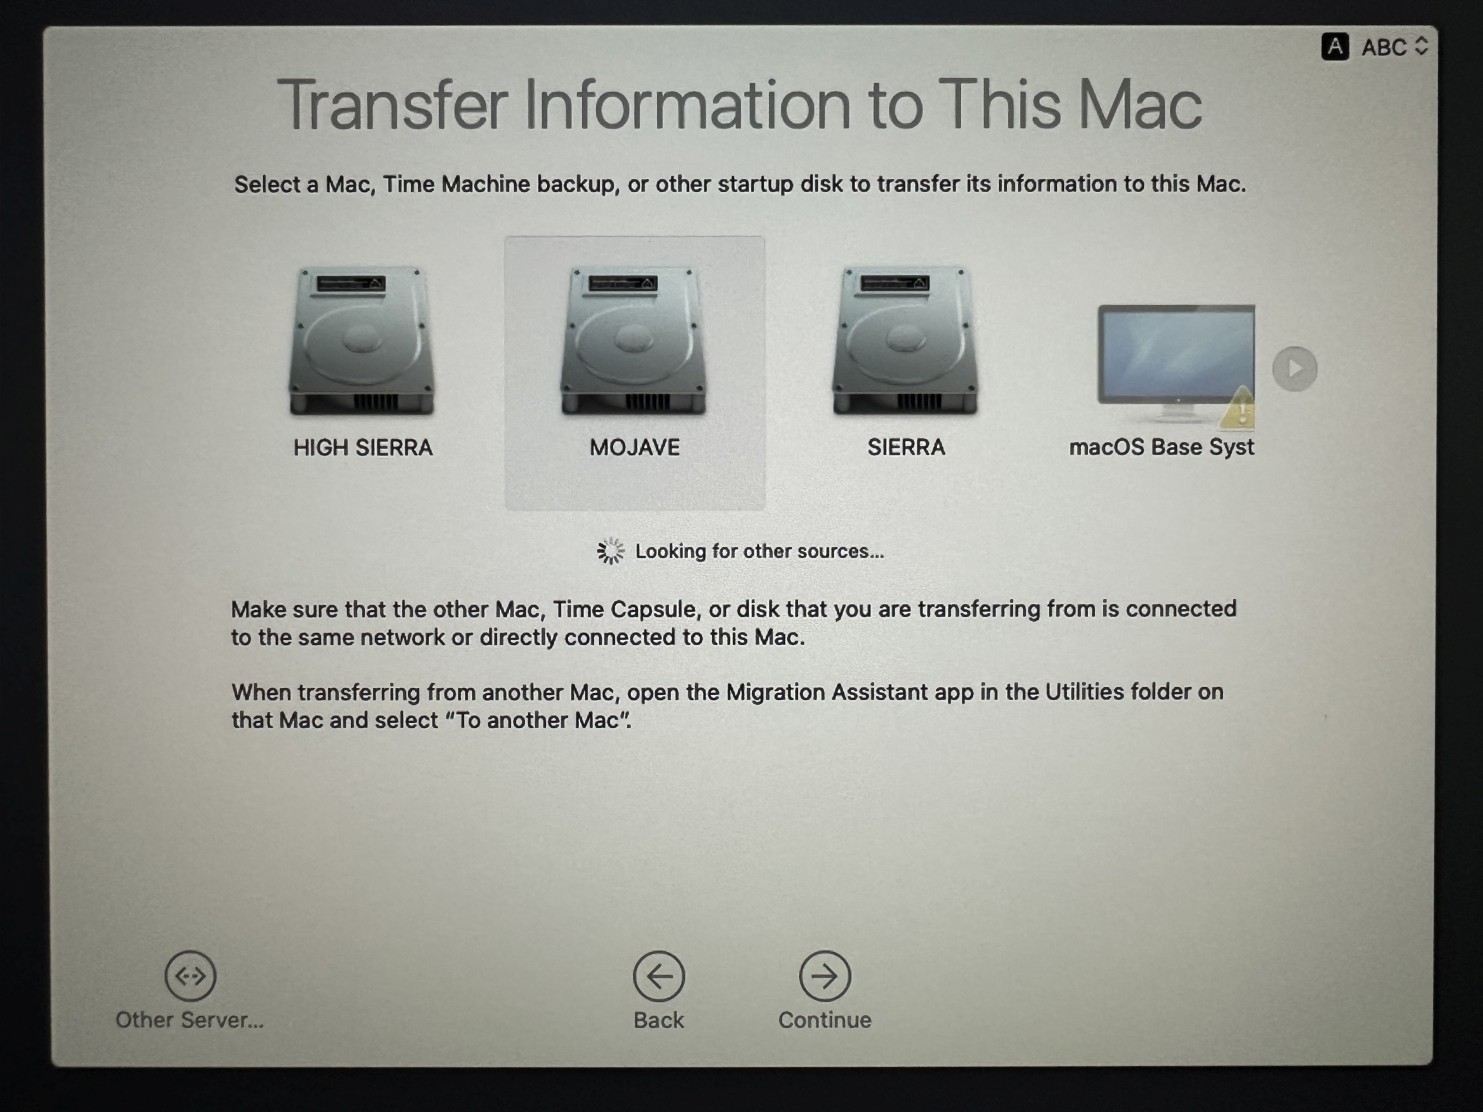
Step 28Now you can move data from your old macOS installation.
Click your previous macOS drive and then Continue button.
As soon your data is moved you will see macOS Catalina desktop.
WARNING: If you use AMD Radeon RX 5500 XT/RX 5600 XT/RX 5700/RX 5700 XT or Radeon Pro W5500/W5700 graphics cards the system won't boot properly. You need to follow this guide to fix it: Installing MacVidCards patch for AMD Radeon RX 5500 XT/RX 5600 XT/RX 5700/RX 5700 XT/W5500/W5700 cards under macOS Catalina 10.15.5 or later |
 |
|
|
|
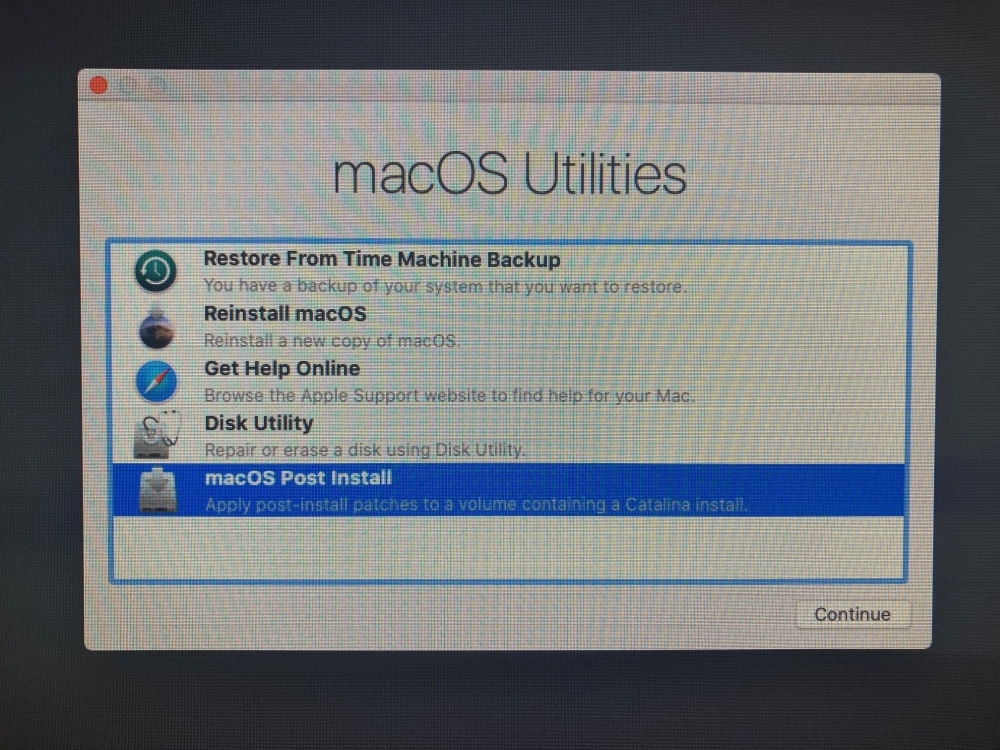
Step 29If you are using a standard 802.11n Wi-Fi card you need to follow these extra steps.
If you replaced your card with newer 802.11ac card, then you can safely skip to Step 32.
Again start your computer by pressing and holding Option key (on Mac keyboard) or ALT key (on Windows keyboard) and click an arrow under macOS Base System to start macOS Catalina installer (make sure USB flash drive is still inserted).
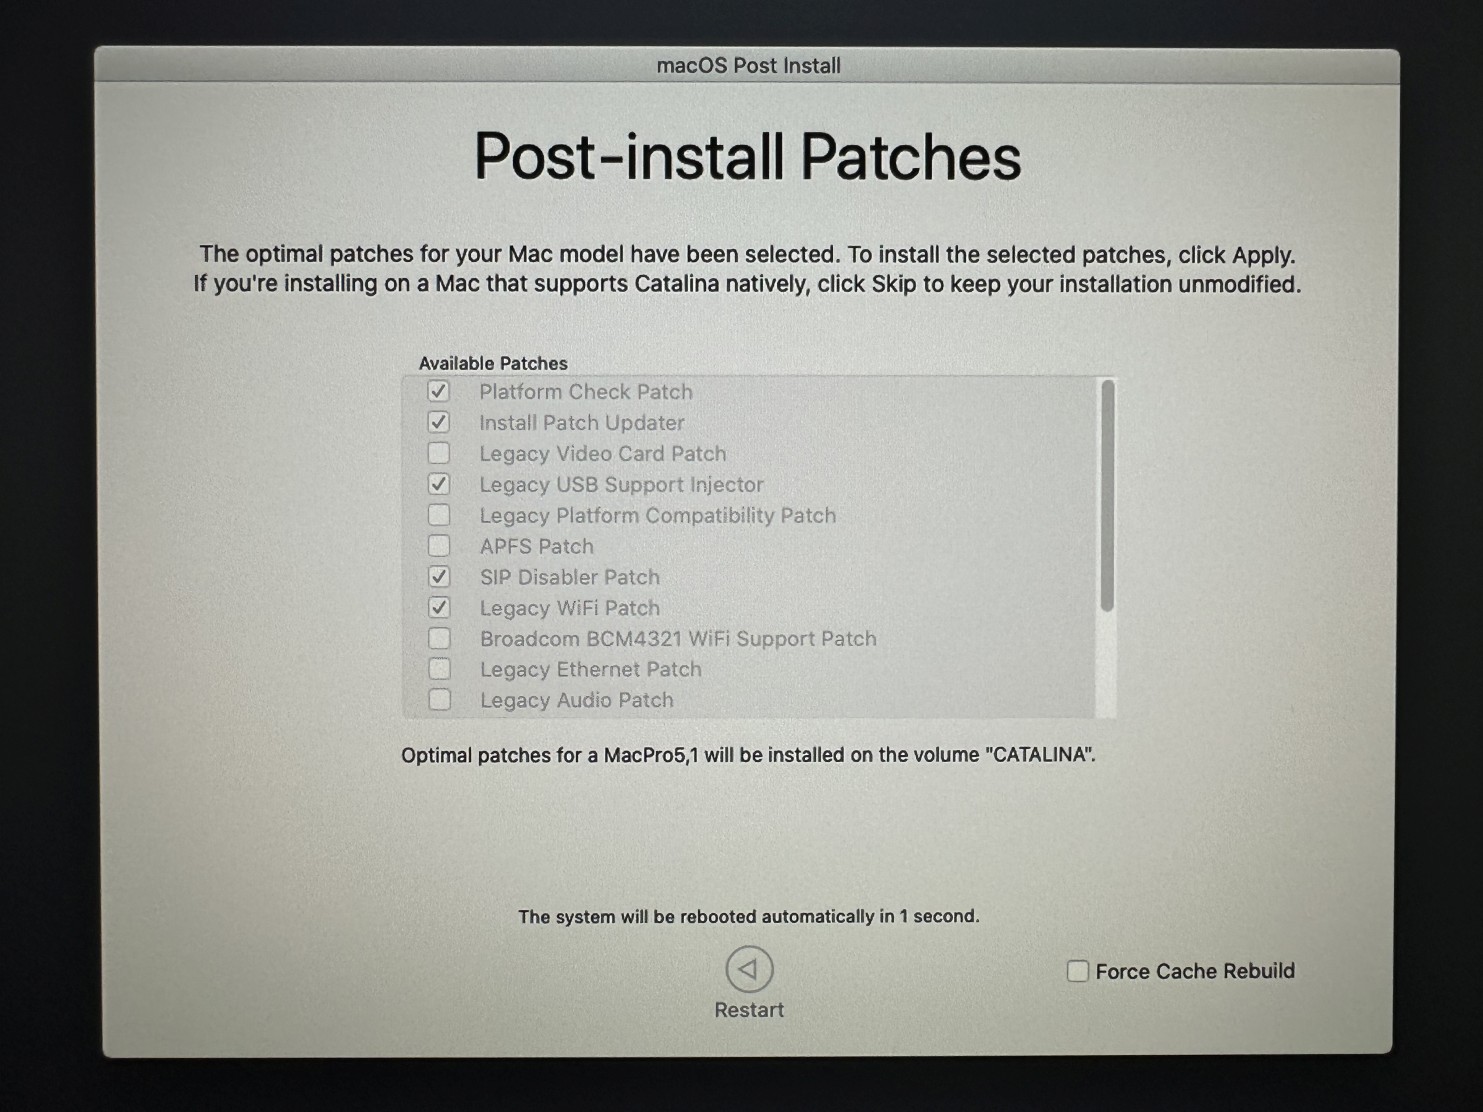
Select macOS Post Install option from the list and click Continue button. |
 |
|
|
|
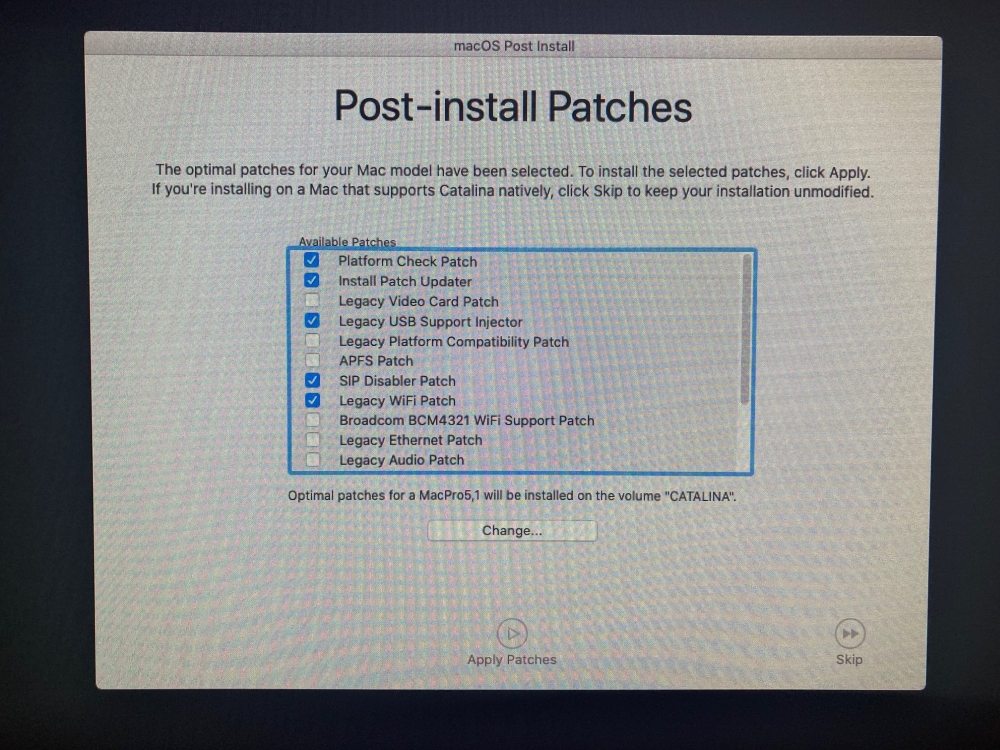
Step 30Leave the defaults patches selected and click Apply Patches button. |
 |
|
|
|
Step 31The system will be automatically rebooted in a few seconds. |
 |
|
|
|
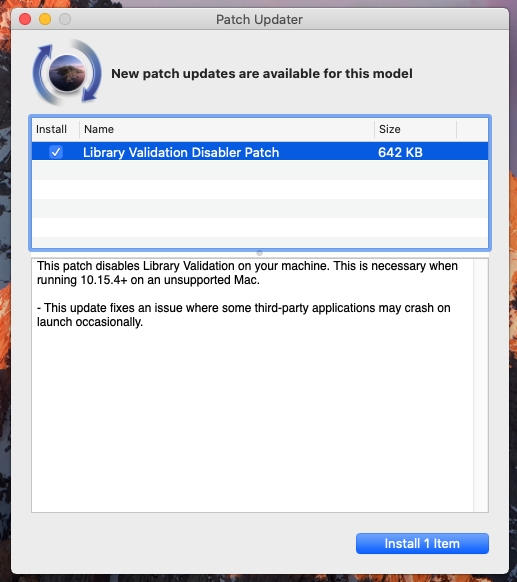
Step 32Upon restart you might be prompted with Patch Updater window.
Just click Install 1 Item button to finish the installation, and again restart the system.
The system will be now ready to use and Wi-Fi module will be working properly. |
 |