
Installing macOS Ventura 13 on unsupported Mac Pro
If you have a Mac Pro 4,1/5,1 make sure to have Boot ROM 144.0.0.0.0 installed. If not, please follow this guide: Installing macOS Mojave 10.14 and performing Mac Pro 5,1 Boot ROM update
You need one USB flash drive with a size of at least 16 GB.
Keyboard and mouse cannot be connected directly to USB ports inside a Mac Pro, but must be connected via USB hub e.g. inside a display or other external USB hub.
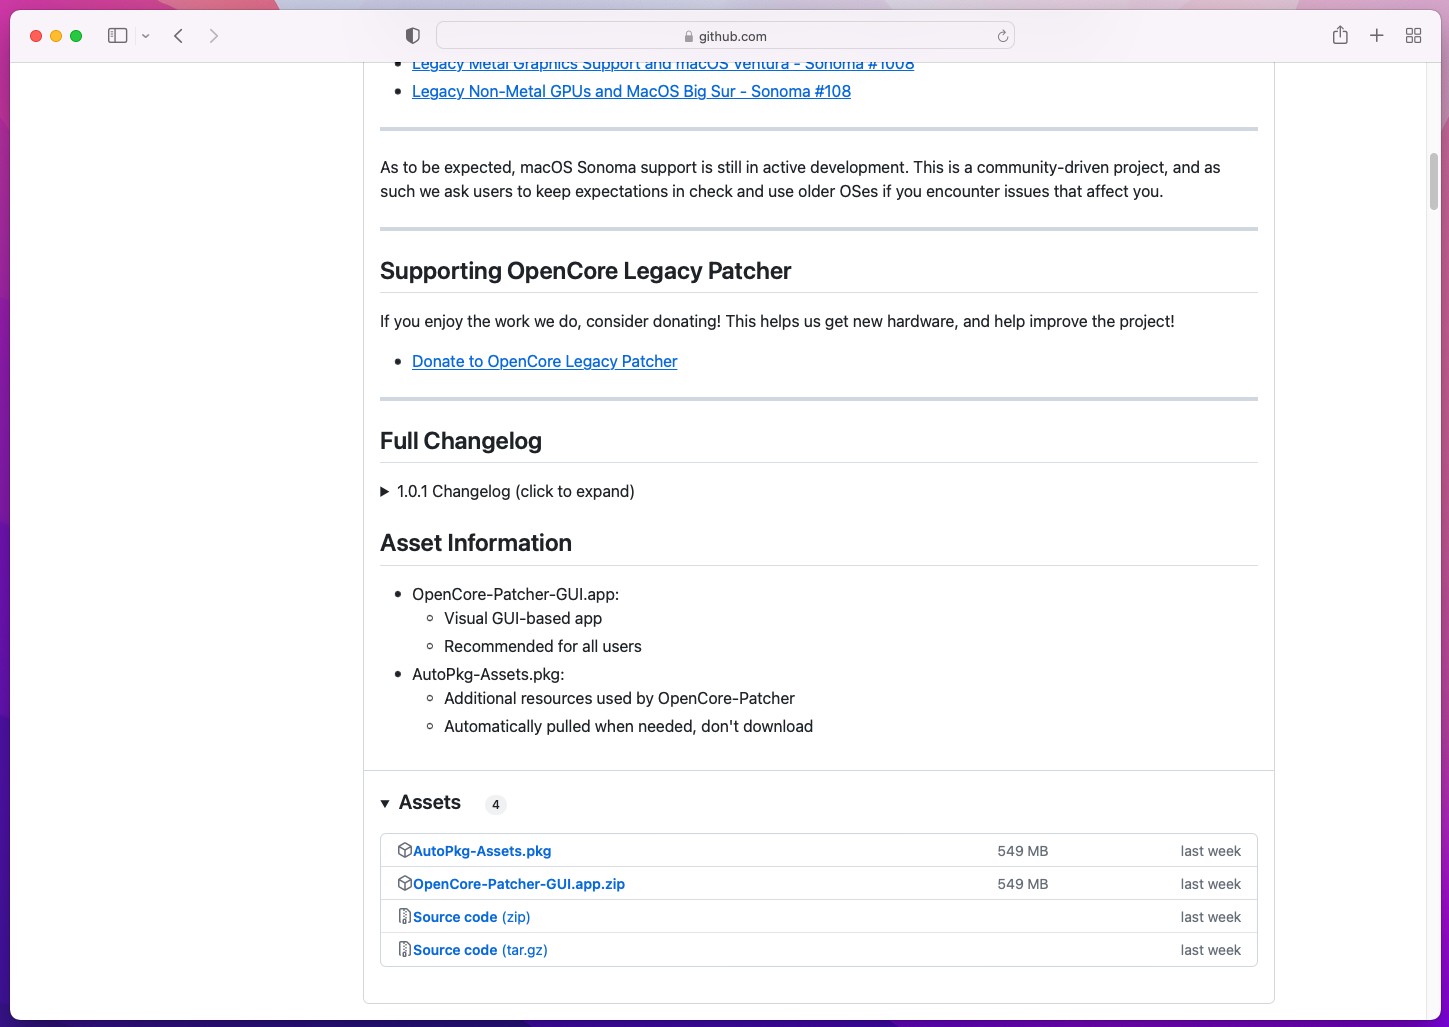
Step 1Open https://github.com/dortania/OpenCore-Legacy-Patcher/releases in any web browser, scroll the page a bit to Assets section and download the latest OpenCore-Patcher.pkg file.
It will be automatically downloaded into your Downloads folder. |
 |
|
|
|
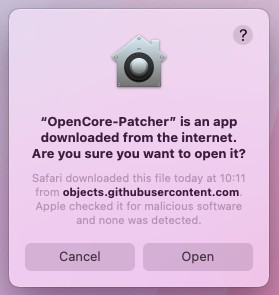
Step 2Click OpenCore-Patcher.pkg file inside Downloads folder to run it. |
 |
|
|
|
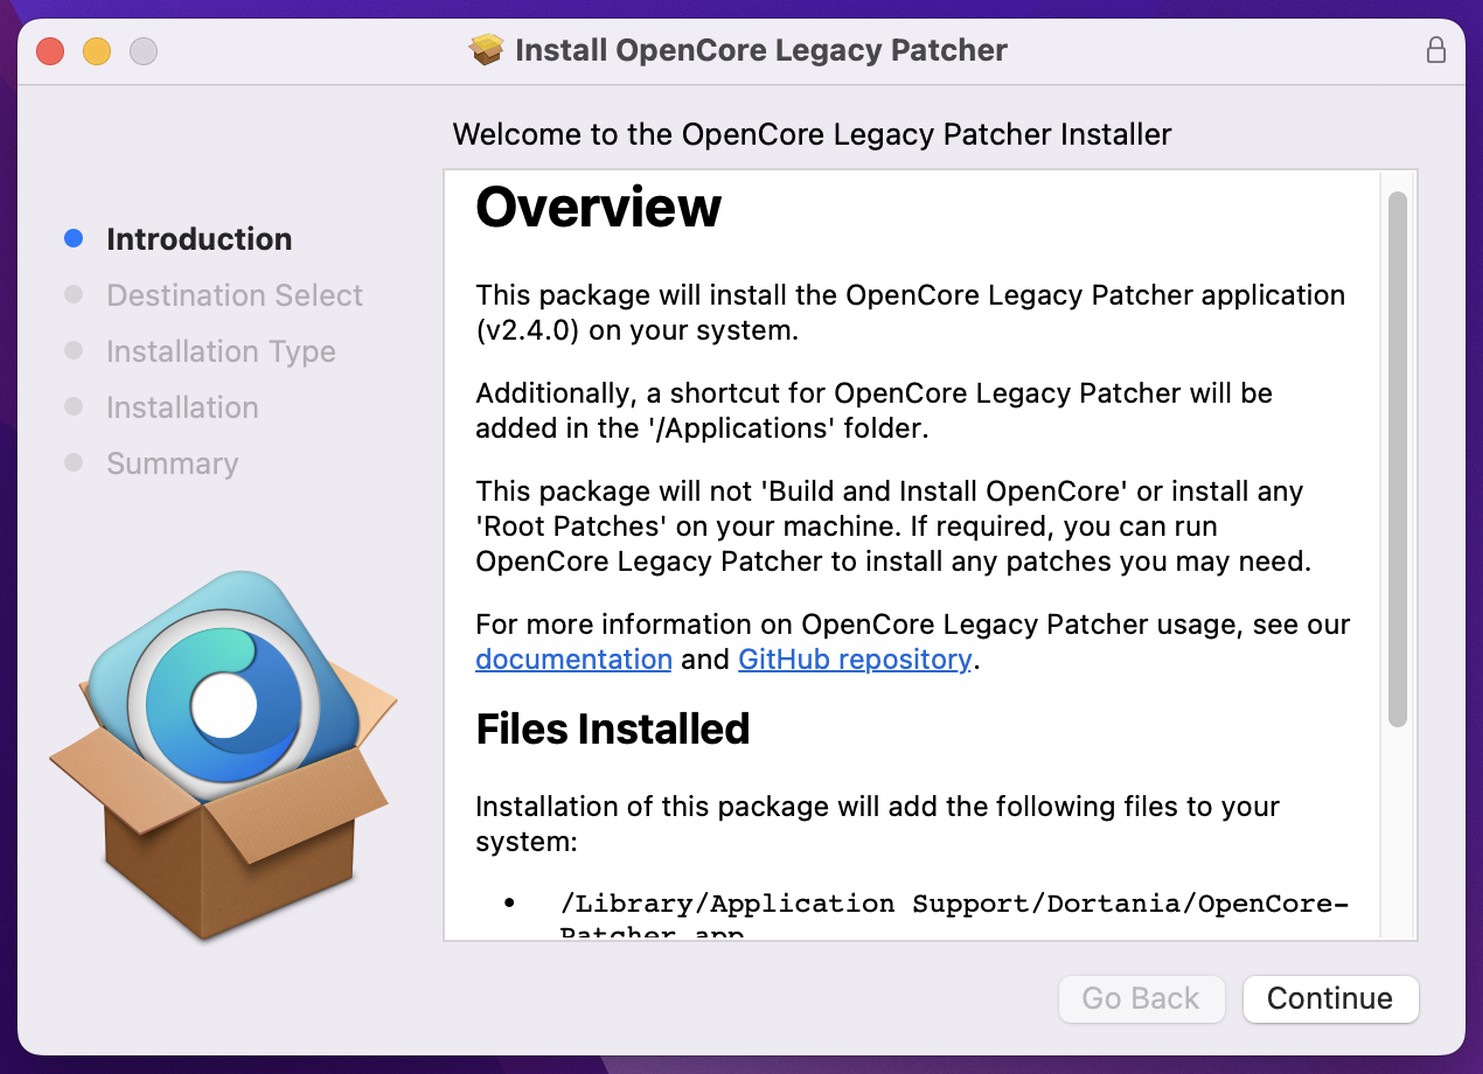
Step 3OpenCore Legacy Patcher installer would be started. Click Continue button to start the installation. |
 |
|
|
|
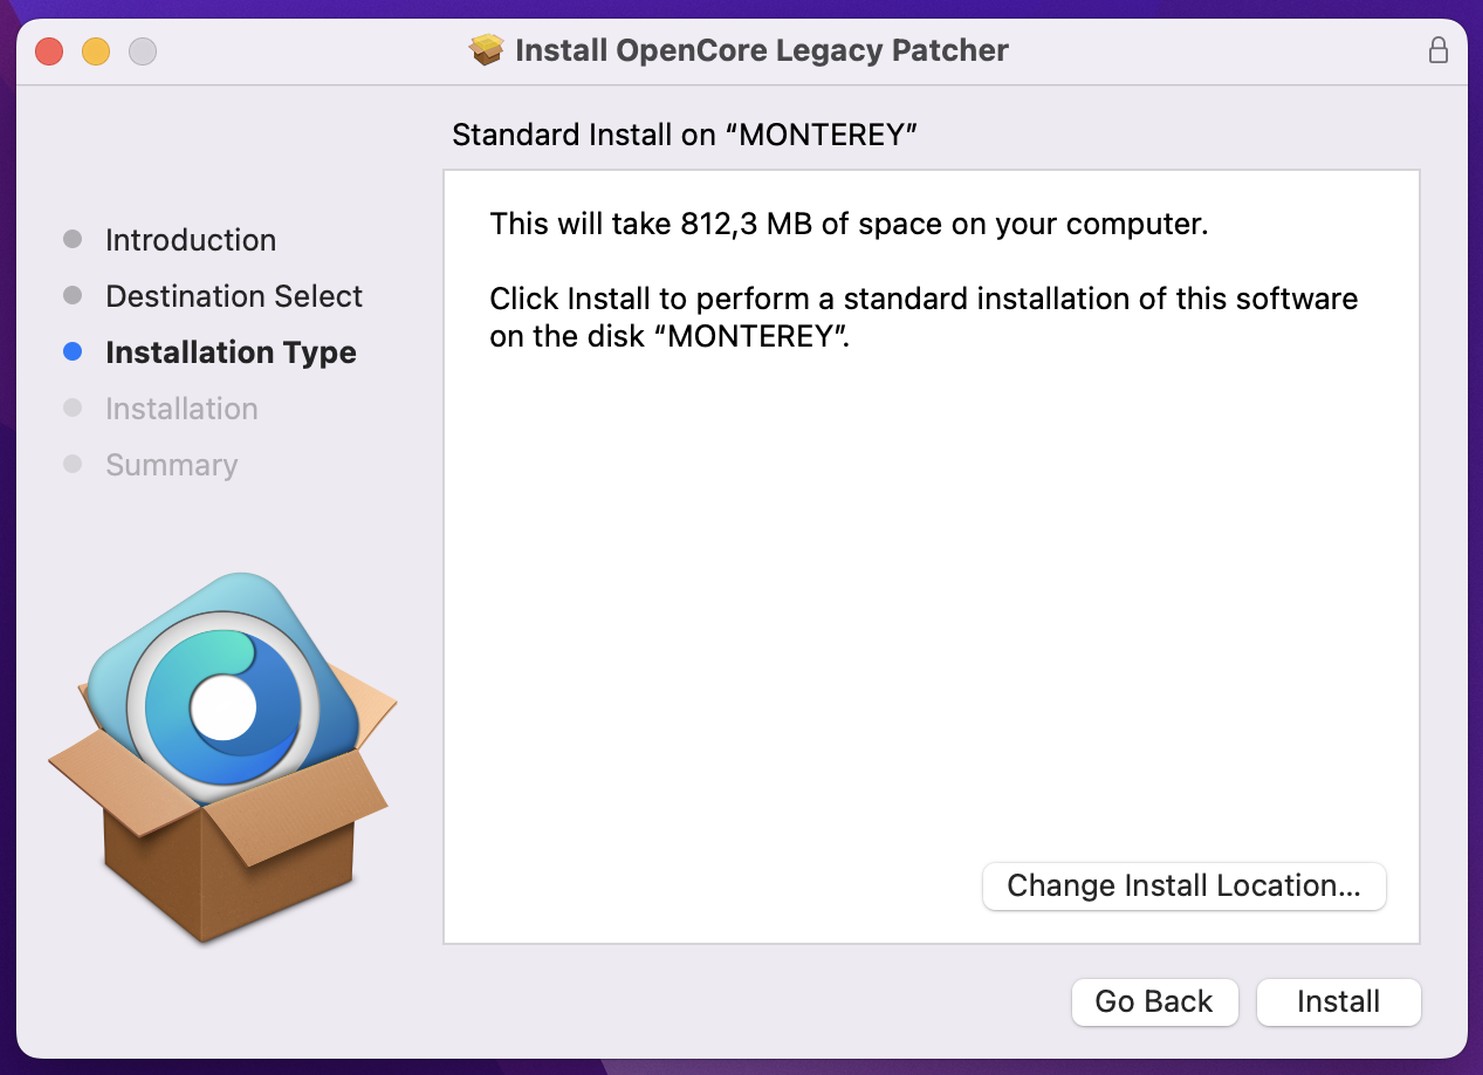
Step 4Click Install button. |
 |
|
|
|
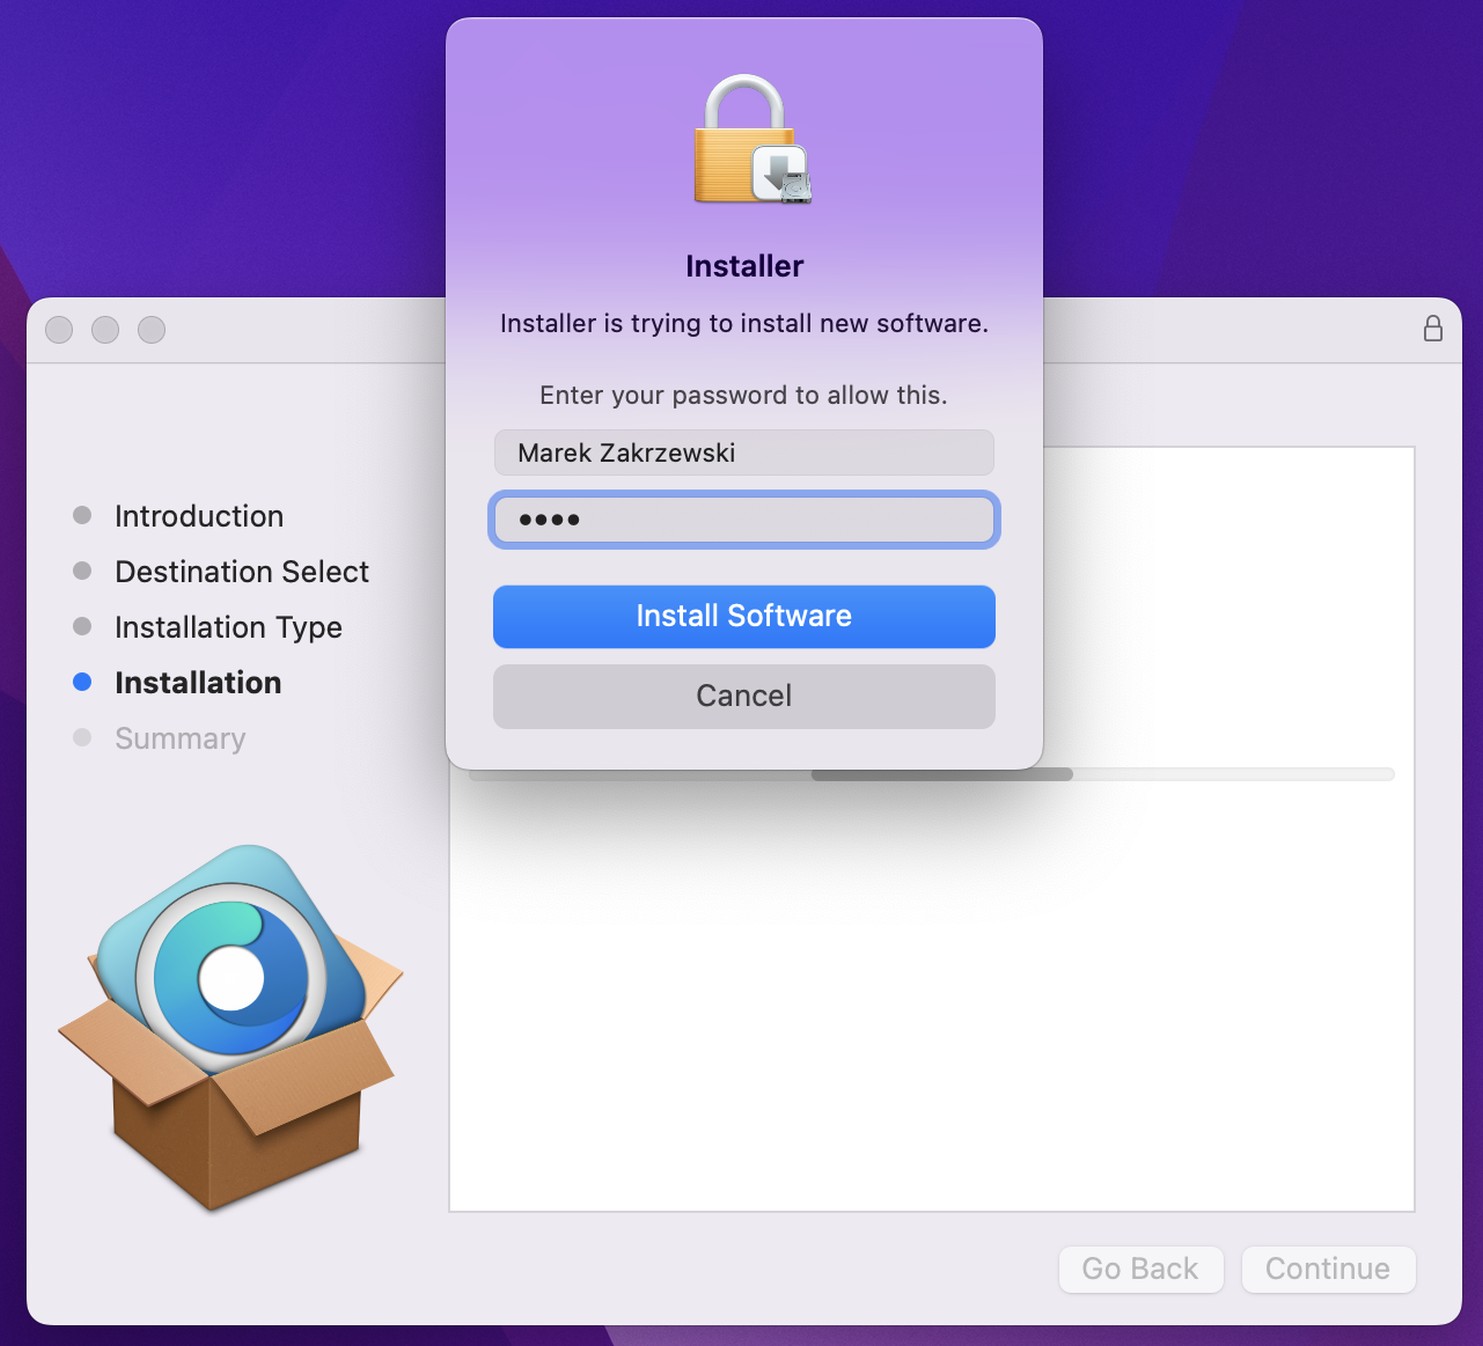
Step 5Enter you username password and click Install Software button. |
 |
|
|
|
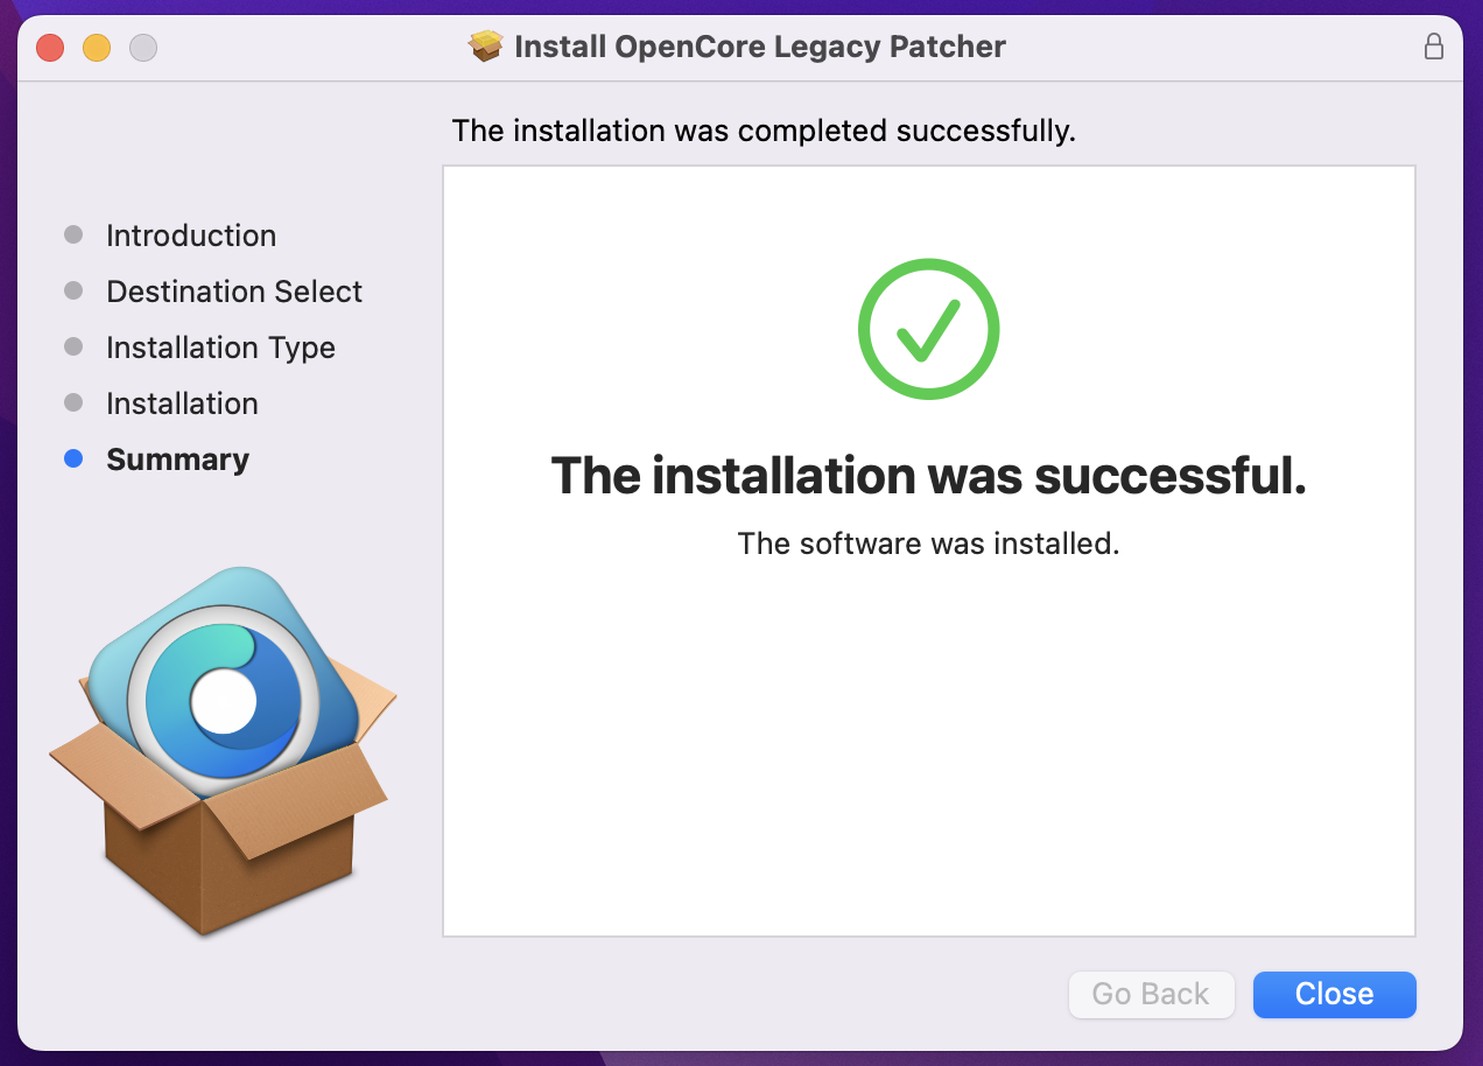
Step 6Click Close button to finish the installation. |
 |
|
|
|
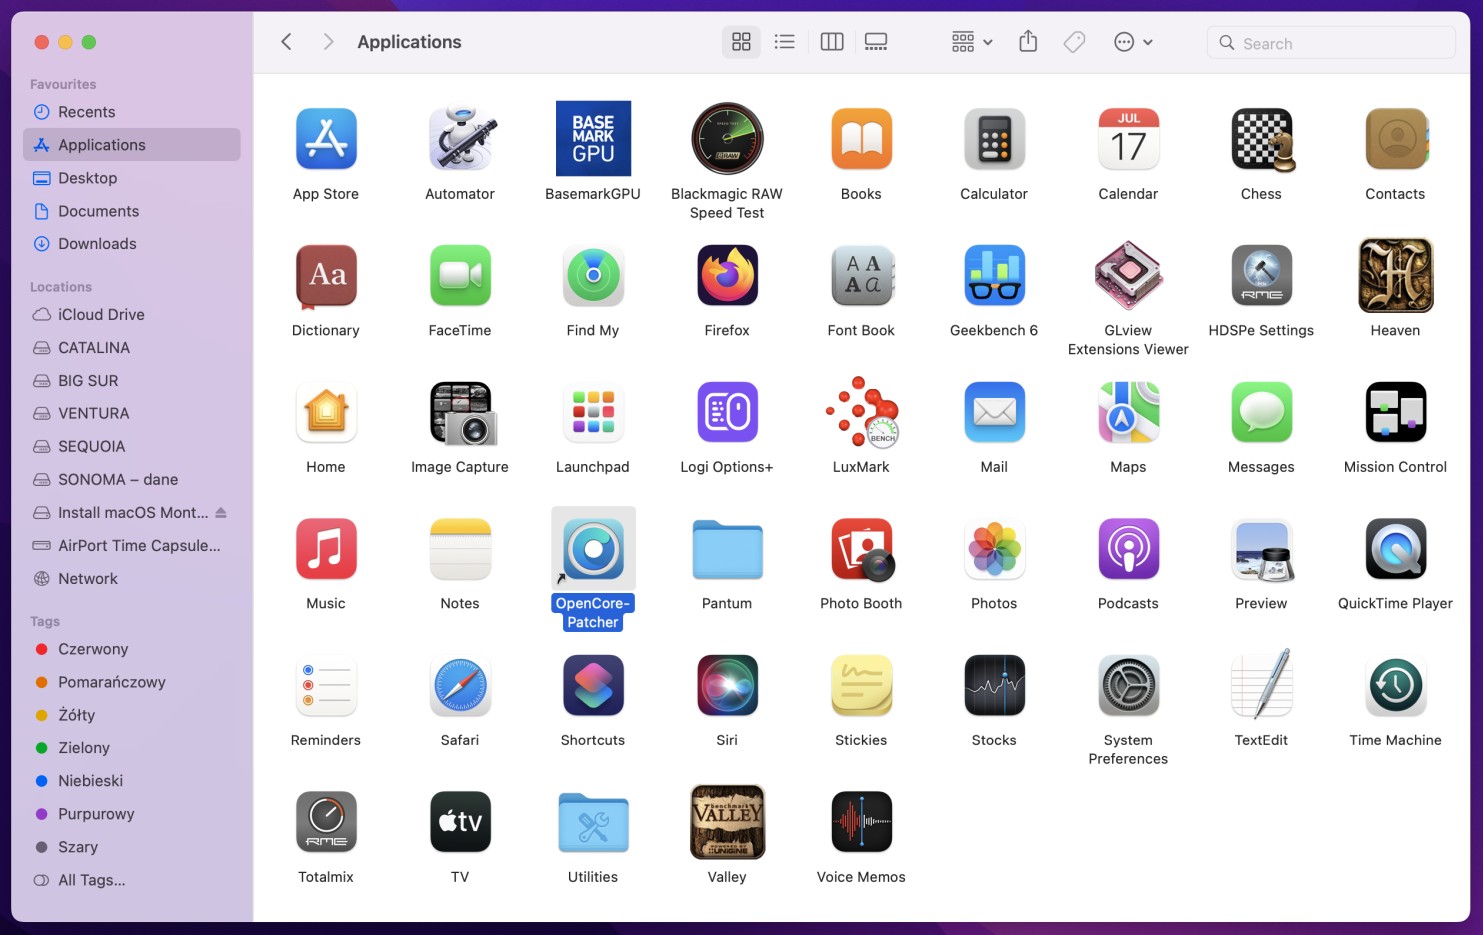
Step 7Locate OpenCore-Patcher icon in Applications folder and double-click on it to run it. |
 |
|
|
|
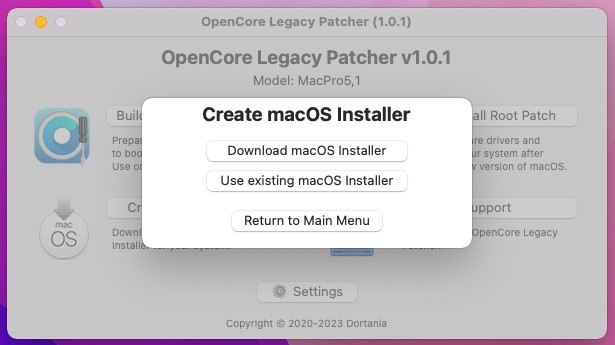
Step 8Click Create macOS Installer button to start creating bootable macOS installer USB flash drive. |
 |
|
|
|
Step 9Click Download macOS Installer button. |
 |
|
|
|
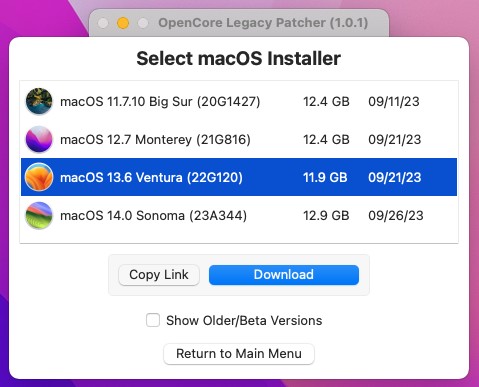
Step 10Select the latest macOS Ventura version and then click Download button. |
 |
|
|
|
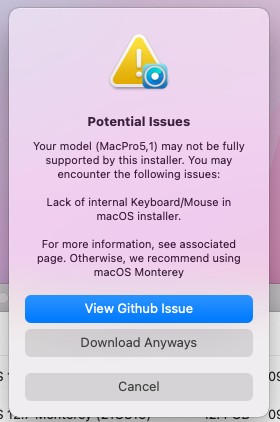
Step 11Click Download Anyways button. |
 |
|
|
|
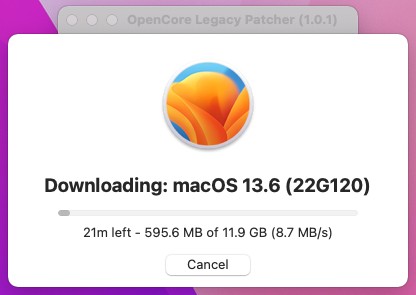
Step 12macOS Ventura DMG image will be downloaded directly from Apple servers. It may take some time on slower Internet connection speeds. |
 |
|
|
|
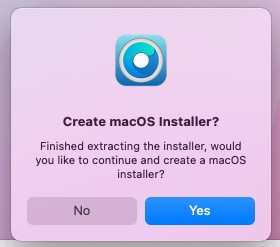
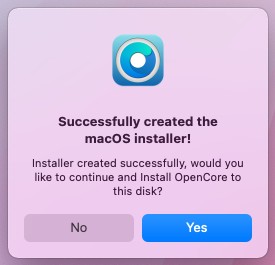
Step 13Click Yes button to create macOS installer. |
 |
|
|
|
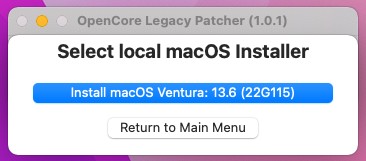
Step 14Click Install macOS Ventura button. |
 |
|
|
|
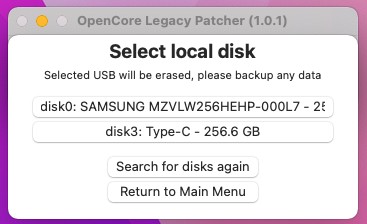
Step 15Click a button with your USB flash drive name. |
 |
|
|
|
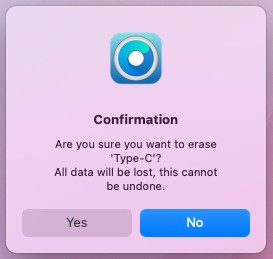
Step 16Click Yes button to erase your USB flash drive. |
 |
|
|
|
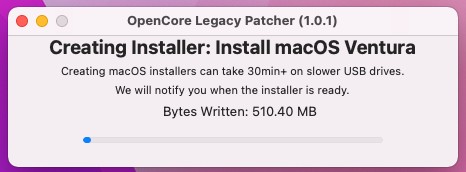
Step 17Creating a USB flash drive might take up to 30 minutes on a USB flash drives with slow write speeds via standard USB 2.0 hub. |
 |
|
|
|
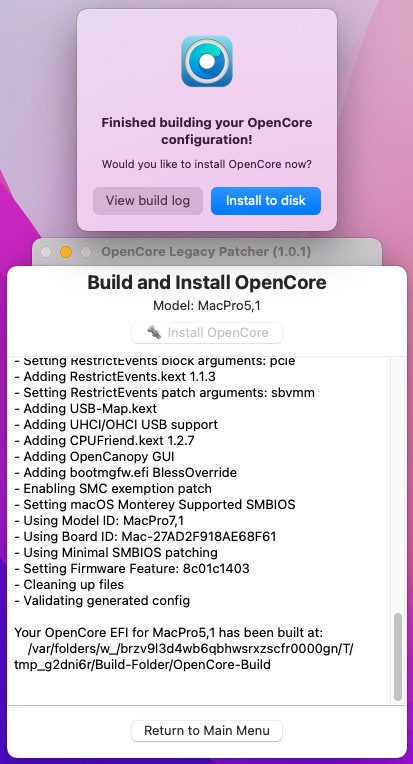
Step 18Click Yes button to start building OpenCore installation. |
 |
|
|
|
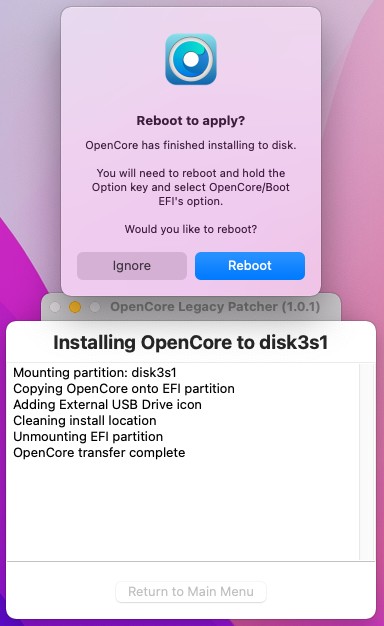
Step 19Click Install to disk button to install OpenCore to your disk.
You must install OpenCore either on your hard disk or USB flash drive (but it will always need to be inserted to run Ventura). |
 |
|
|
|
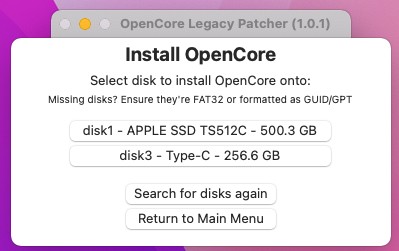
Step 20You can click your main hard disk button or your USB flash drive button.
If OpenCore Legacy Patcher is installed on a USB flash drive, it will have to be always inserted when running macOS Ventura. |
 |
|
|
|
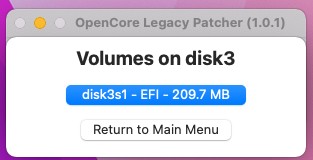
Step 21Click EFI partition. |
 |
|
|
|
Step 22Click Reboot button to restart your computer. |
 |
|
|
|
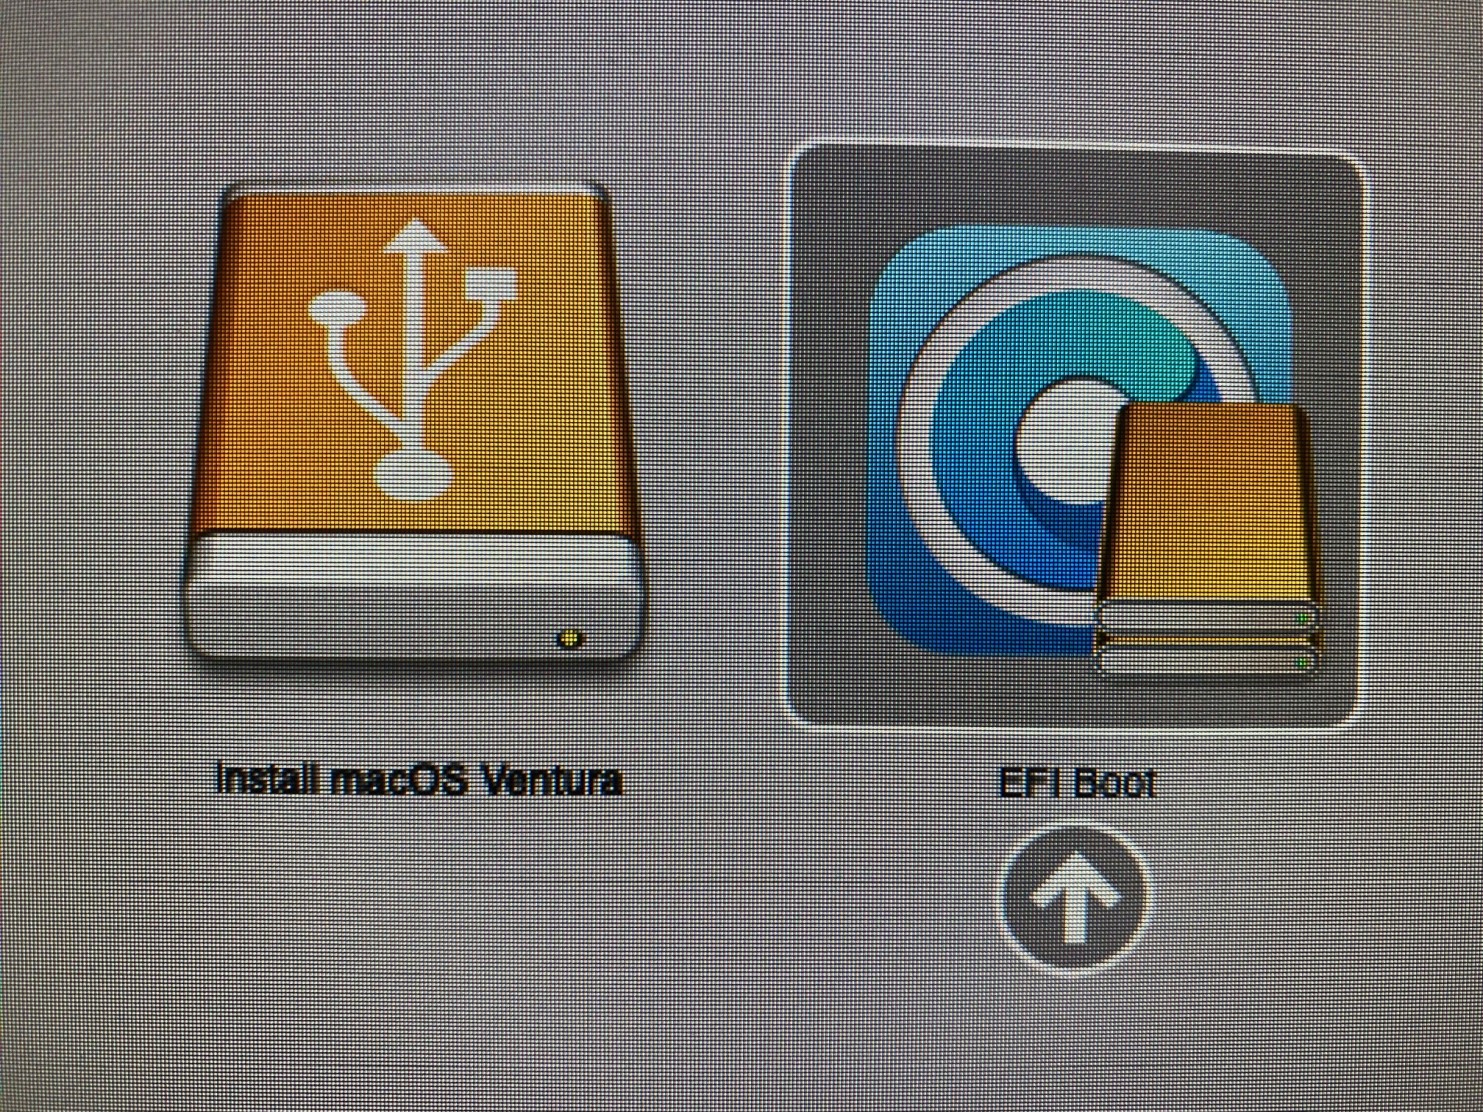
Step 23Press and hold Option key (on Mac keyboard) or ALT key (on Windows keyboard) on boot until you see standard grey boot picker and click an arrow under EFI boot.
Make sure the USB flash drive is inserted into Mac Pro built-in USB hub (front or rear). Extra USB PCIe cards won't show a bootable flash drive. |
 |
|
|
|
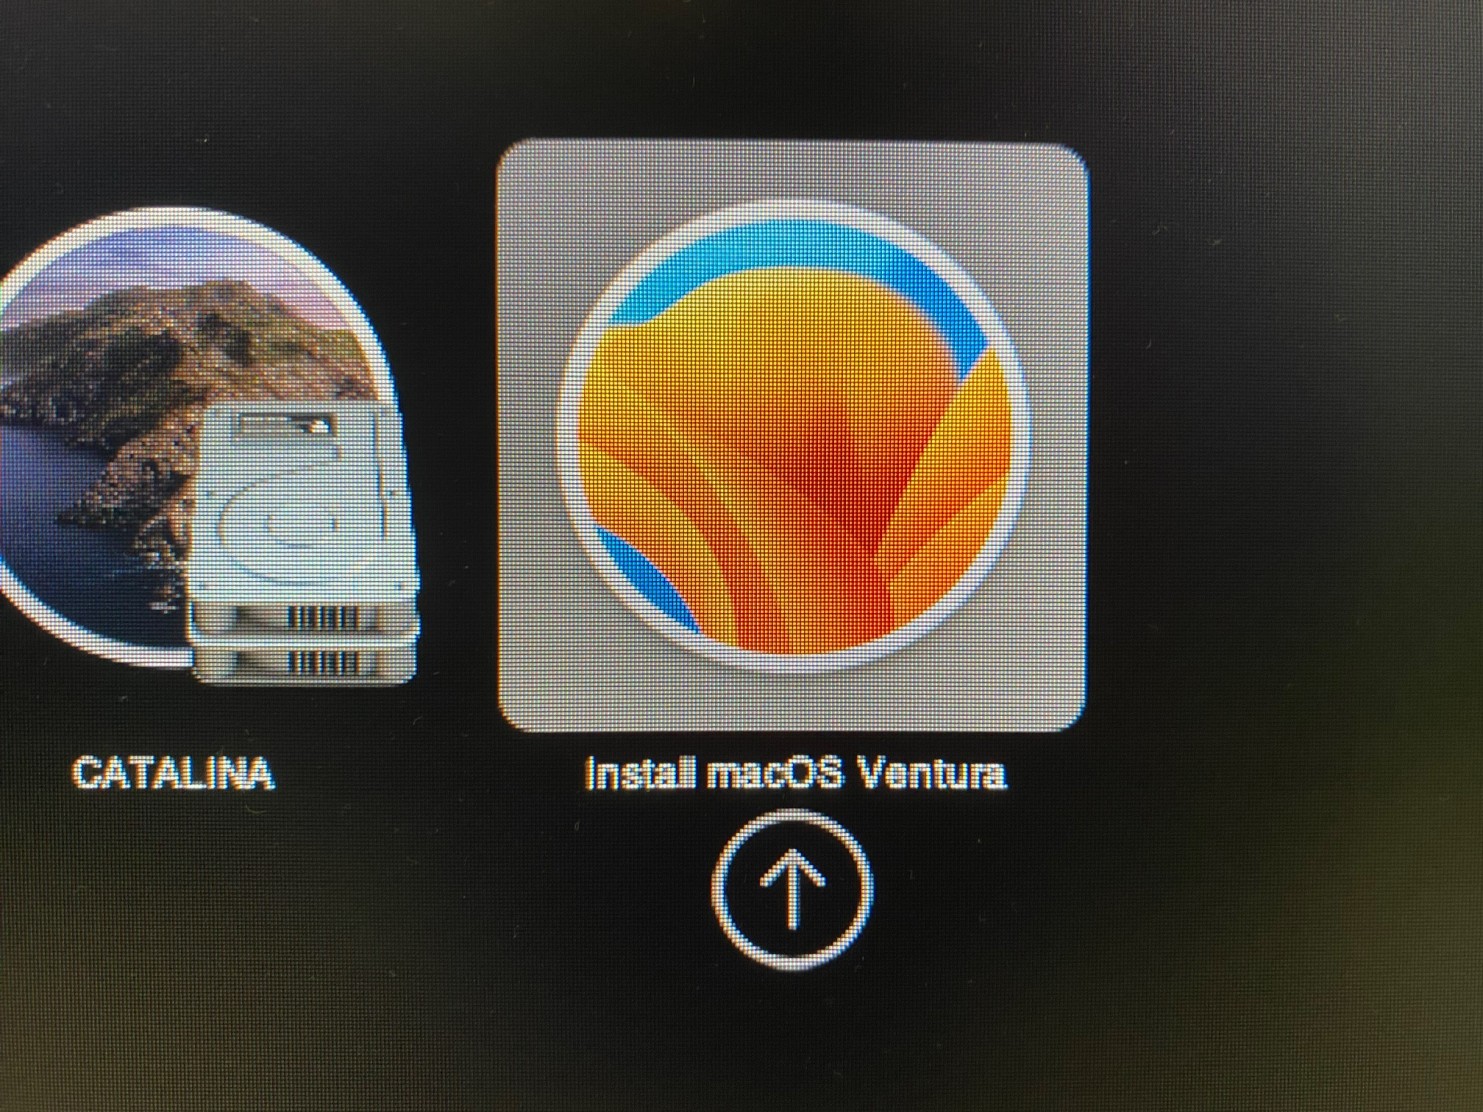
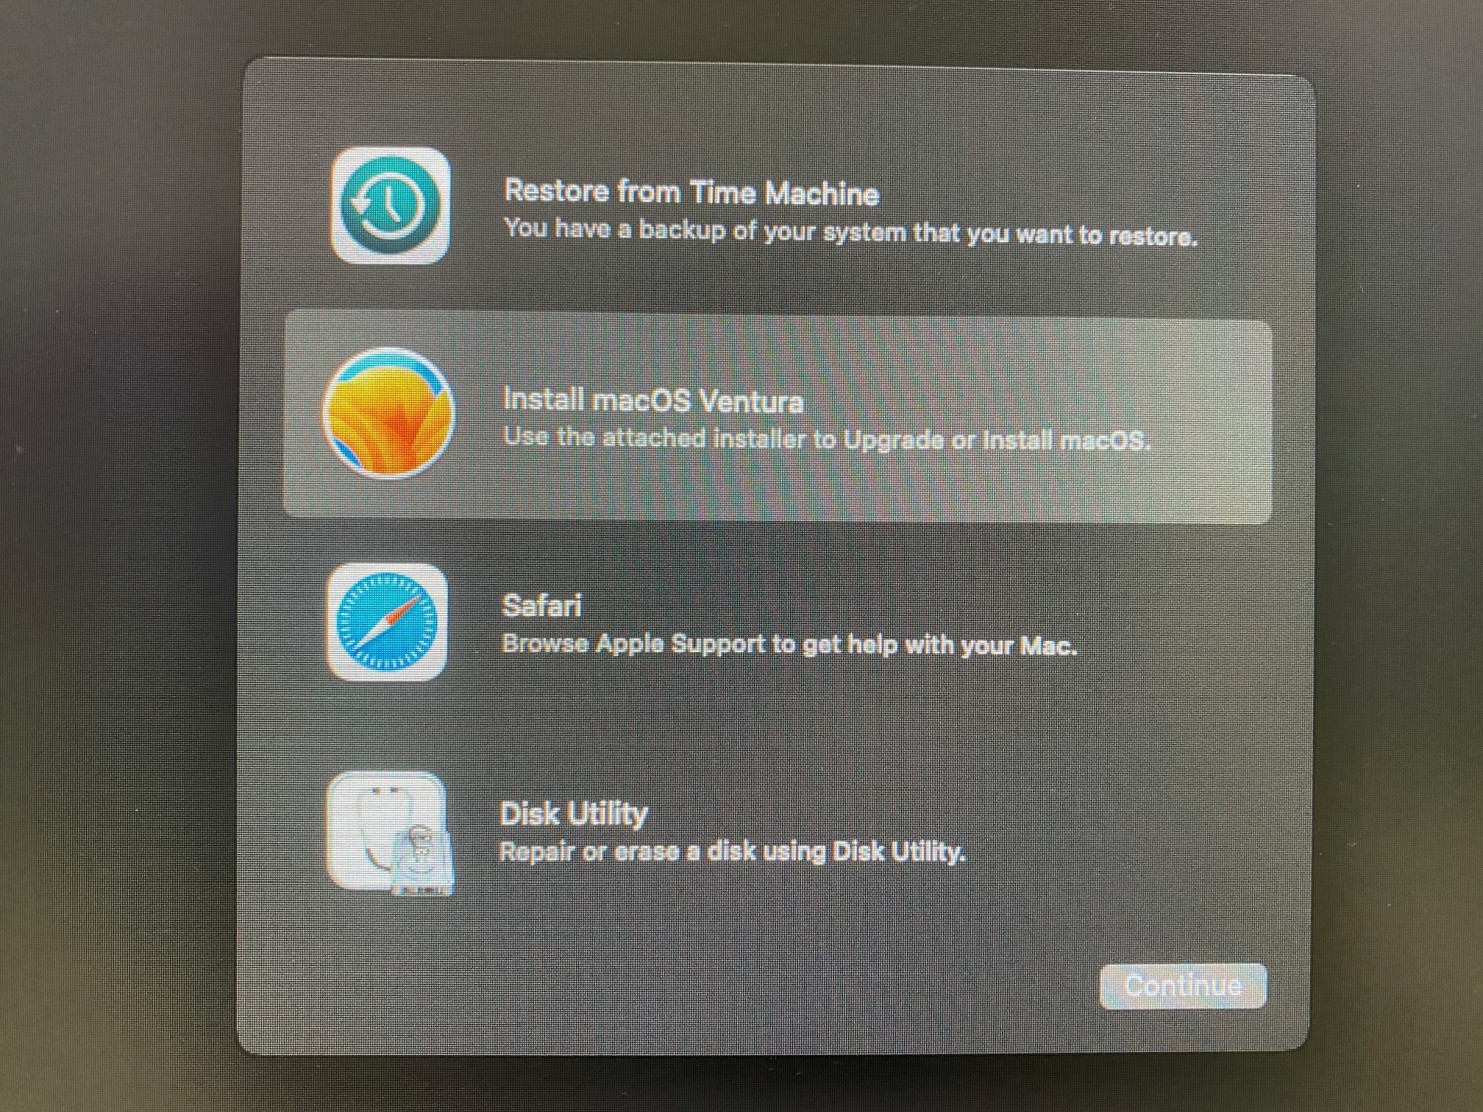
Step 24Click an arrow under Install macOS Ventura on another boot picker. |
 |
|
|
|
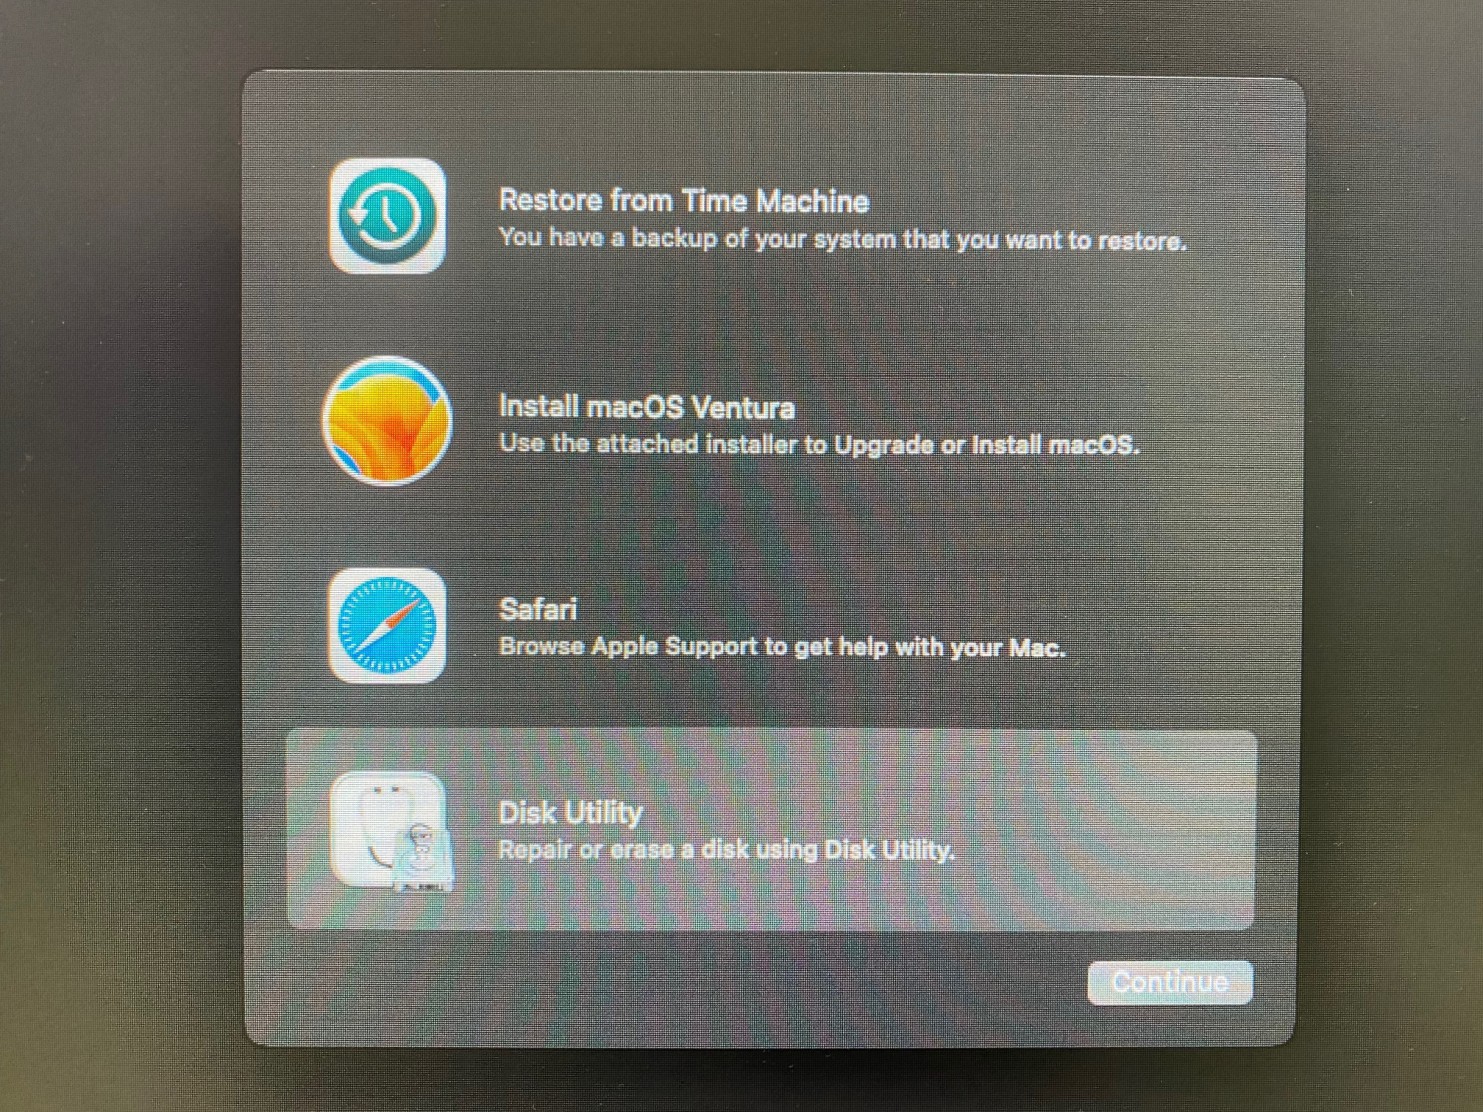
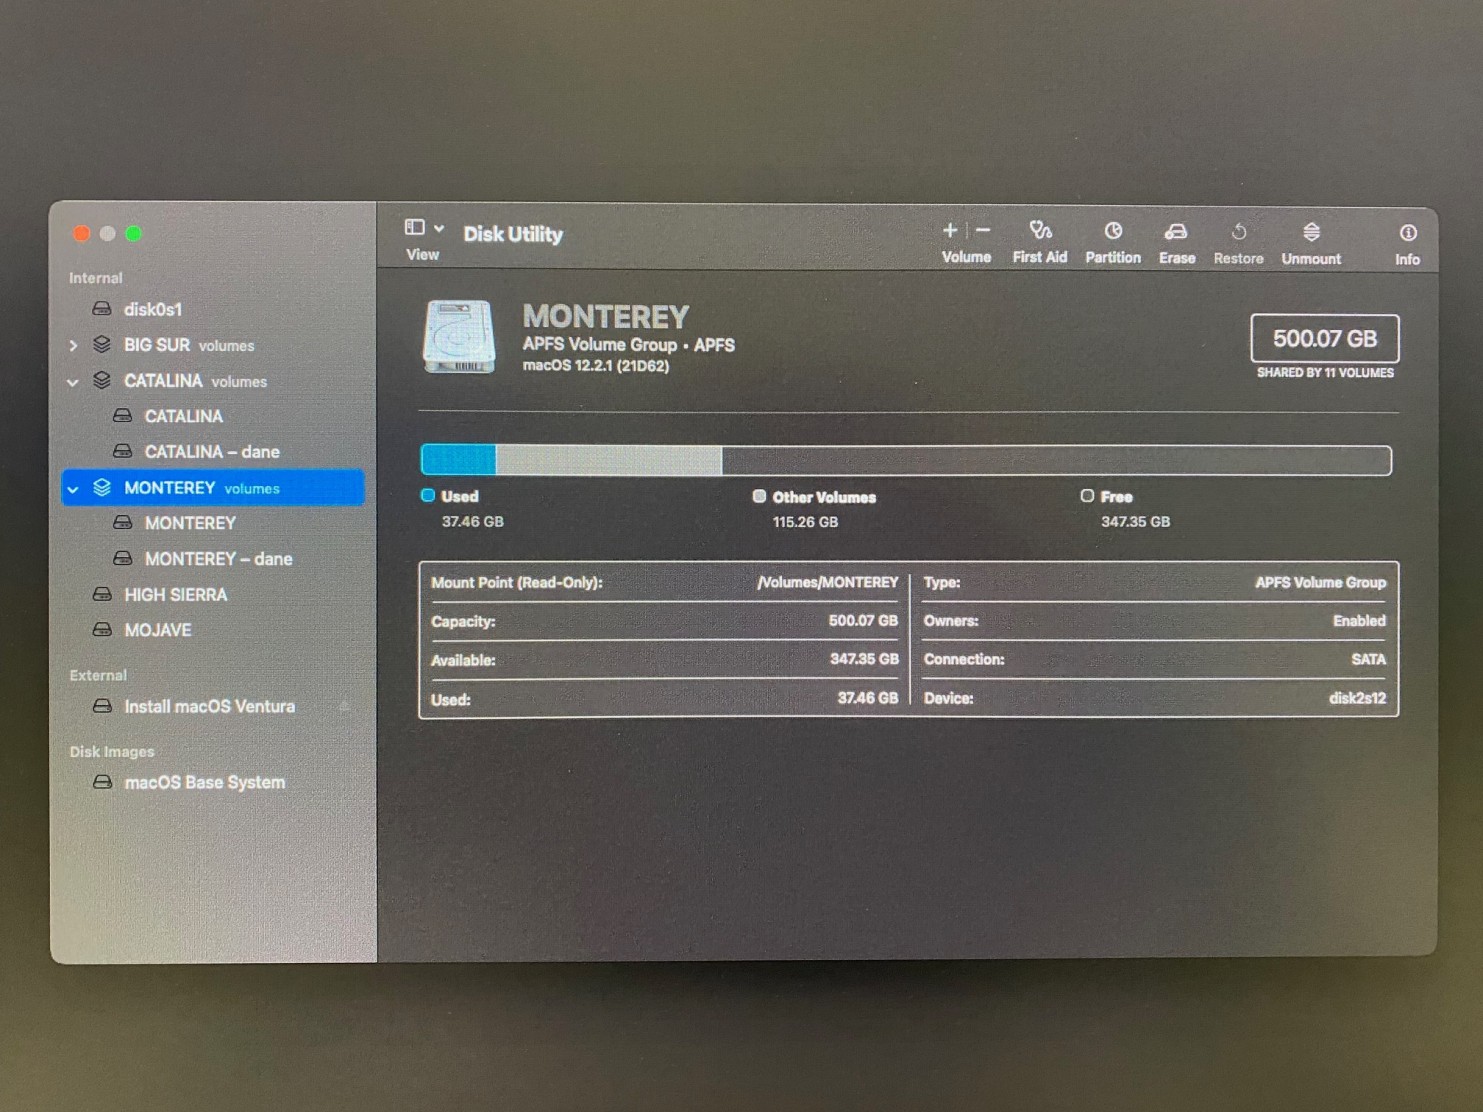
Step 25If you don't have a partition or volume for macOS Ventura yet, click Disk Utility to create one. If you already have one, please skip to step 31. |
 |
|
|
|
Step 26Choose one of the existing partitions on the left, then click Partition icon on the top bar. |
 |
|
|
|
Step 27Click + symbol to add a new partition or volume for macOS Ventura. |
 |
|
|
|
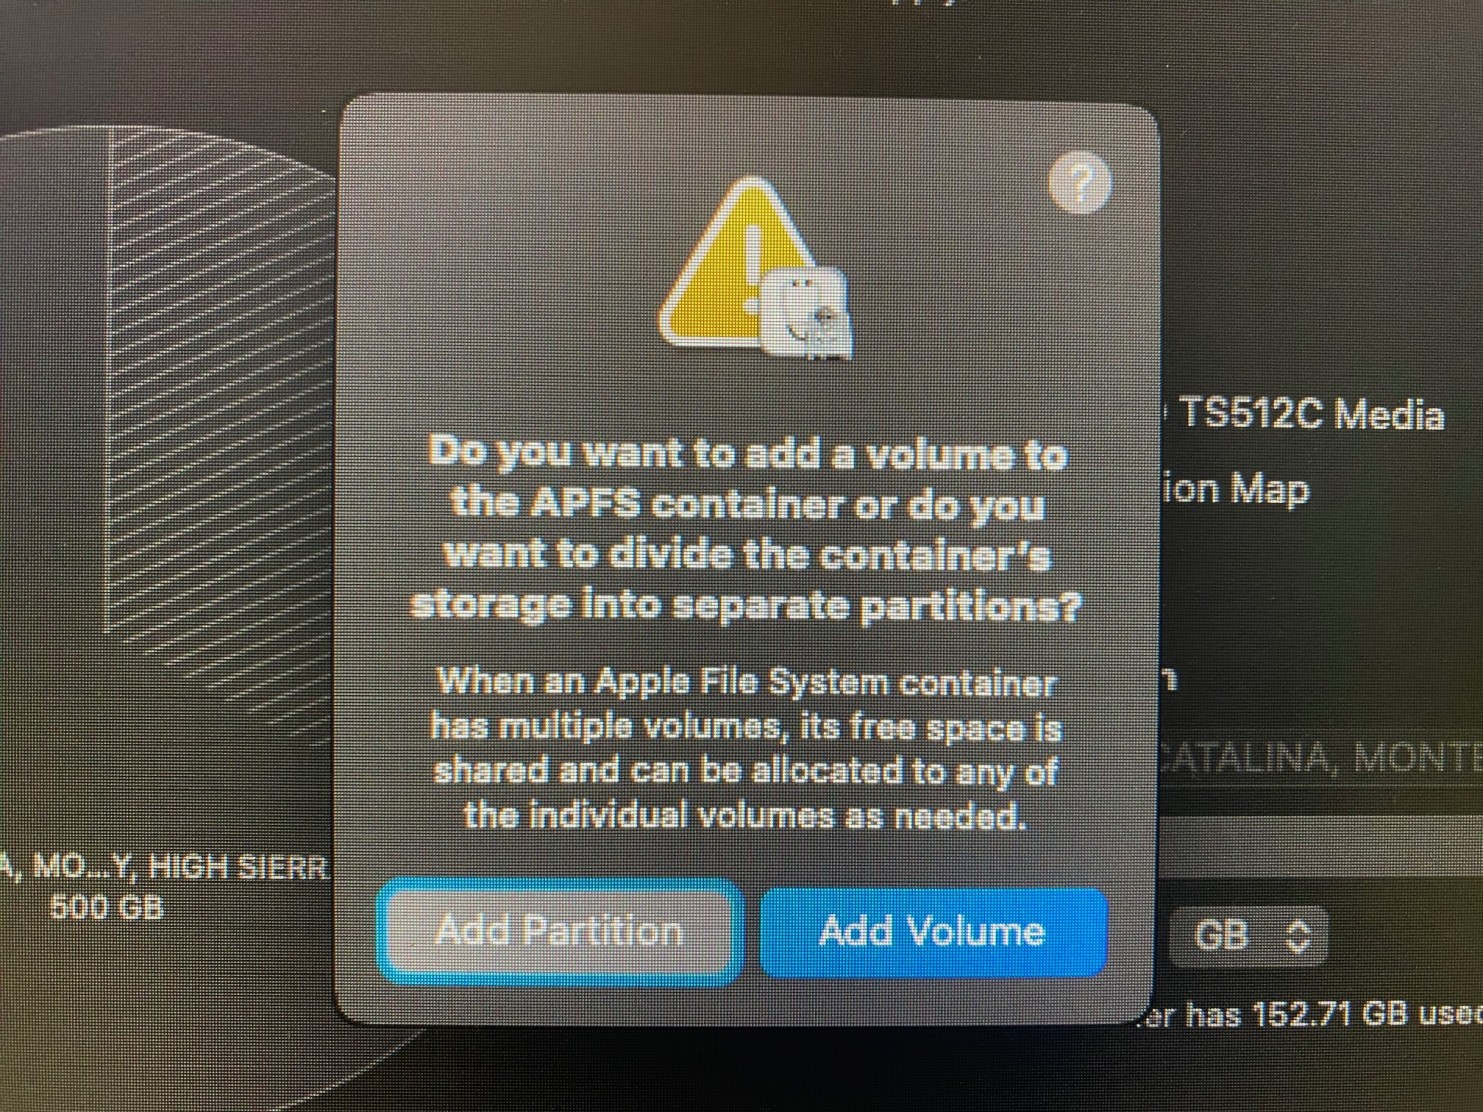
Step 28Click Add Volume button to add another volume to existing APFS container.
Click Add Partition if you're installing macOS Ventura on a blank drive. |
 |
|
|
|
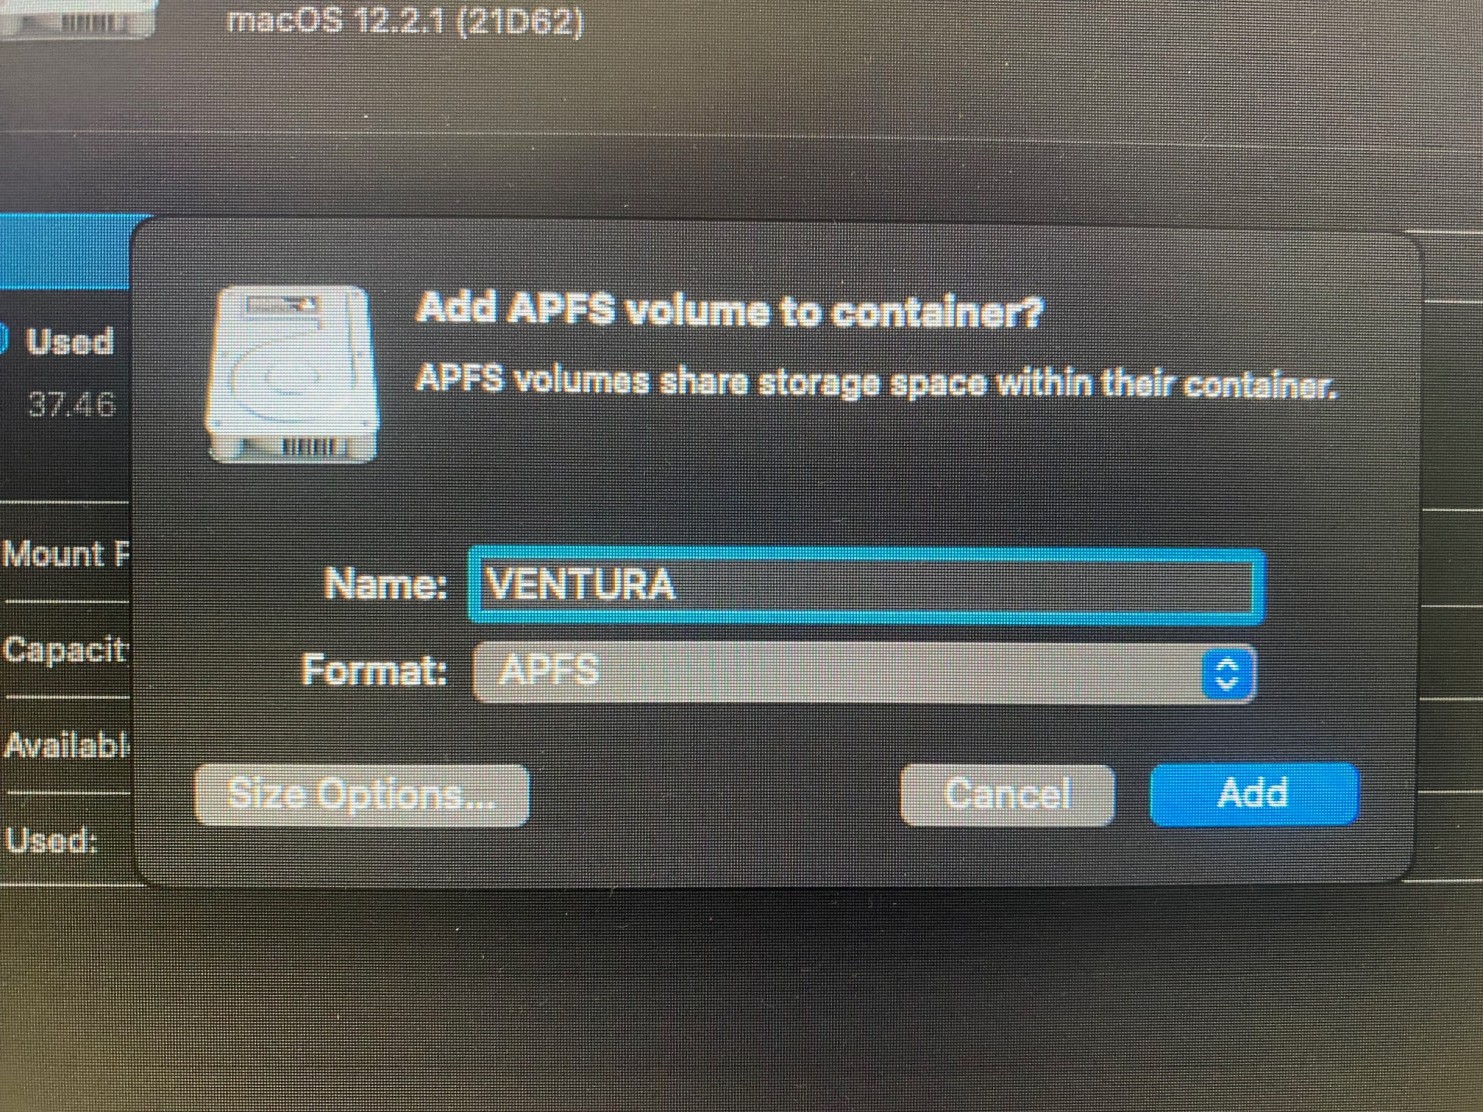
Step 29Type any name in Name field e.g. VENTURA.
Leave the format as APFS and click Add button. |
 |
|
|
|
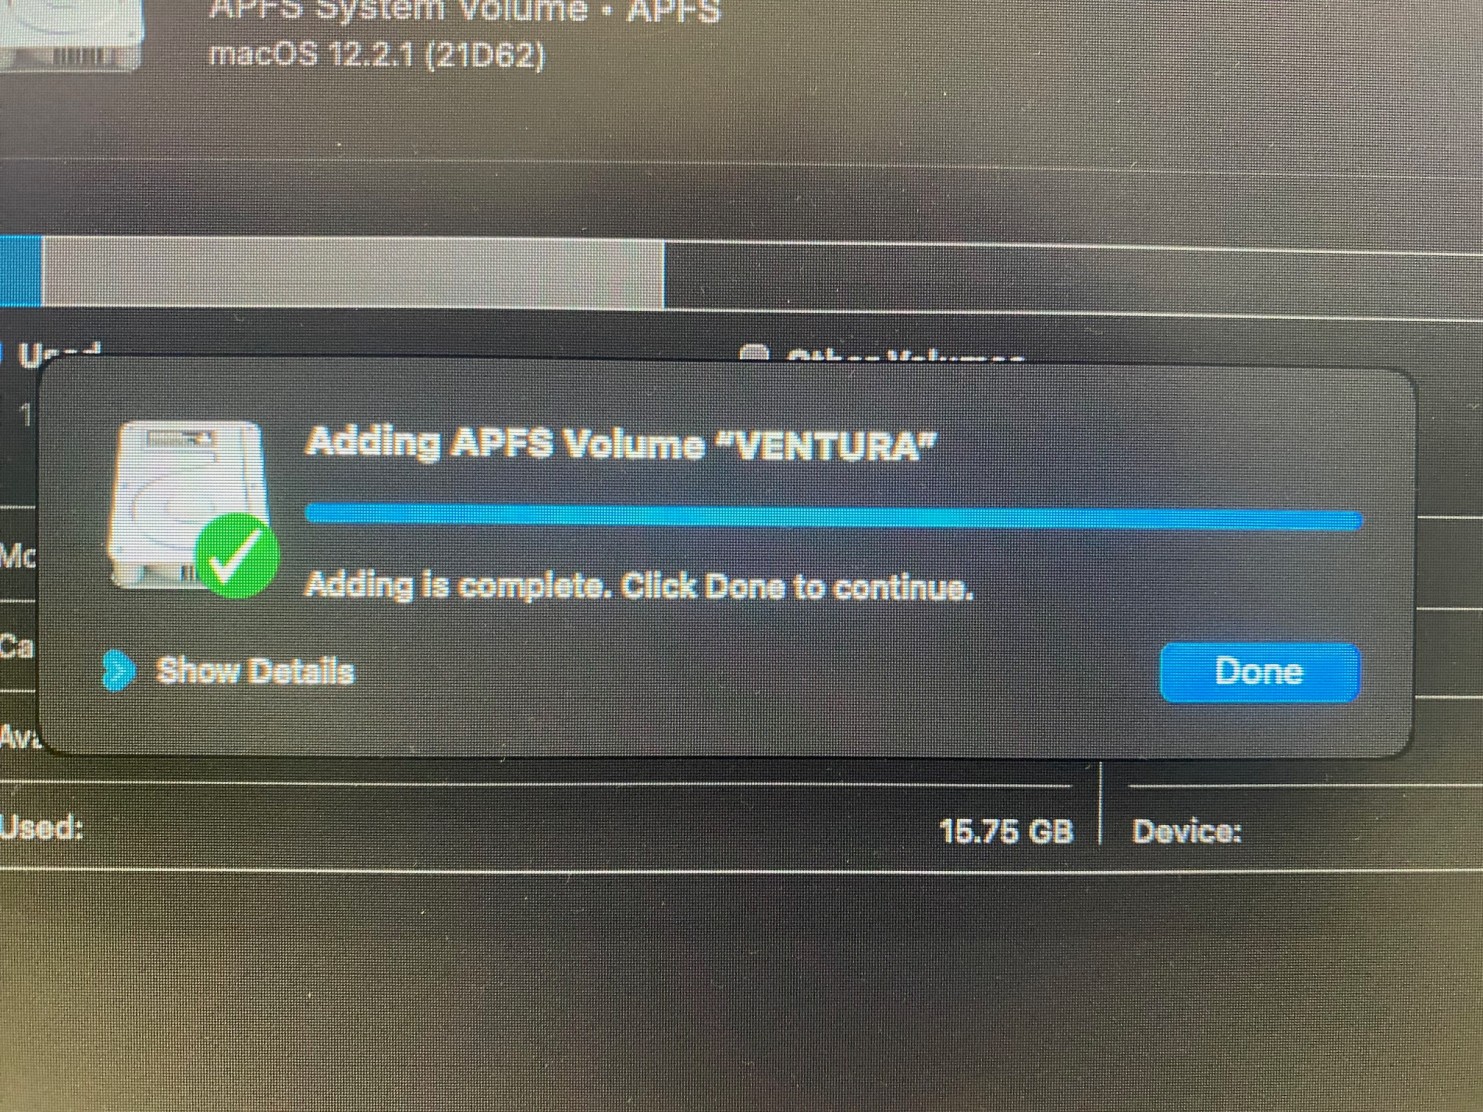
Step 30Volume will be added to existing APFS container.
Just click Done button.
You can now safely close Disk Utility. |
 |
|
|
|
Step 31Click Install macOS Ventura to start the installation. |
 |
|
|
|
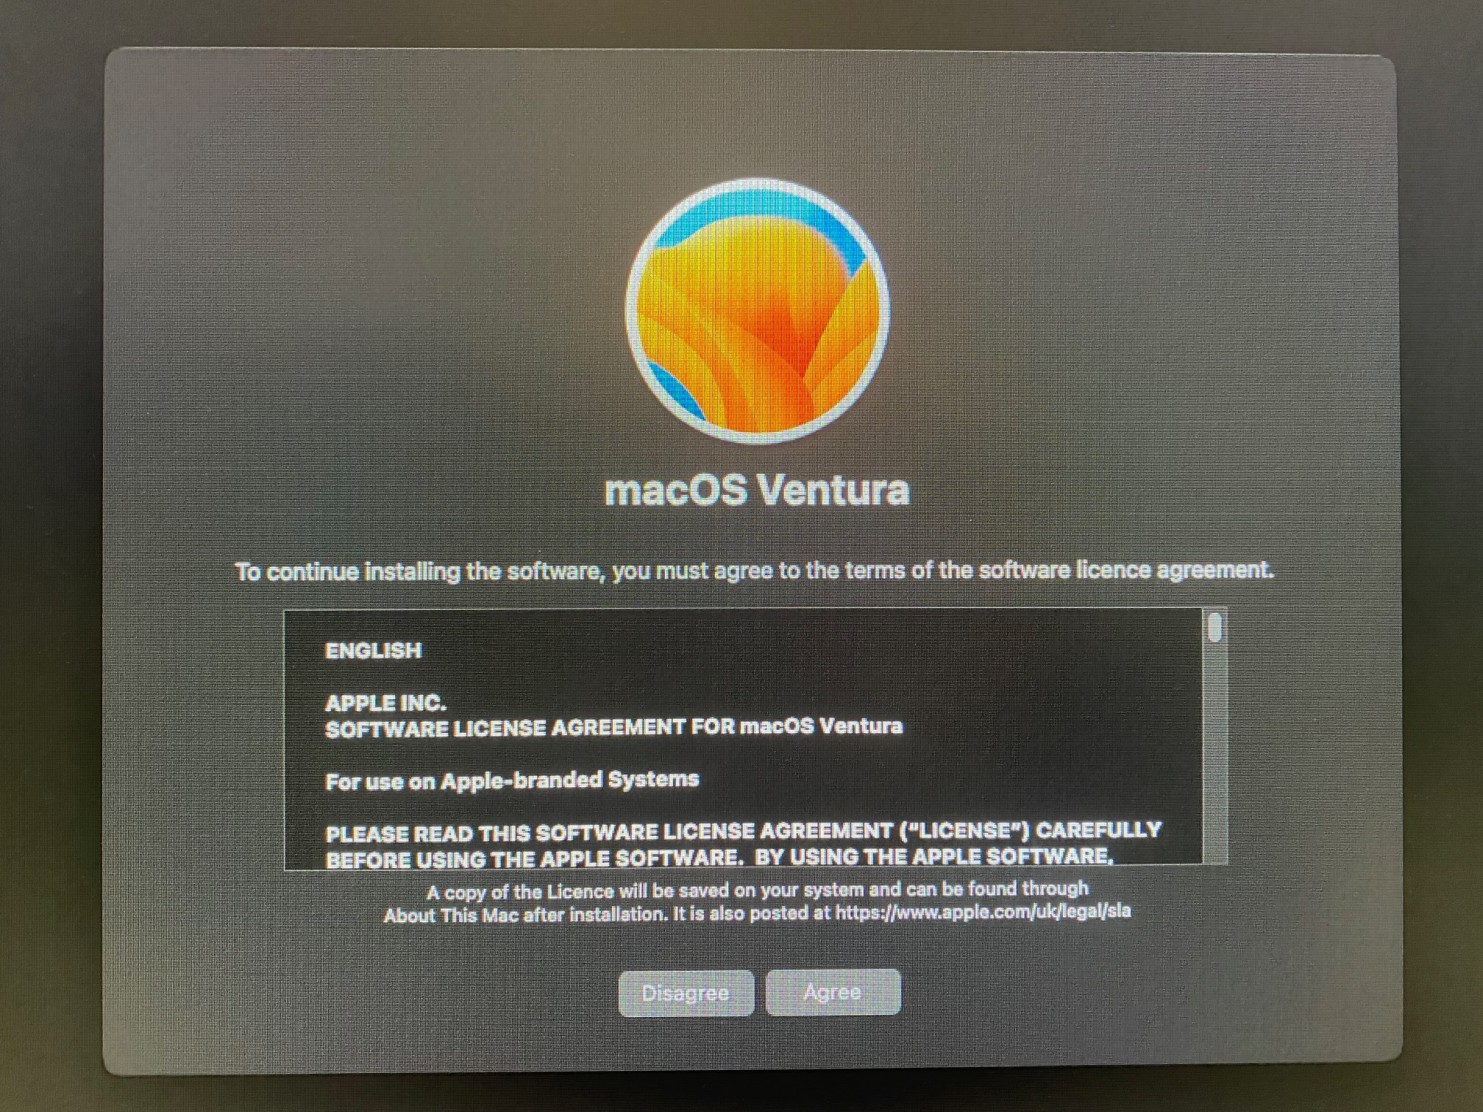
Step 32Click Continue button on installer splash screen. |
 |
|
|
|
Step 33Click Agree button on software licence agreement screen. |
 |
|
|
|
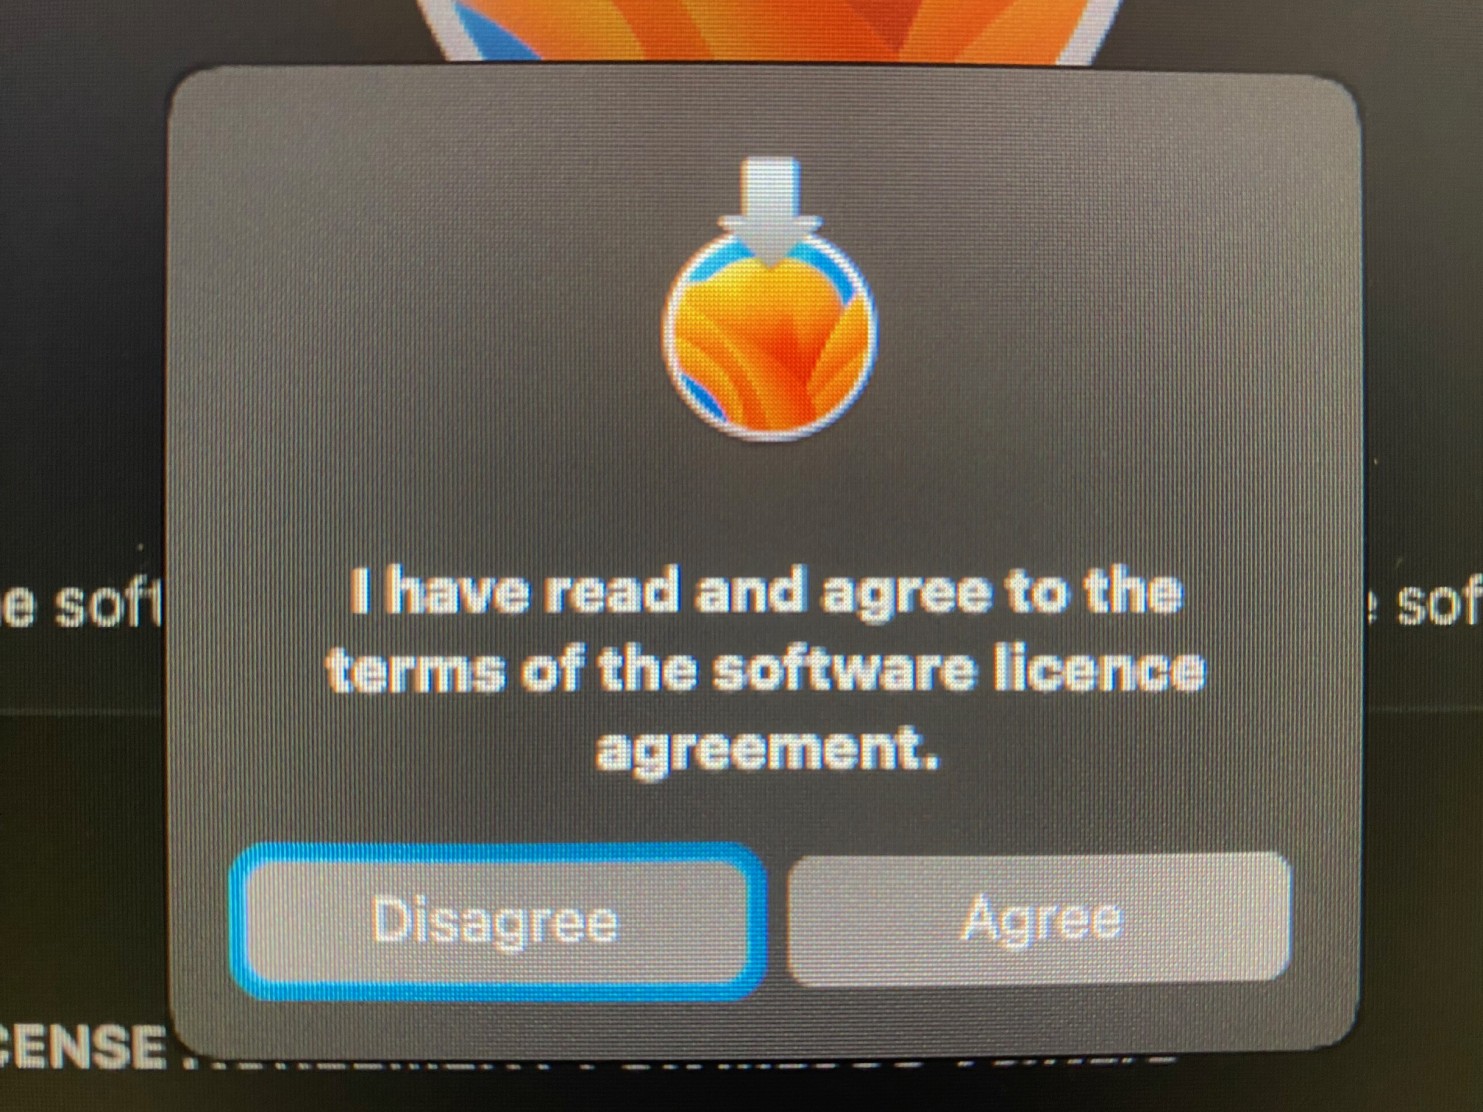
Step 34Again click Agree button. |
 |
|
|
|
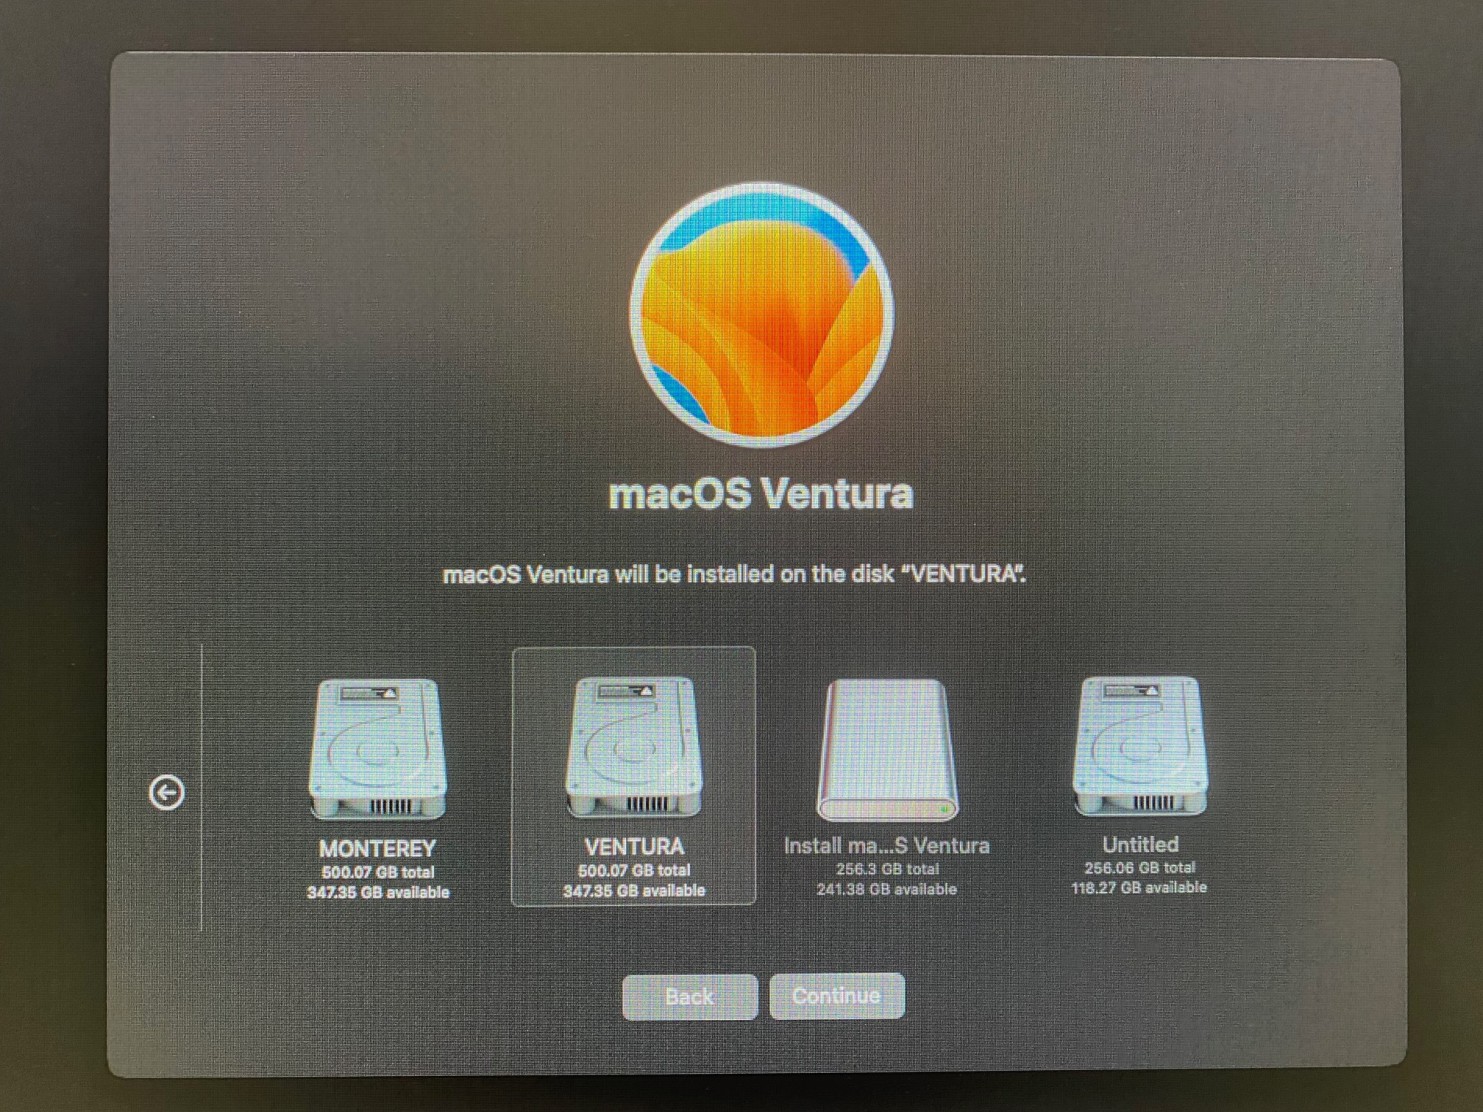
Step 35Choose your new VENTURA volume and click Continue button to continue the installation. The system will be rebooted automatically several times. It might take about an hour to fully install macOS Ventura. |
 |
|
|
|
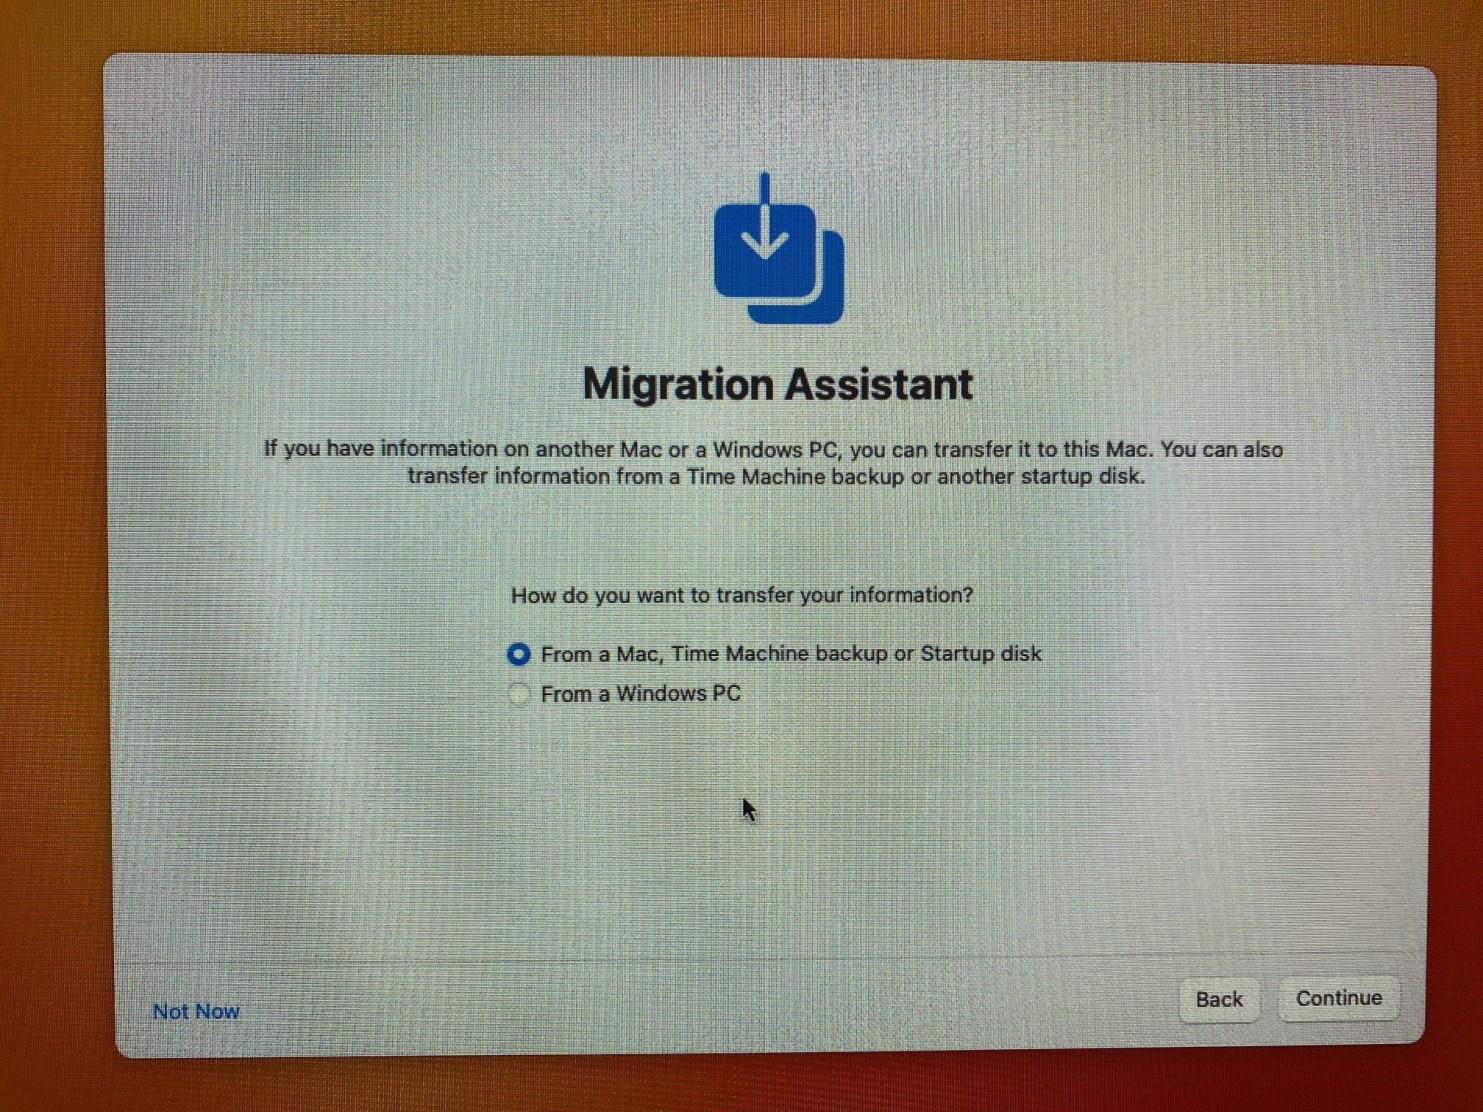
Step 36When the installation is ready you will be presented with Migration Assistant. Leave the default radio button as is and just click Continue button.
If you want to make a clean installation, just click Not Now in the left lower corner. |
 |
|
|
|
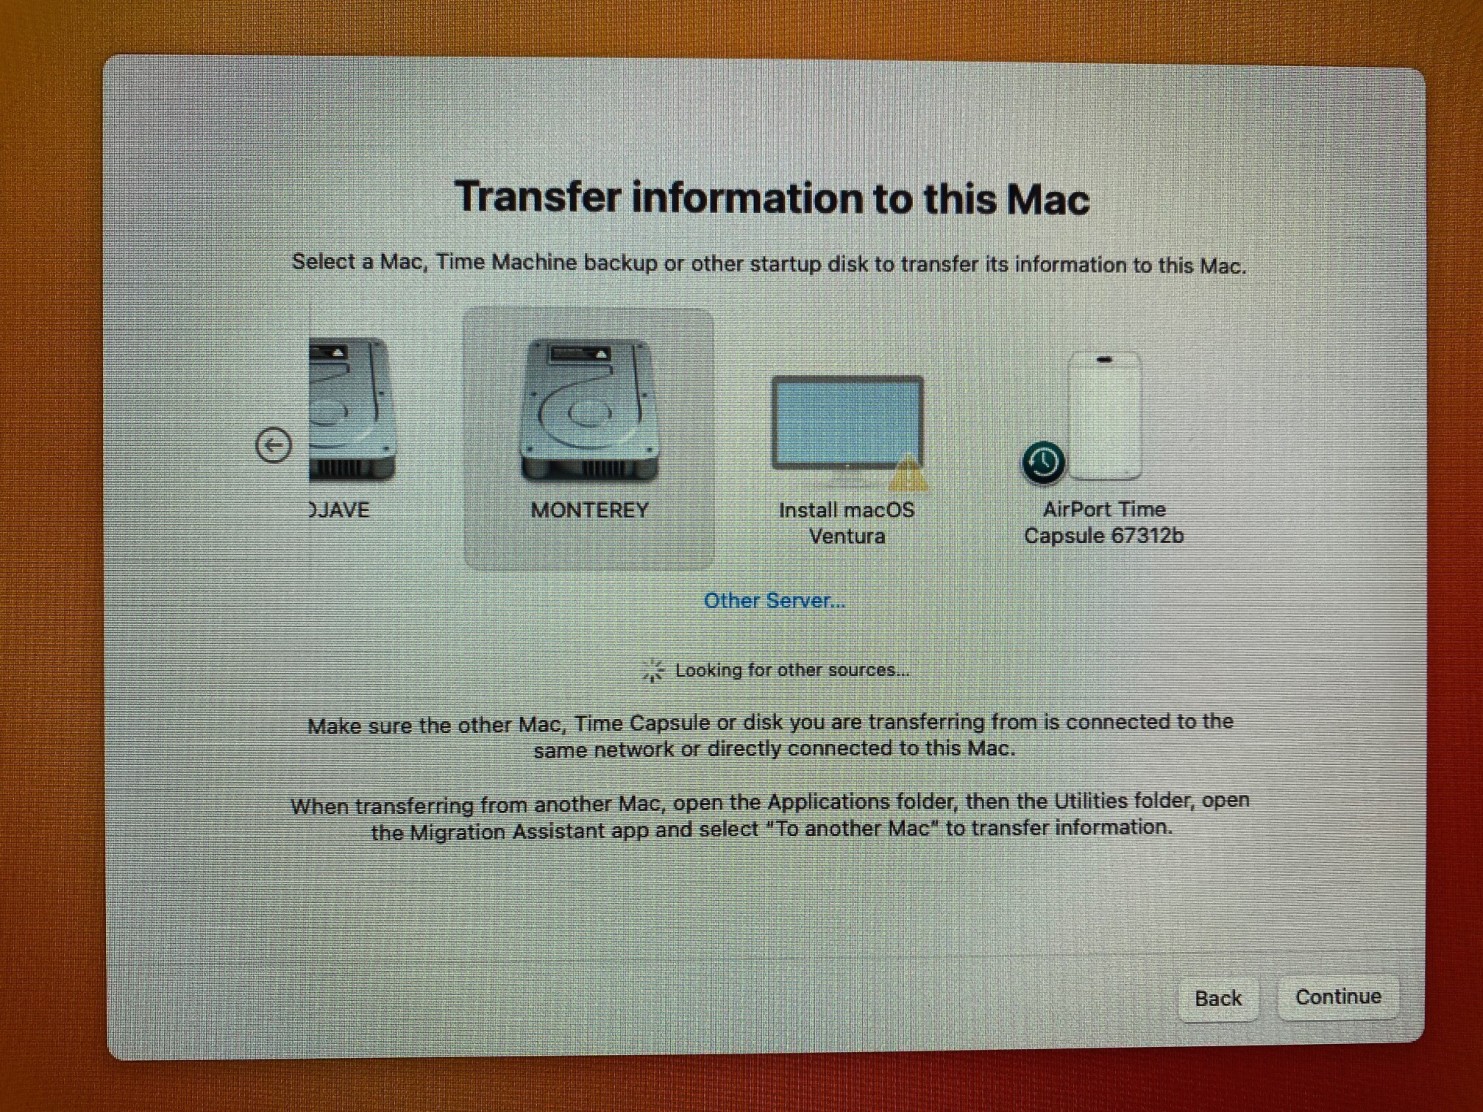
Step 37Now you can move data from your old macOS installation. Click your previous macOS drive and then Continue button.
As soon your data is moved you will see macOS Ventura desktop. Make sure to always boot macOS Ventura from a second OpenCore boot picker (set by default). To see it just click EFI boot on a default boot picker.
Please note that default boot picker might also change its background from grey to black, but its functionality remains.
If you recently switched your graphics card to another model or upgraded macOS and there is no acceleration (everything is slow and Wi-Fi/Bluetooth doesn't work) you need to launch OpenCore Legacy Patcher again and click Post-Install Root Patch button. Post reboot everything would be working perfectly. Please see our guide. |
 |