
Upgrading major Windows 11 version on Mac Pro 4,1/5,1 (2010-2012), Mac Pro 6,1 (2013) and Mac Pro 7,1 (2019)
In order to upgrade major Windows 11 version e.g. from build 24H2 to 25H2 (which would not be carried out automatically, because none of Macs are officially supported), you need to recreate your Windows 11 USB flash drive for the latest version using our guide: Creating Windows 11 installer USB flash drive.
You can also use this guide to upgrade Windows 10 to Windows 11 on a Mac Pro 3,1/4,1/5,1 and keep all data and settings untouched.
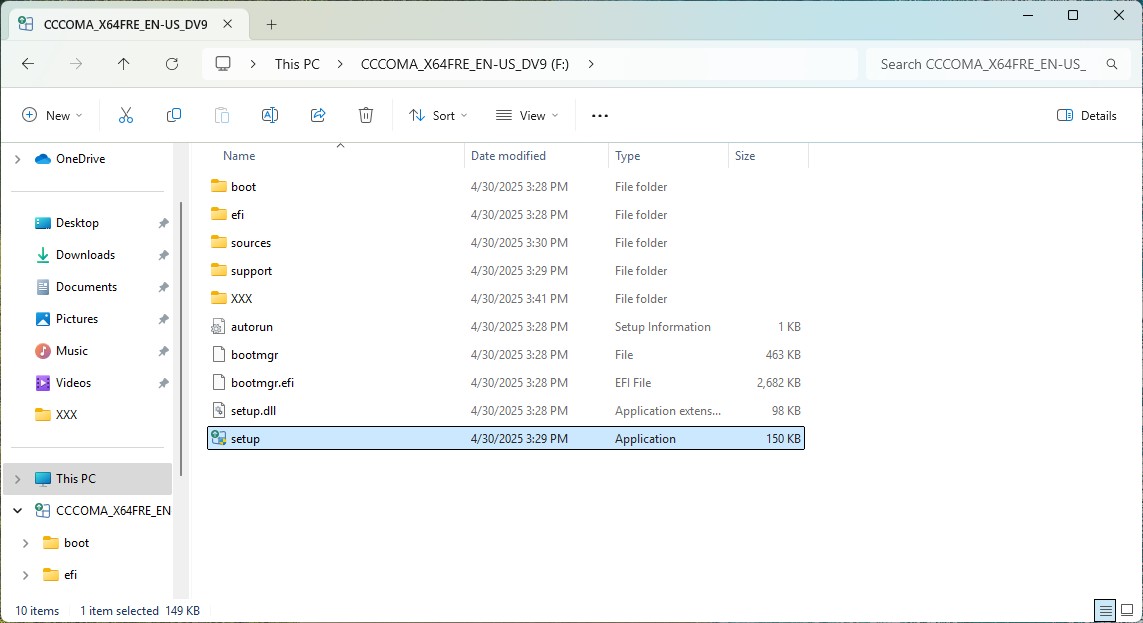
Step 1Run your current Windows 11 version and open contents of the USB flash drive and double-click setup.exe file to launch Windows 11 installer. |
 |
|
|
|
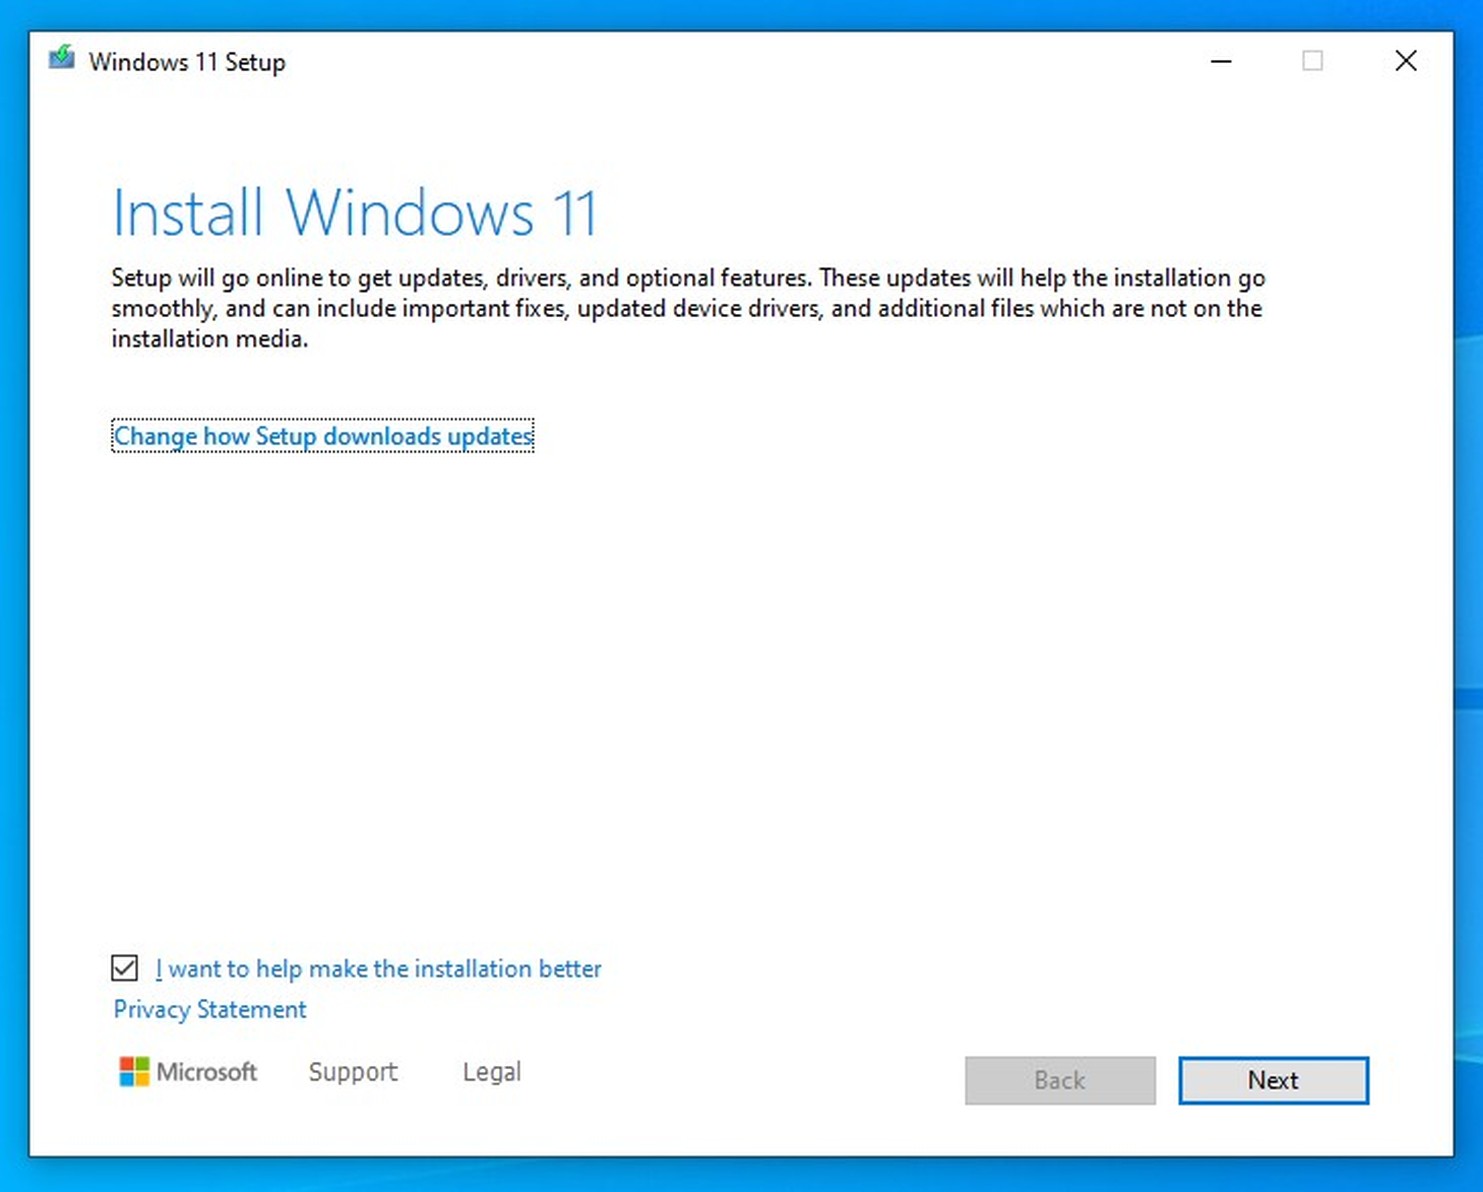
Step 2Before the upgrade we need to disable Windows 11 installer updates first, to prevent new updates disable our unsupported machine patches, making the upgrade impossible.
Click Change how Setup downloads updates link. |
 |
|
|
|
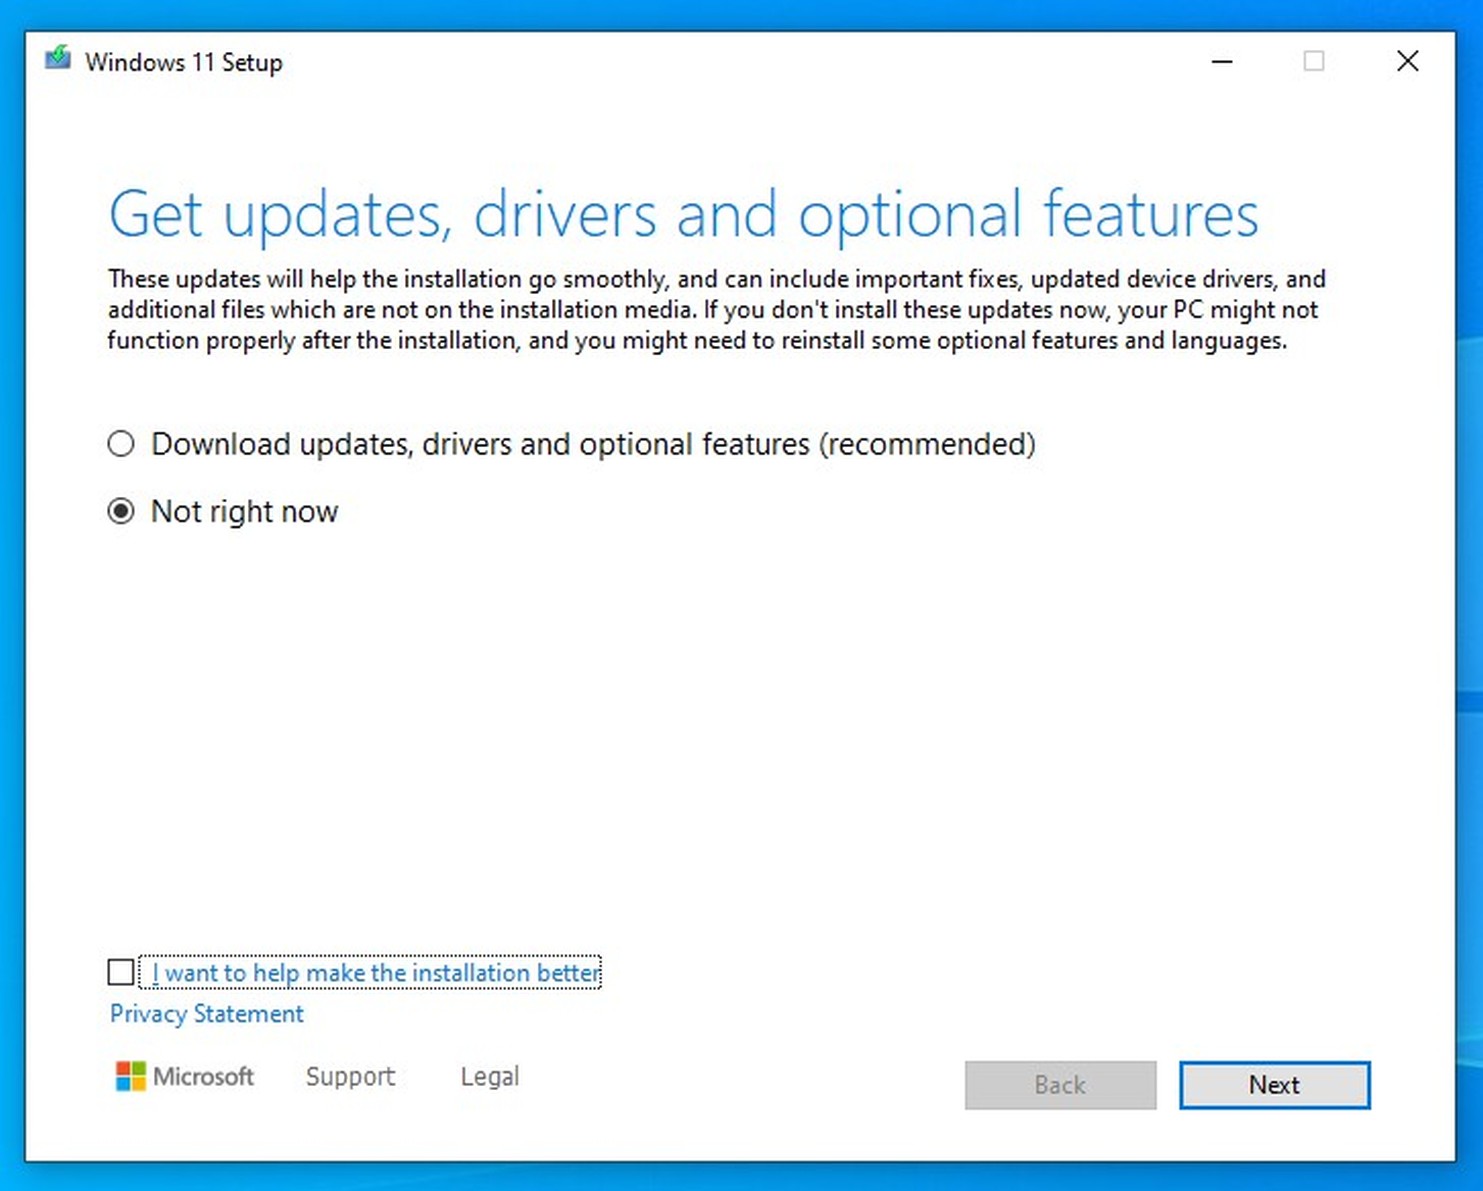
Step 3Click Not right now radio button, as well as uncheck I want to help make the installation better checkbox and click Next button to continue. |
 |
|
|
|
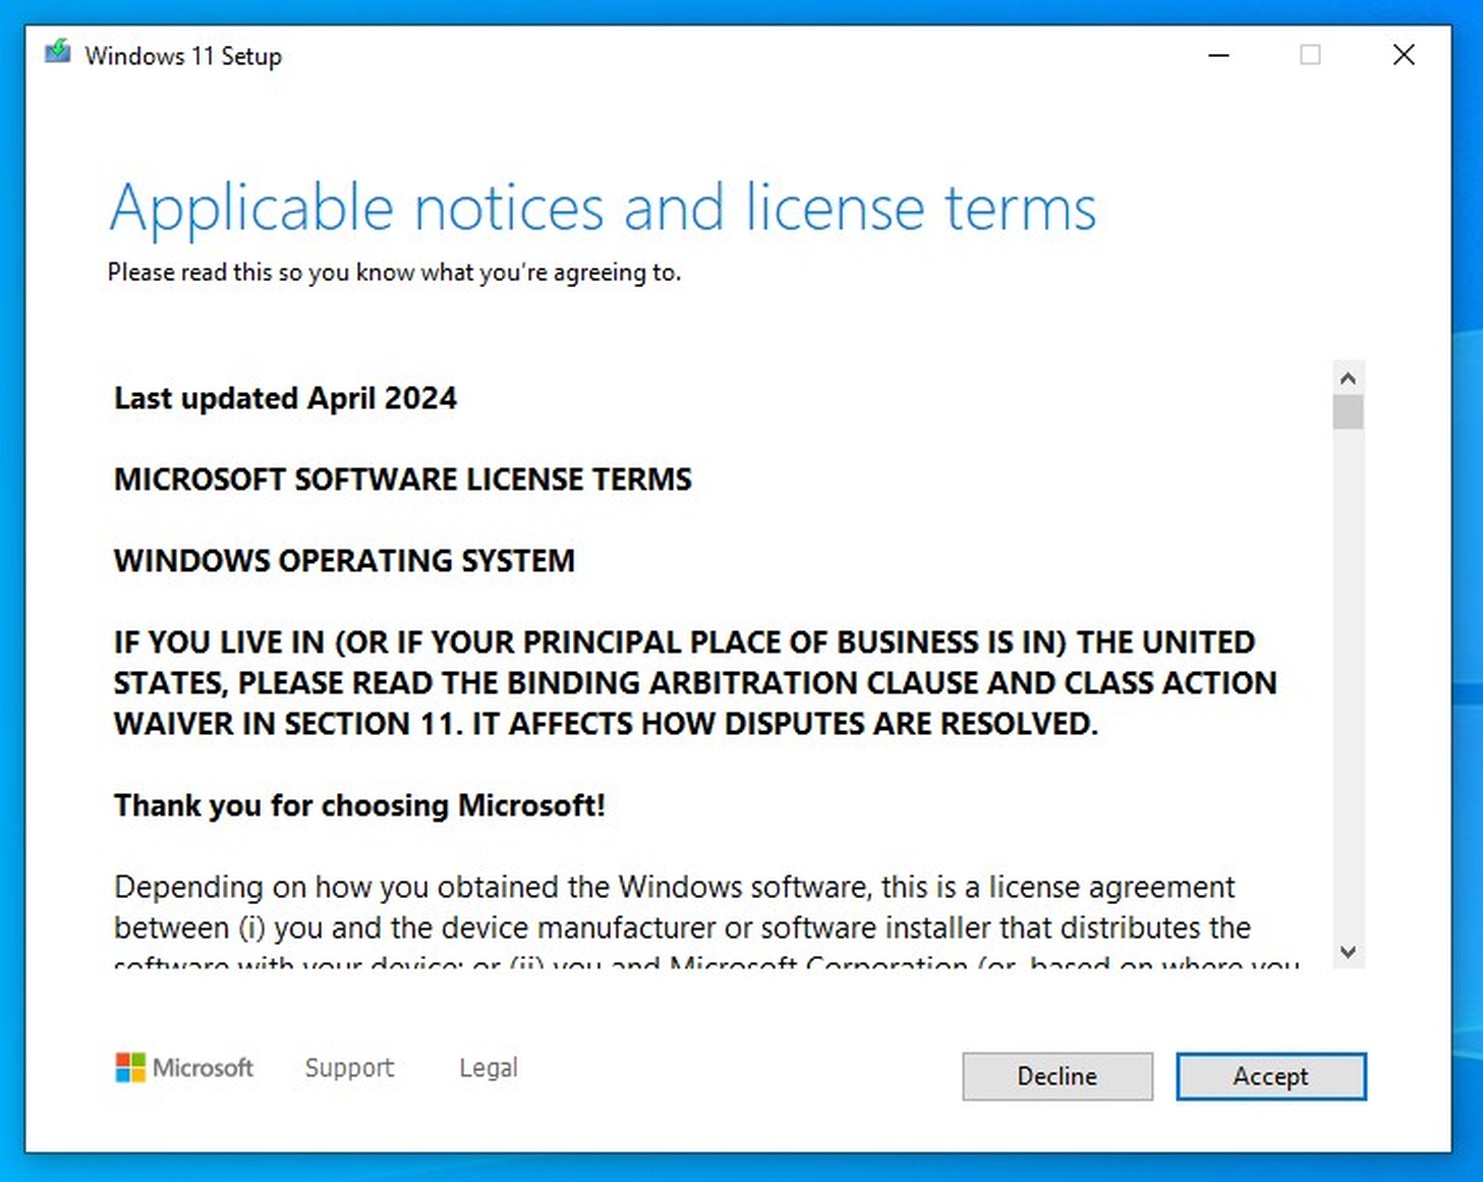
Step 4Read the licence agreement and click Accept button to continue. |
 |
|
|
|
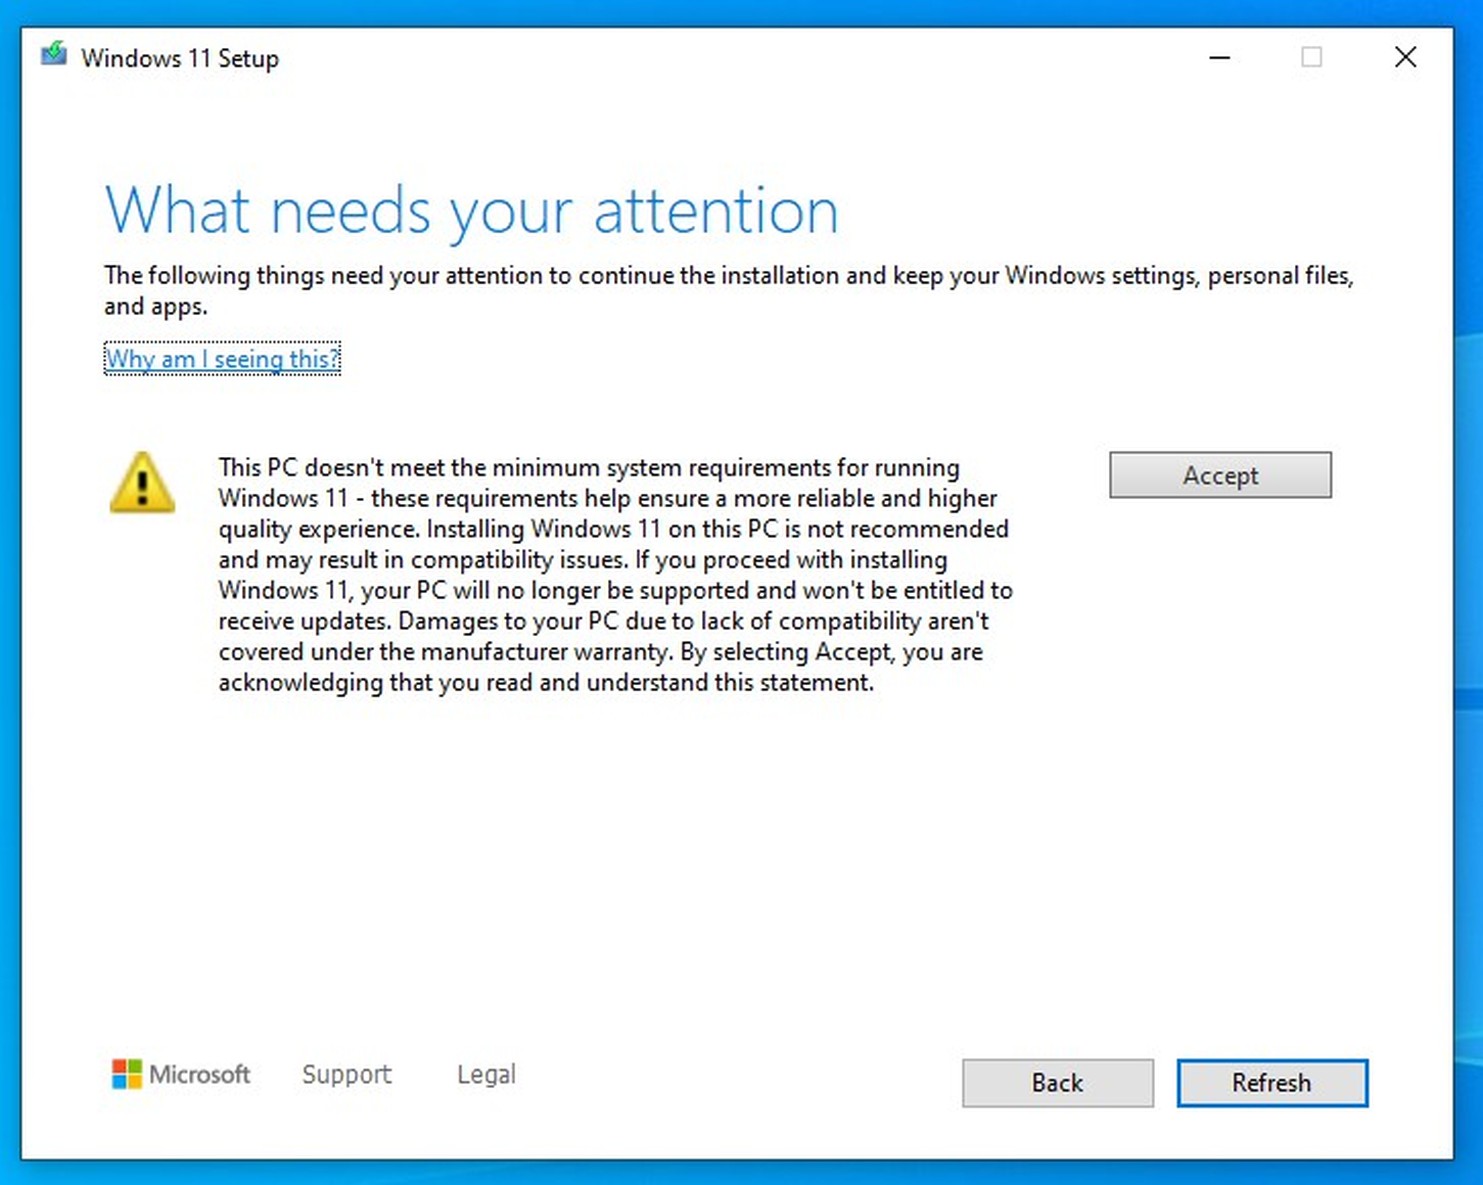
Step 5You will be warned, that your system does not meet the minimum system requirements, but since it's patched, you can safely click Accept button. |
 |
|
|
|
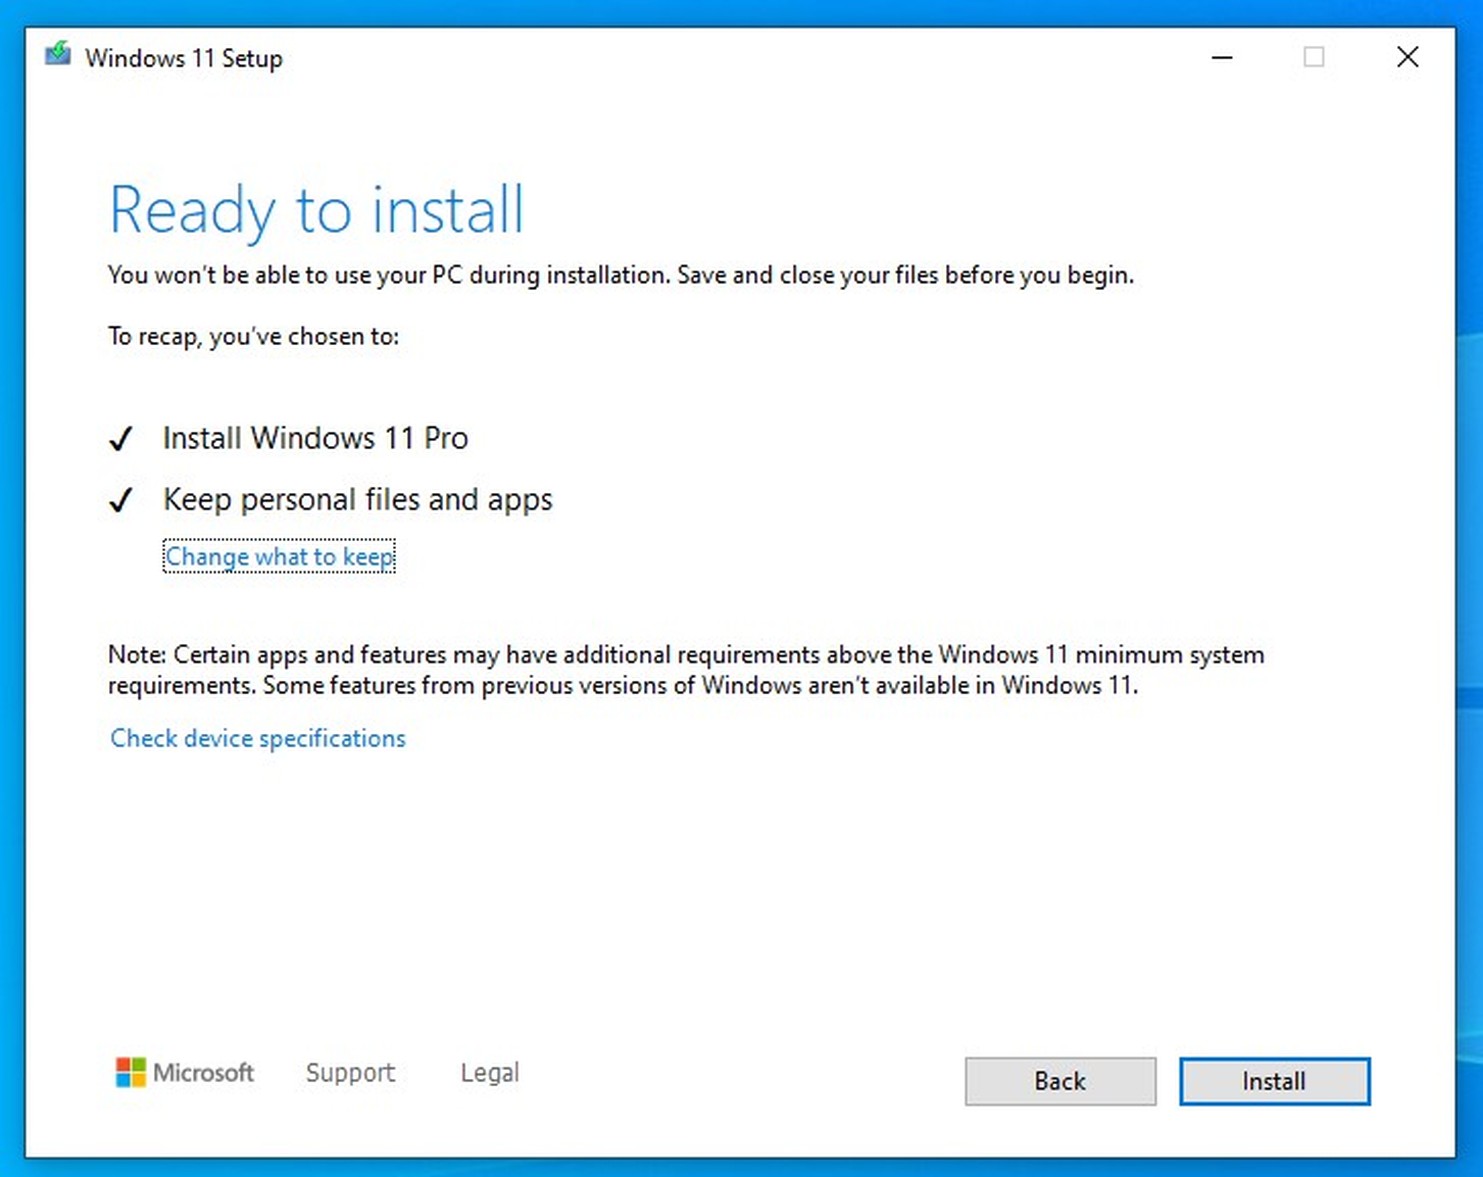
Step 6The installer would automatically choose proper version of Windows depending on your current version of Windows 11.
Make sure the Windows 11 USB flash drive was created, using the same language you've used for Windows 10 installation e.g. US English is not the same as English International, otherwise there would be only an option to Keep personal files only, while settings and apps would be deleted.
Click Install button to start the upgrade. |
 |
|
|
|
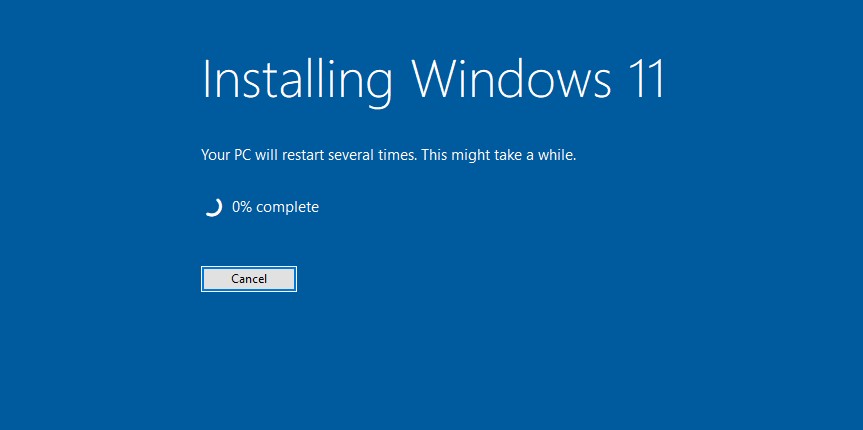
Step 7The installer would start the update process, which takes around 30-40 minutes to complete. The computer would be automatically restarted and you will be presented with Windows 11 desktop. |
 |