
Installing Windows 11 on Mac Pro 7,1 (2019)
To install Windows 11 on an Apple Mac Pro 7,1 (2019) you need to first install Windows 10 using our guide: Installing Windows 10 on Mac Pro 7,1 (2019).
Then, you need to create a patched Windows 11 USB flash drive using another guide: Creating Windows 11 installer USB flash drive.
You must use the HDMI port for the installation. Post installation it could be later switched to Thunderbolt 3 connection.
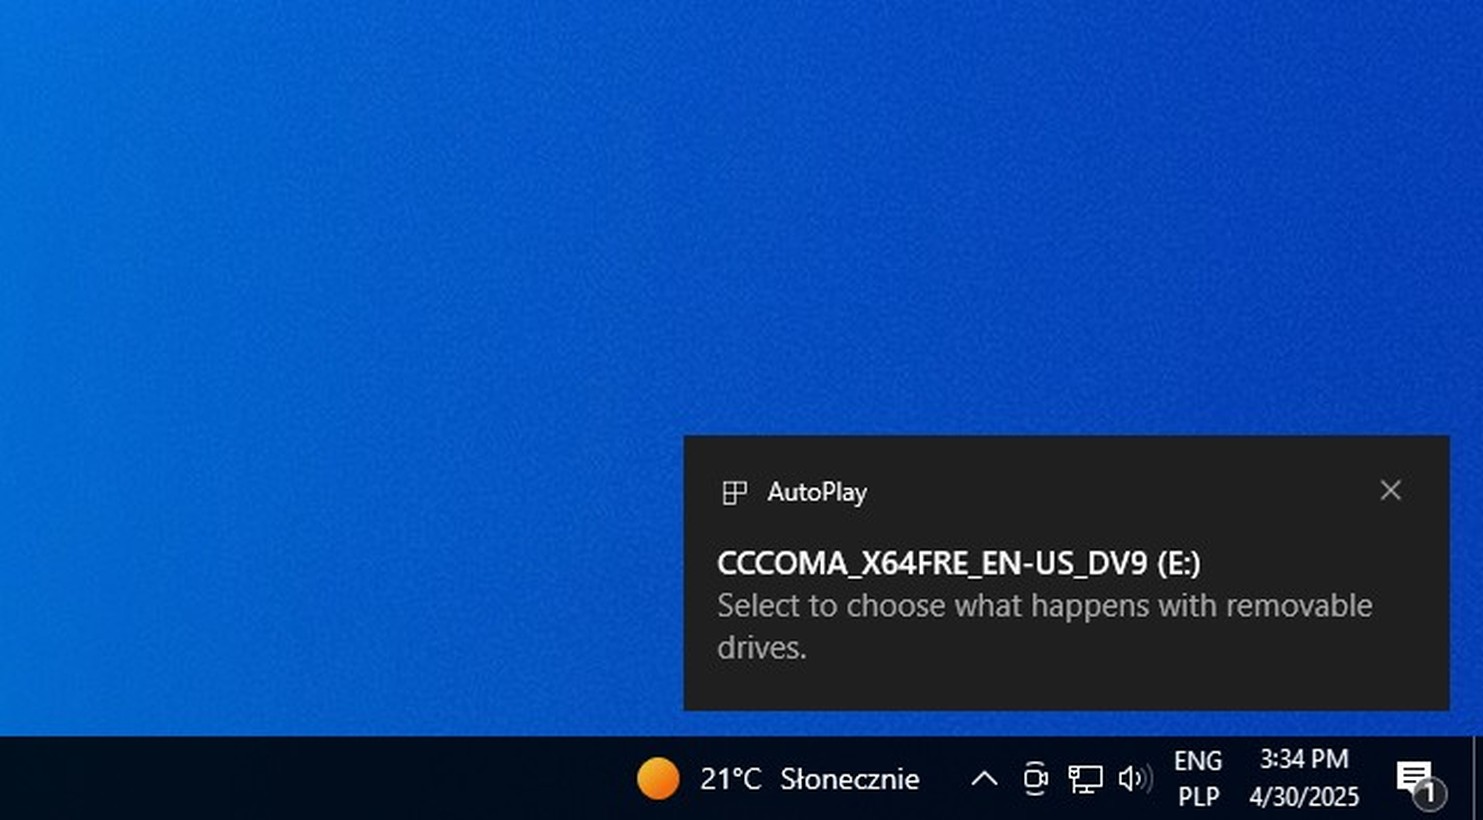
Step 1Insert a USB flash drive with Windows 11 and click the AutoPlay prompt in the right lower corner of the screen. |
 |
|
|
|
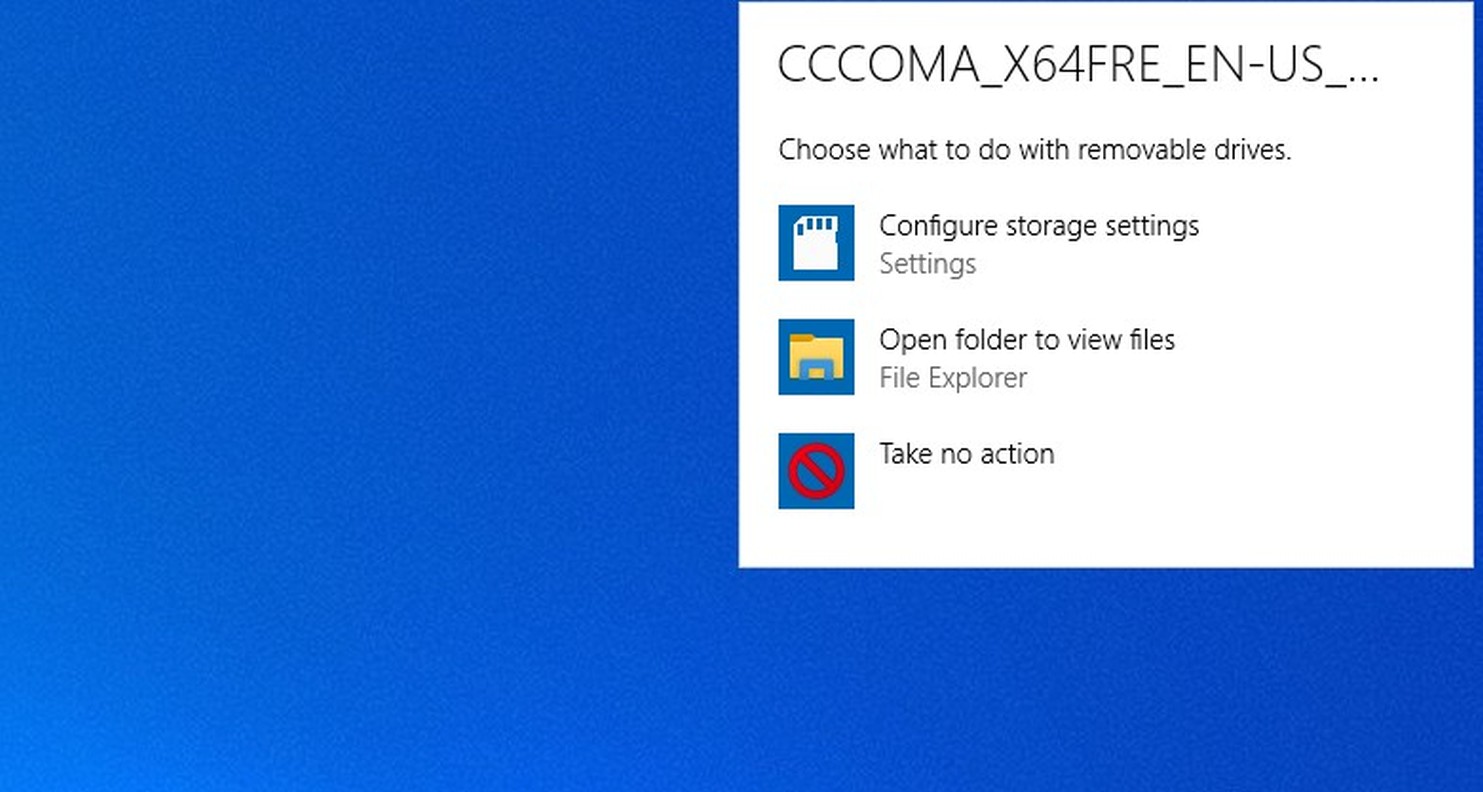
Step 2Click Open folder to view files to show contents of the USB flash drive. |
 |
|
|
|
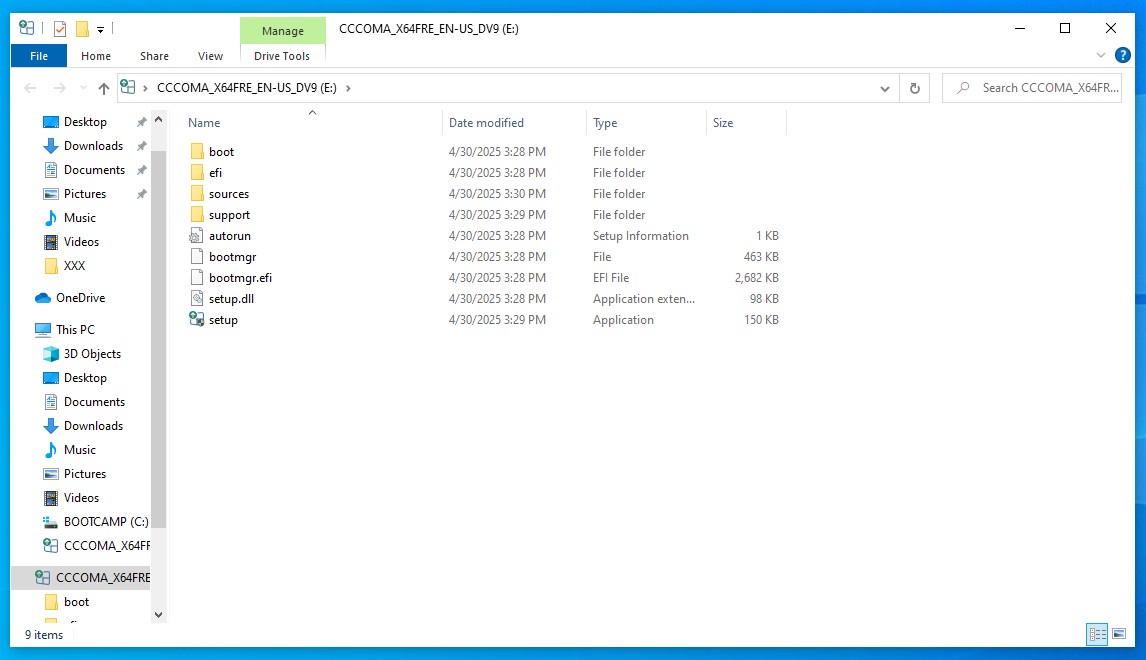
Step 3Double-click setup.exe file to launch Windows 11 installer. |
 |
|
|
|
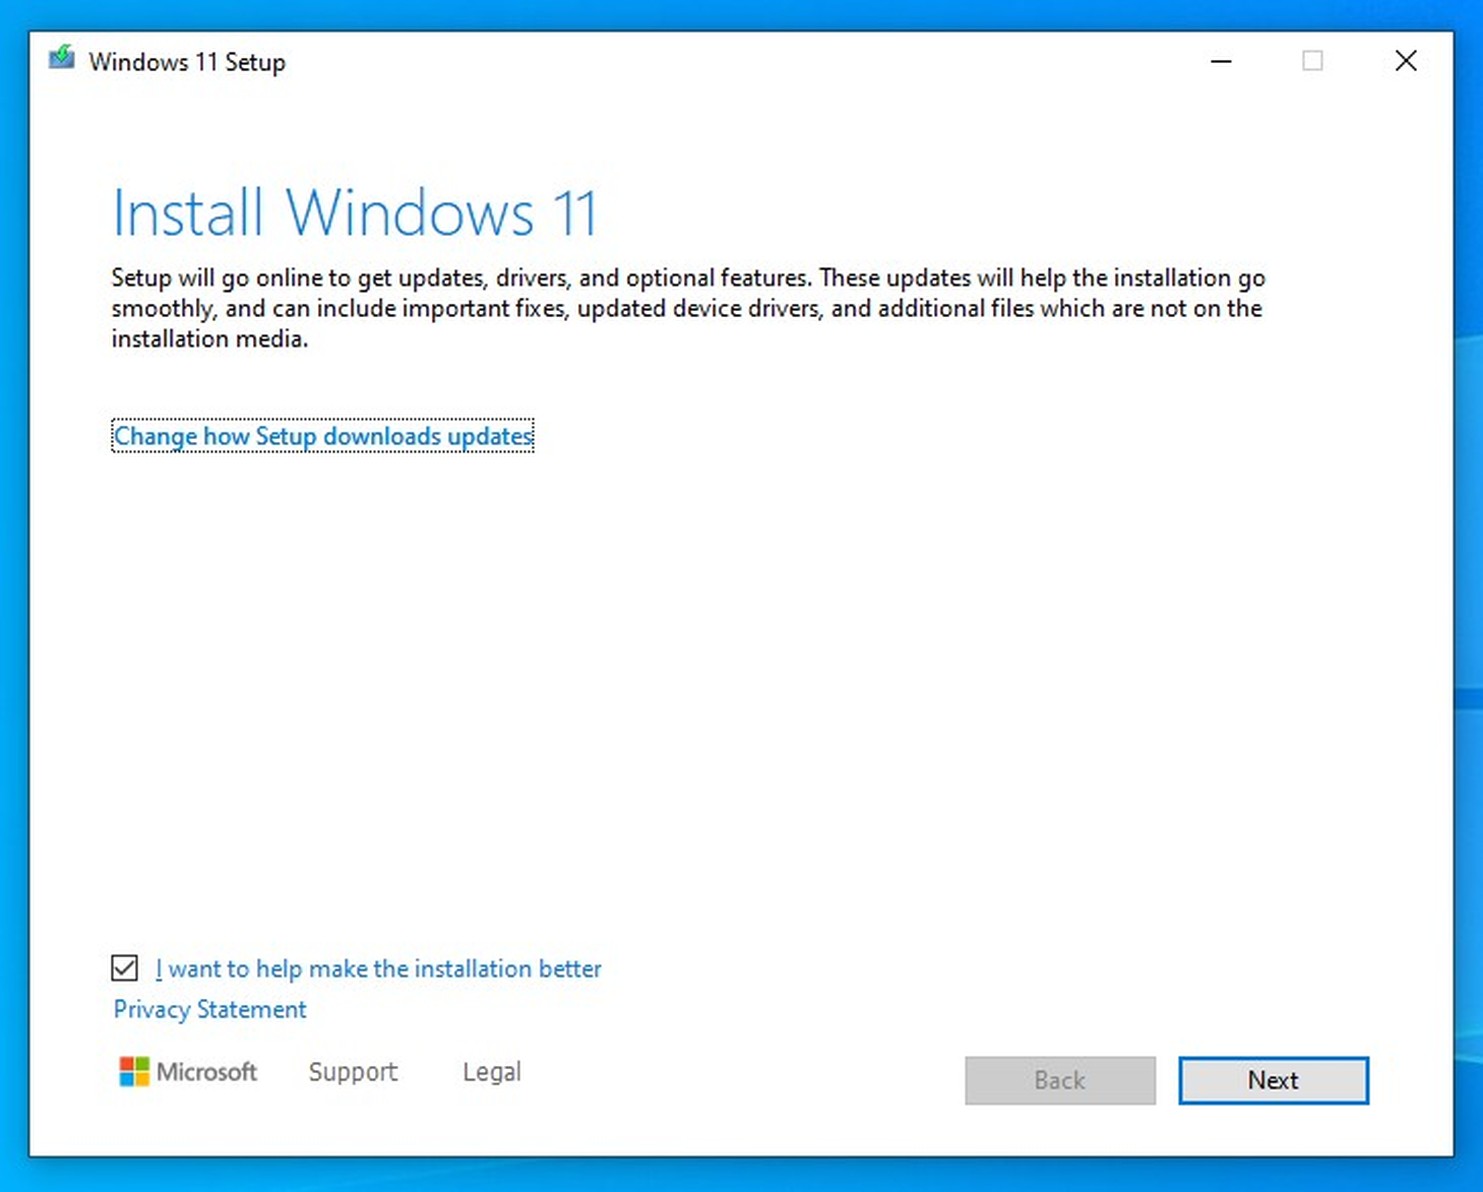
Step 4Before the installation, first we need to disable Windows 11 installer updates to prevent new updates disable our unsupported machine patches making the upgrade impossible.
Click Change how Setup downloads updates link. |
 |
|
|
|
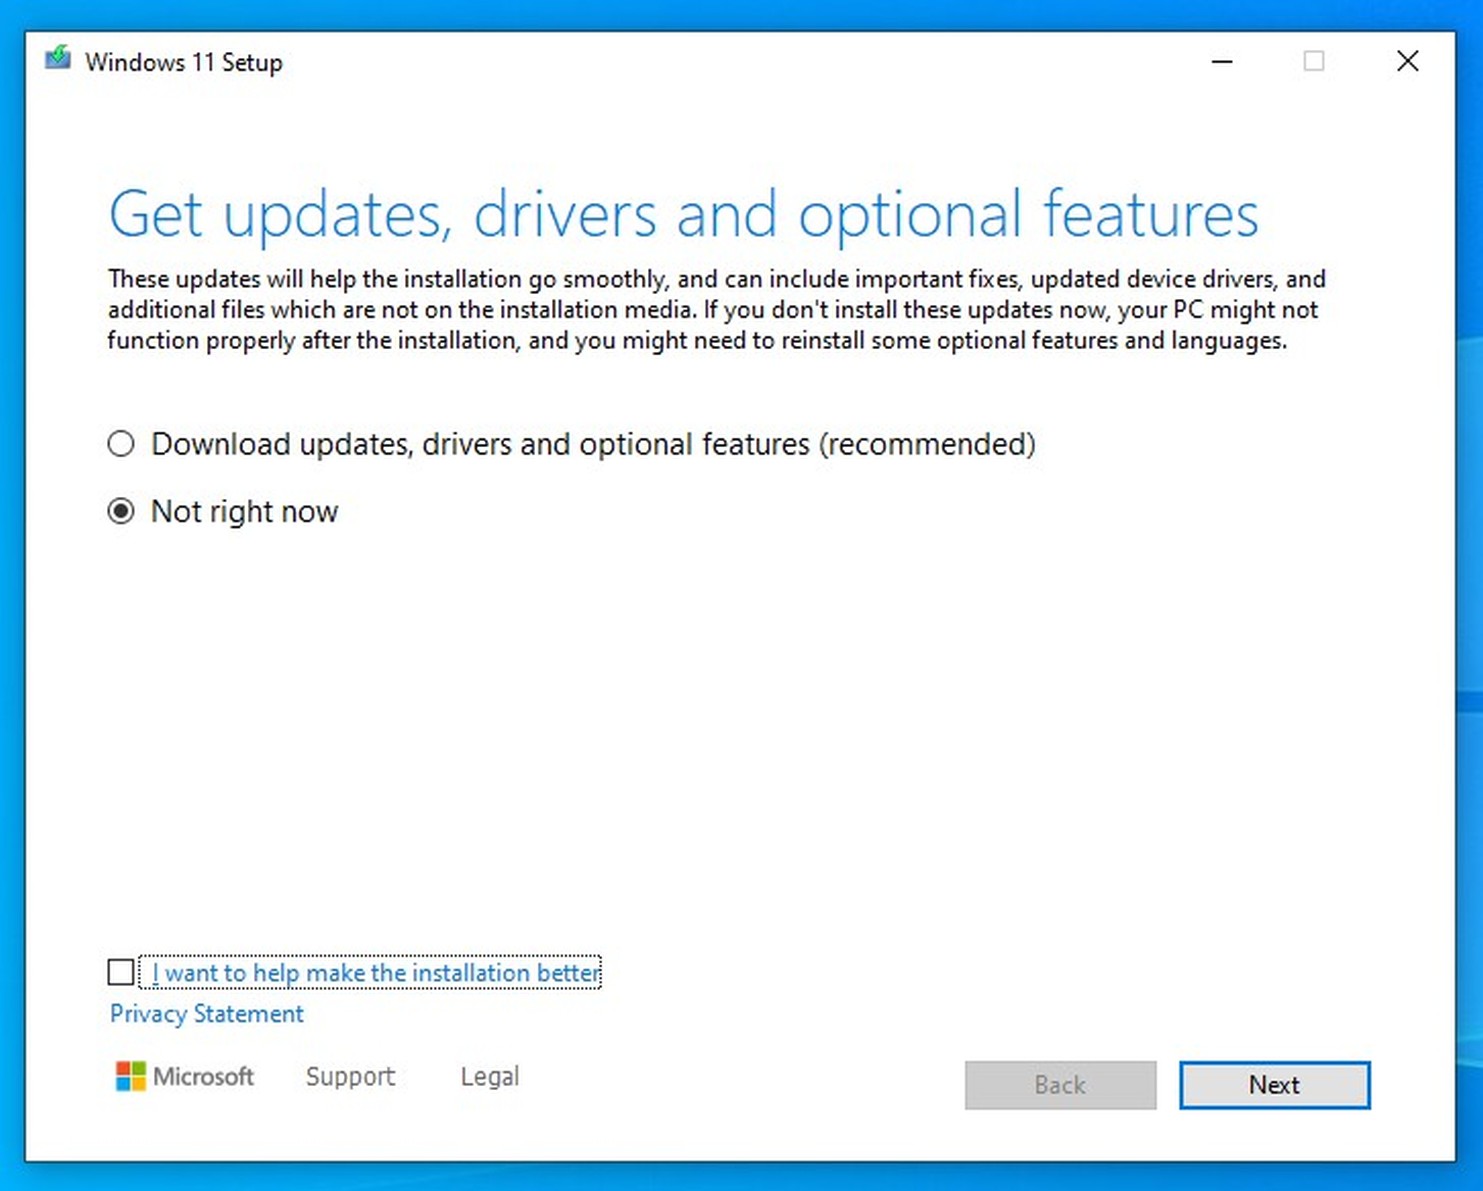
Step 5Click Not right now radio button, as well as uncheck I want to help make the installation better checkbox and click Next button to continue. |
 |
|
|
|
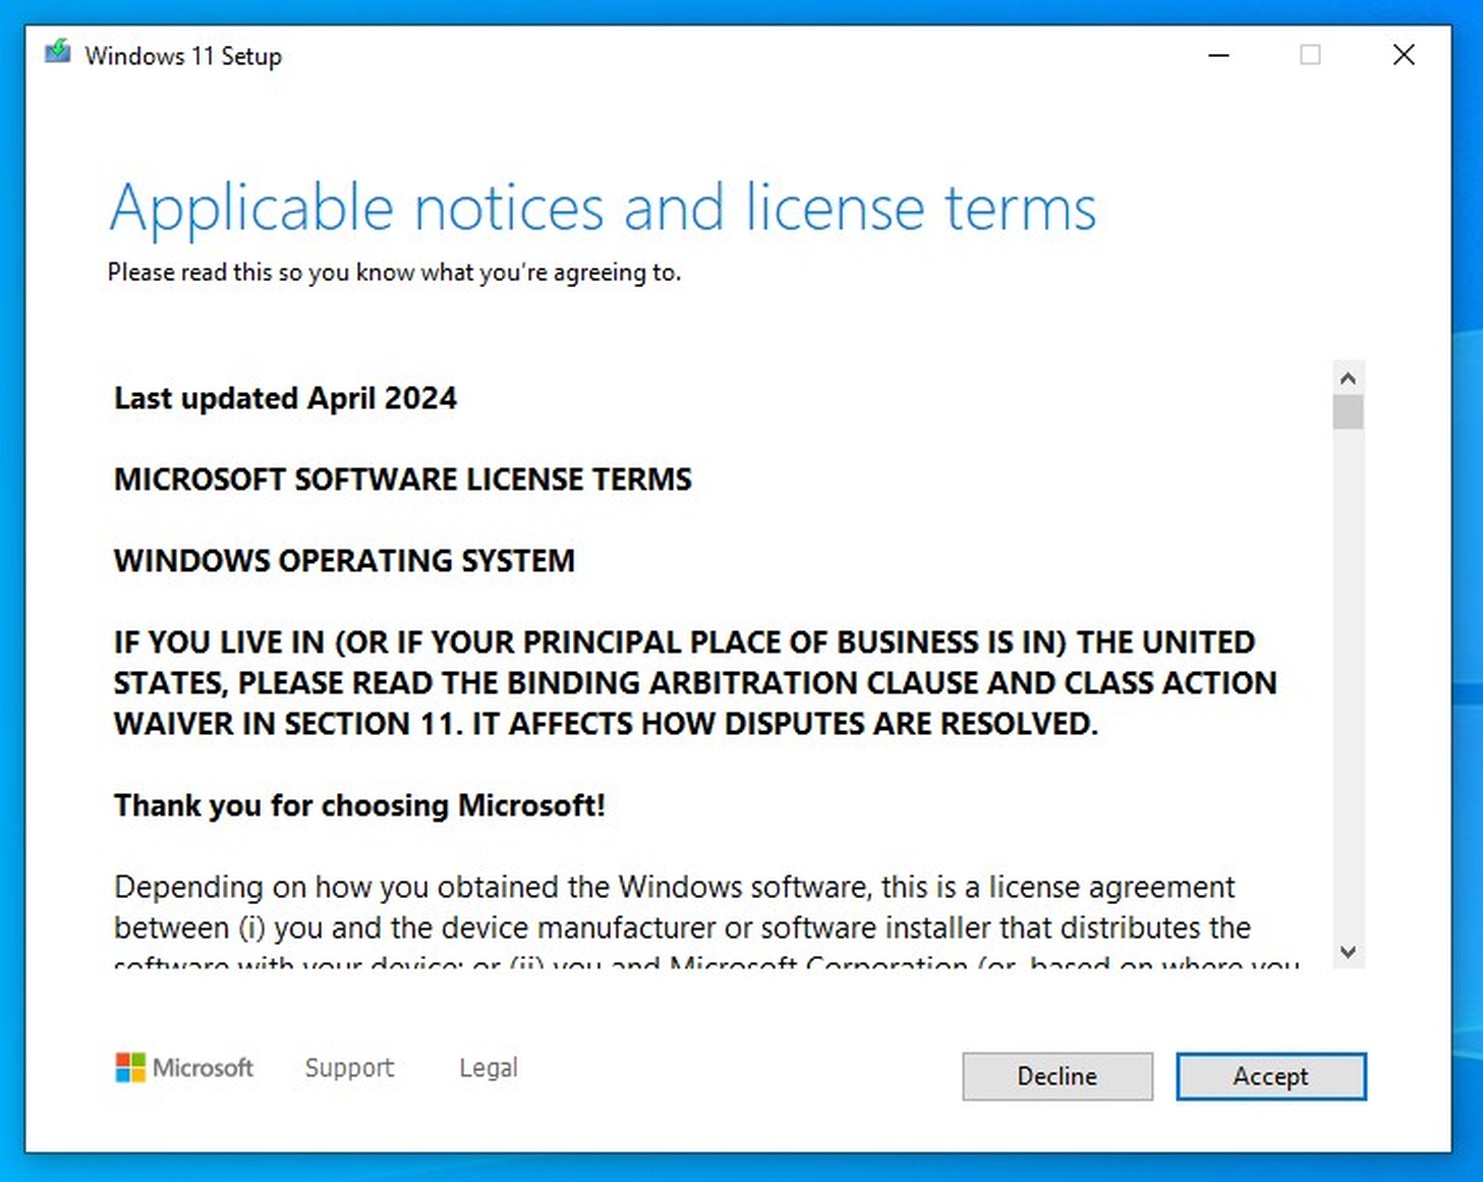
Step 6Read the licence agreement and click Accept button to continue. |
 |
|
|
|
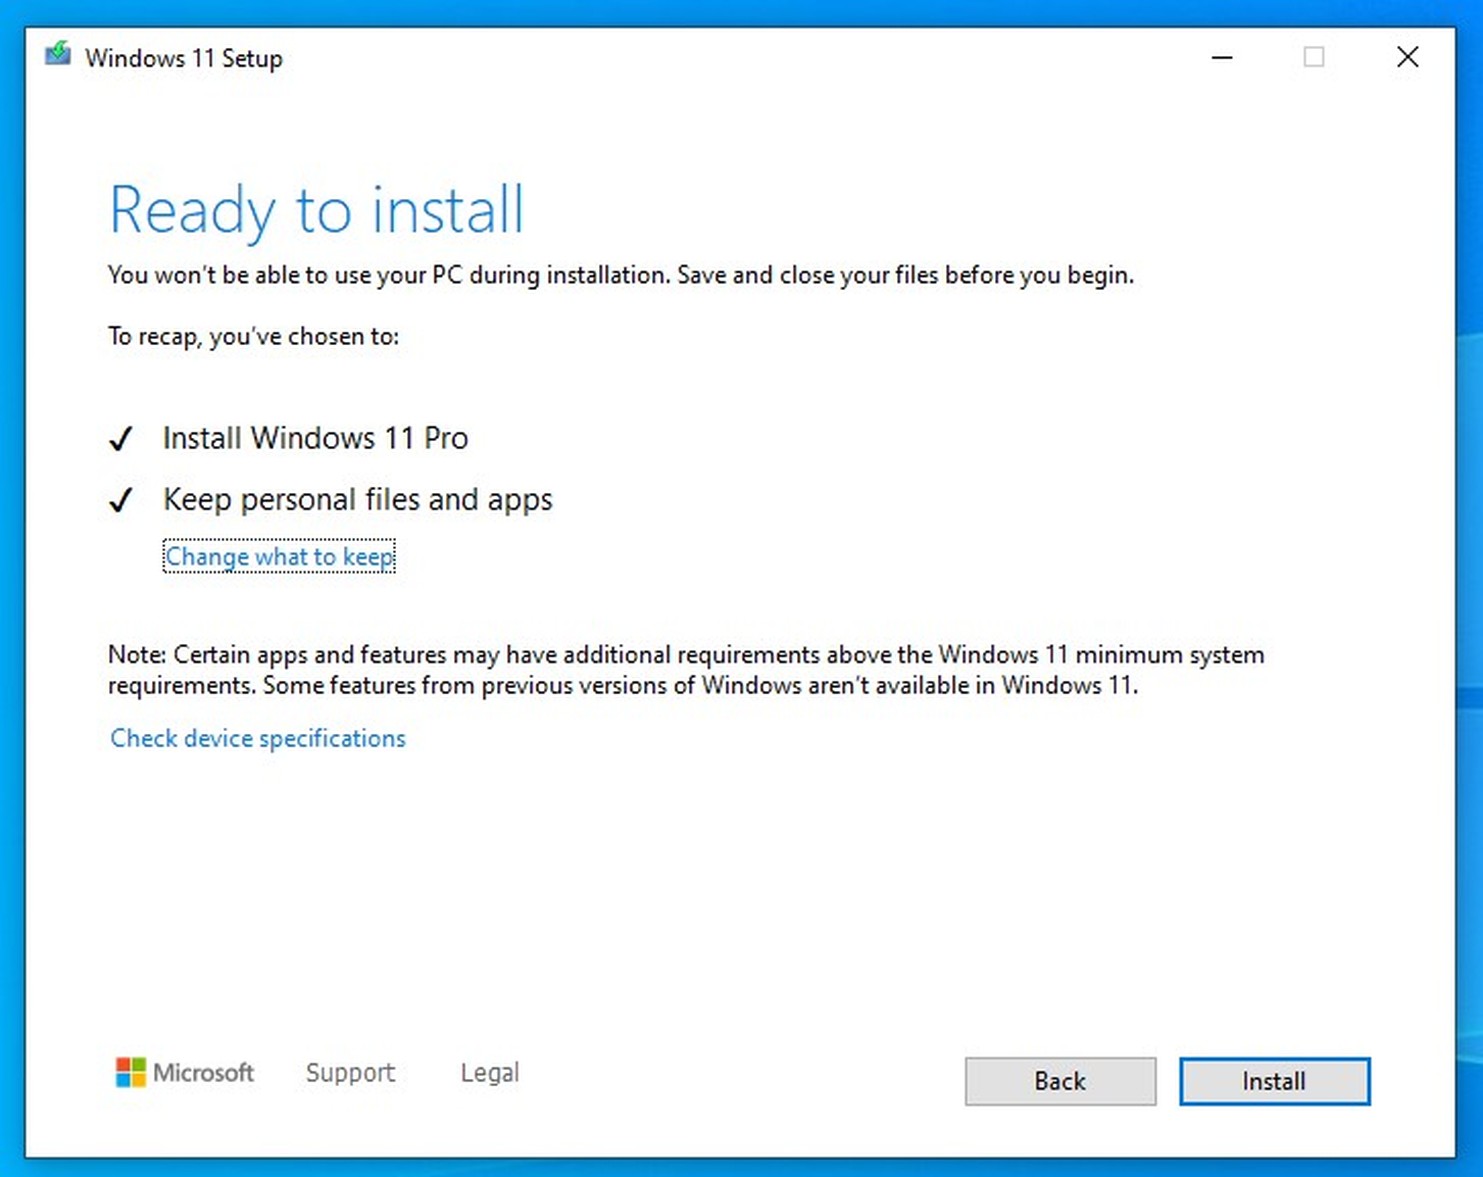
Step 7The installer would choose proper version of Windows depending on your current version of Windows 10.
Windows 10 Home will be upgraded to Windows 11 Home, Windows 10 Pro will be upgraded to Windows 11 Pro and Windows 10 Pro for Workstations will be upgraded to Windows 11 Pro for Workstations.
Make sure Windows 11 USB flash drive was created using the same language you've used for Windows 10 installation e.g. US English is not the same as English International, otherwise there would be only an option to Keep personal files only while settings and apps would be deleted.
Click Install button to start the installation. |
 |
|
|
|
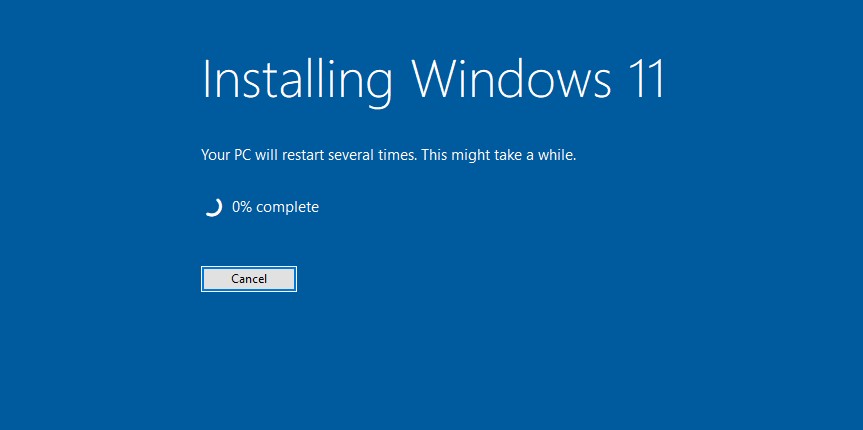
Step 8The installer would start the update process, which takes around 30-40 minutes to complete. |
 |
|
|
|
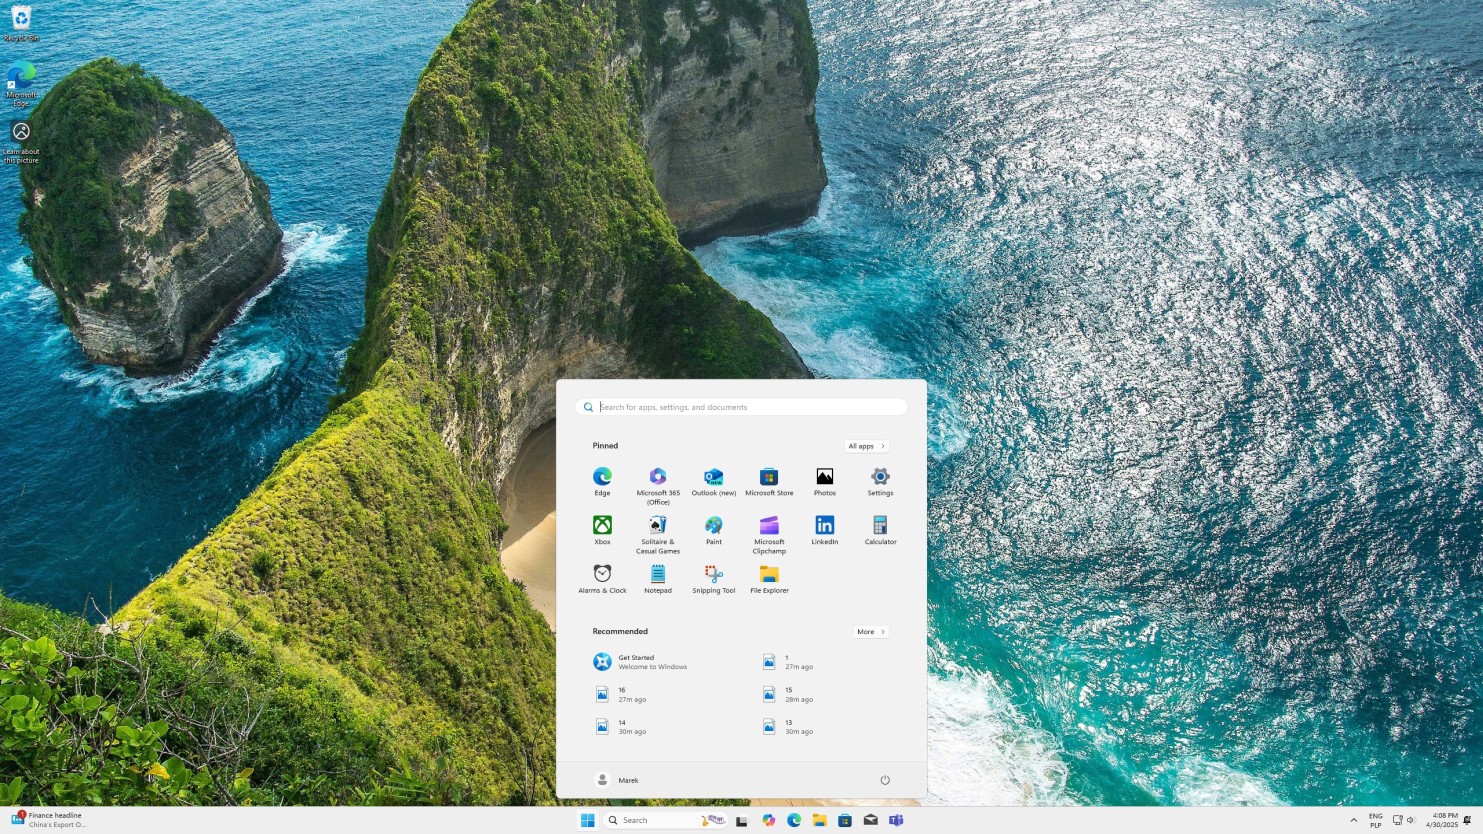
Step 9When the installation is complete, you will see Windows 11 desktop with all your files, settings, apps, as well as drivers you previously had in Windows 10, so there is no need to reinstall these. |
 |
|
|
|
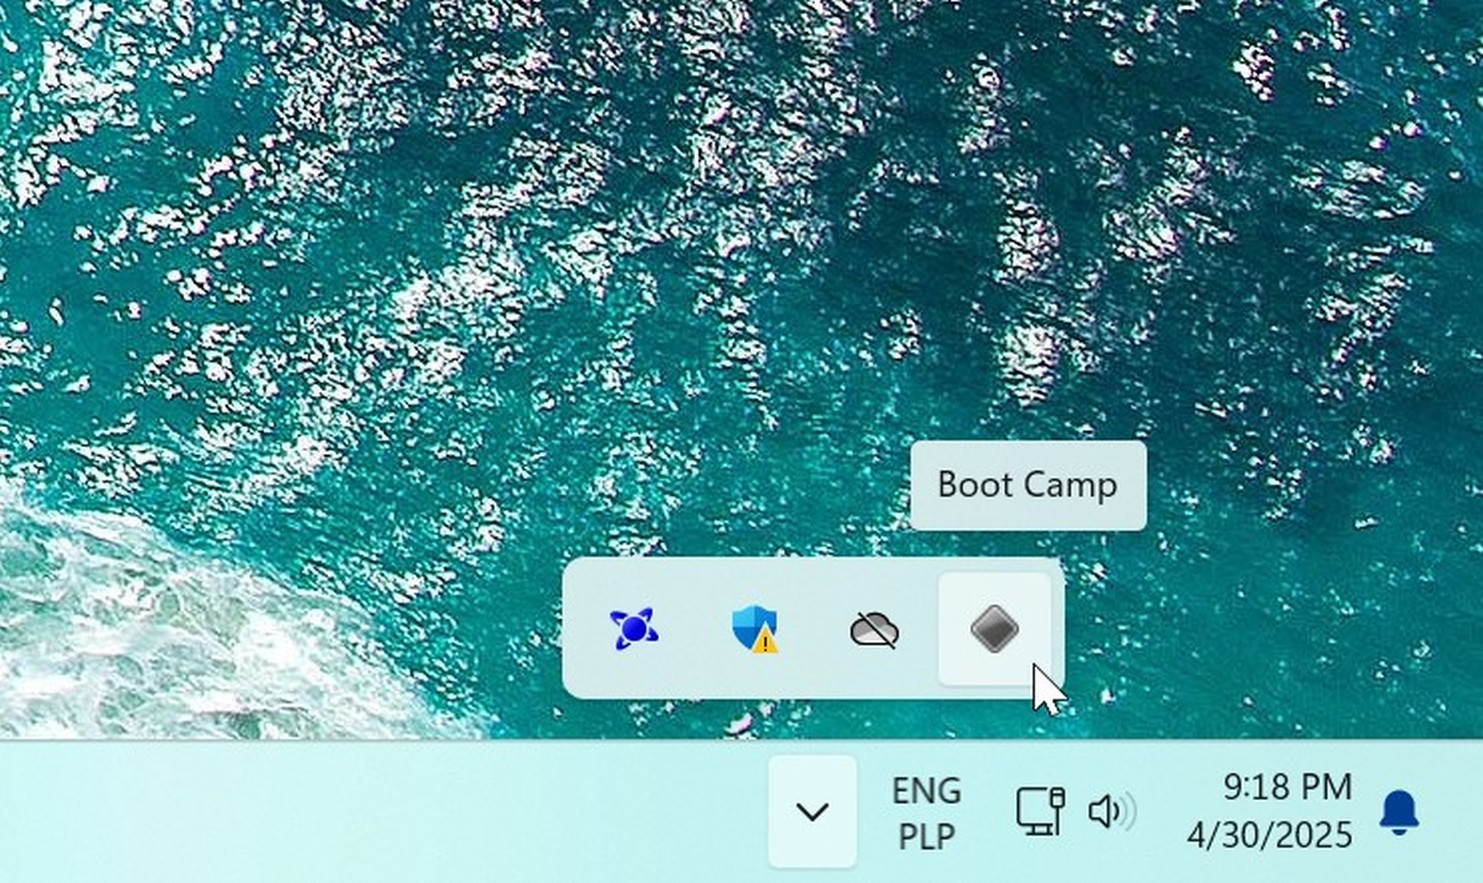
Step 10Now you can test if the Boot Camp application itself is working properly.
Apple Boot Camp is located in the system tray. You need to click an arrow to reveal all tray icons, then left click gray triangle icon in your tray. |
 |
|
|
|
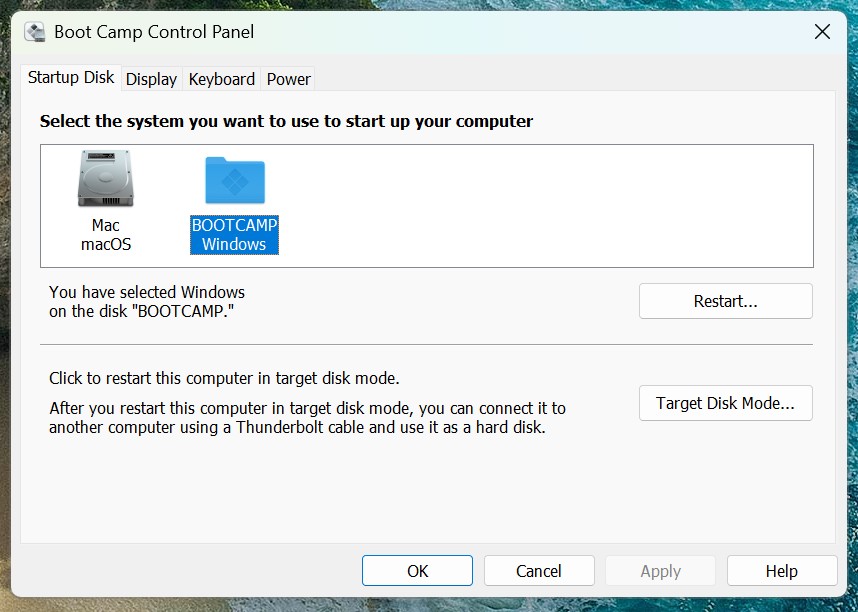
Step 11Select Boot Camp Control Panel... option from the context menu. |
 |
|
|
|
Step 12Here you can select the default drive to boot the computer from. It could be either any macOS partition or Windows partition. |
 |
|
|
|
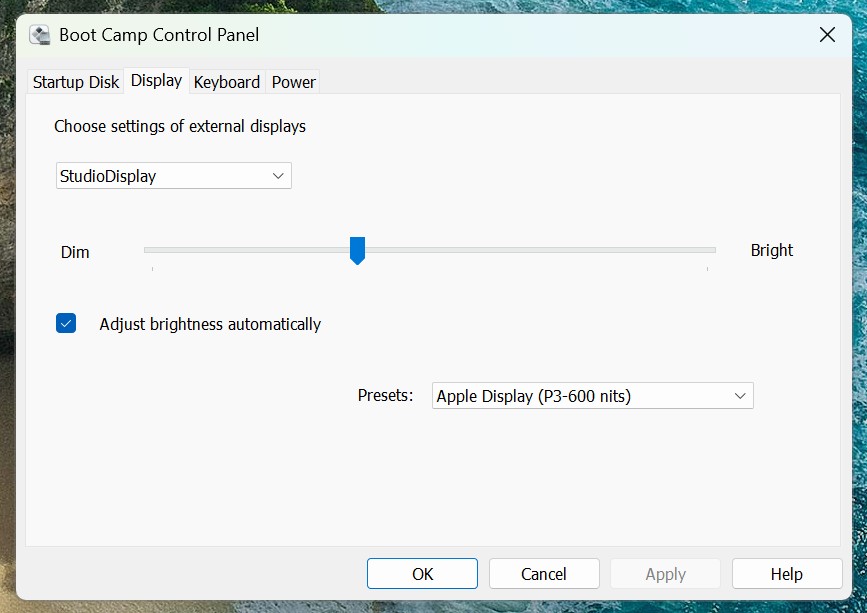
Step 13If you have Apple Studio Display or Apple Pro Display XDR you should now see dimming slider and automatic brightness checkbox. Also there are presets to choose from.
Please note brightness control only works on default Apple Display (P3-600 nits) preset.
That's it. Enjoy!
|
 |
|
|
|