
Installing Windows 10 on Mac Pro 7,1 (2019)
You can have Windows 10 natively working on your Mac Pro via Apple Boot Camp, just like on a PC.
We will be installing using Apple Boot Camp assistant utility, directly from the latest macOS Tahoe 26. This will bring full functionality to the Apple Studio Display, as well as Apple Pro Display XDR with sound, microphone and webcam working. Also all new Apple branded devices, like Magic Trackpad with Precision Touchpad support and Magic Mouse would work perfectly.
Make sure no external drives are connected (either USB or NVMe) during installation. They can be replugged back post the installation, otherwise Boot Camp assistant would not allow Windows to be installed.
Windows 10 needs to be installed on a separate partition of your internal drive.
No USB flash drive or DVD drive is needed for the installation.
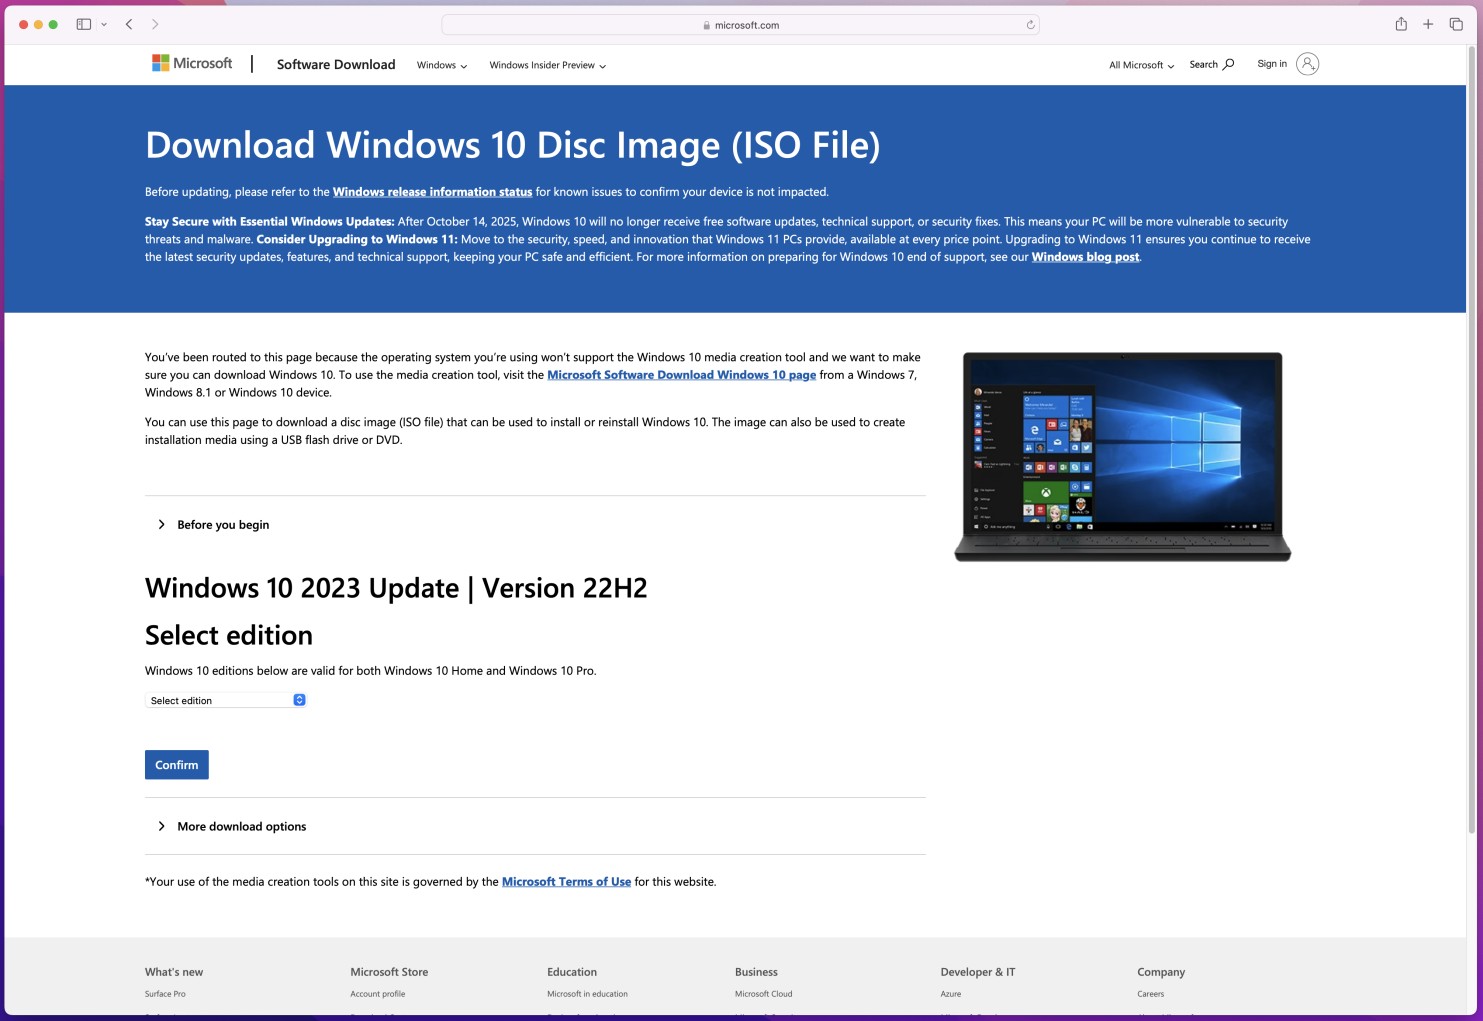
Step 1Open a following page https://www.microsoft.com/en-us/software-download/windows10iso in any web browser e.g. Safari. |
 |
|
|
|
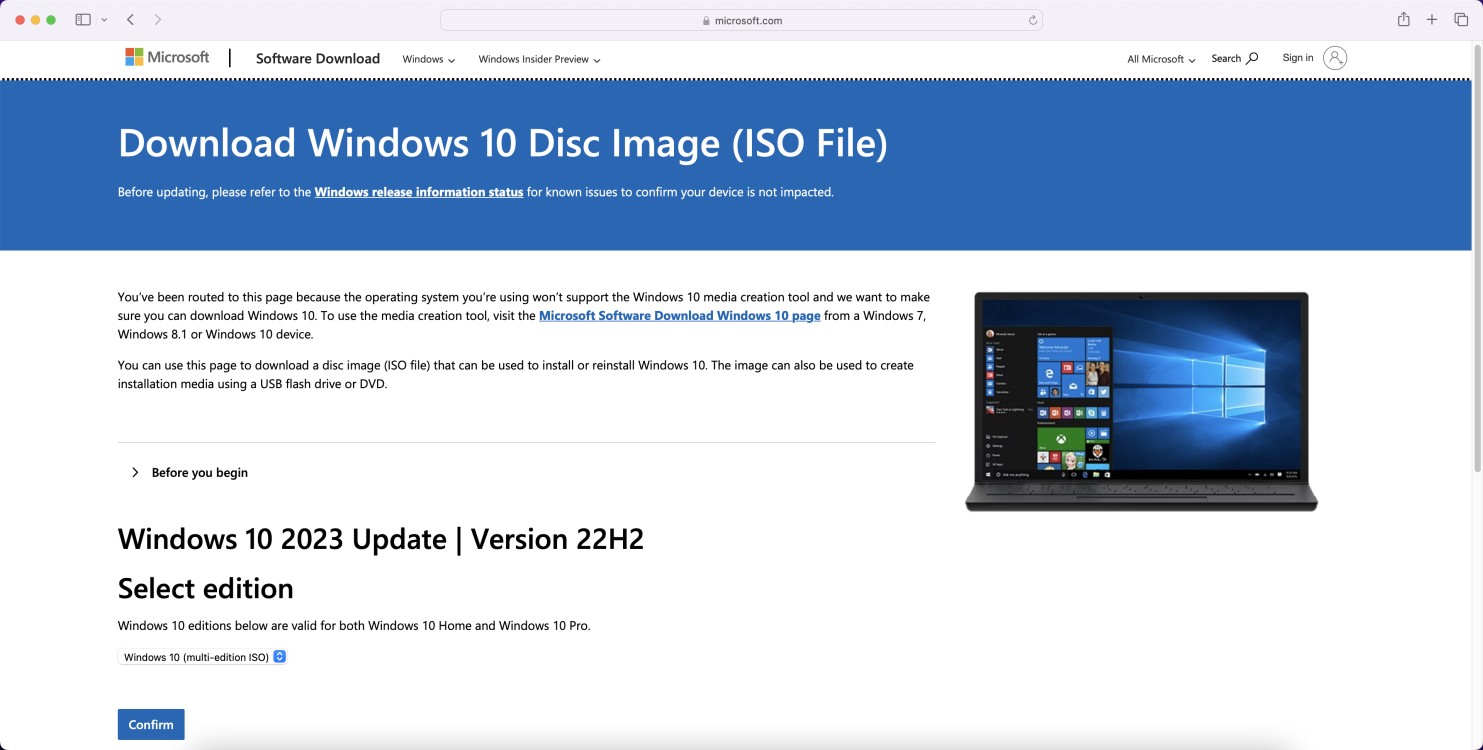
Step 2Choose Windows 10 (multi-edition ISO) from the dropdown list and click Confirm button. |
 |
|
|
|
Step 3Now select product language from the dropdown list e.g. English (United States) and again click Confirm button. |
 |
|
|
|
Step 4Click 64-bit Download button. This will download about 6.14 GB ISO file with Windows 10 installer directly to your Downloads folder. |
 |
|
|
|
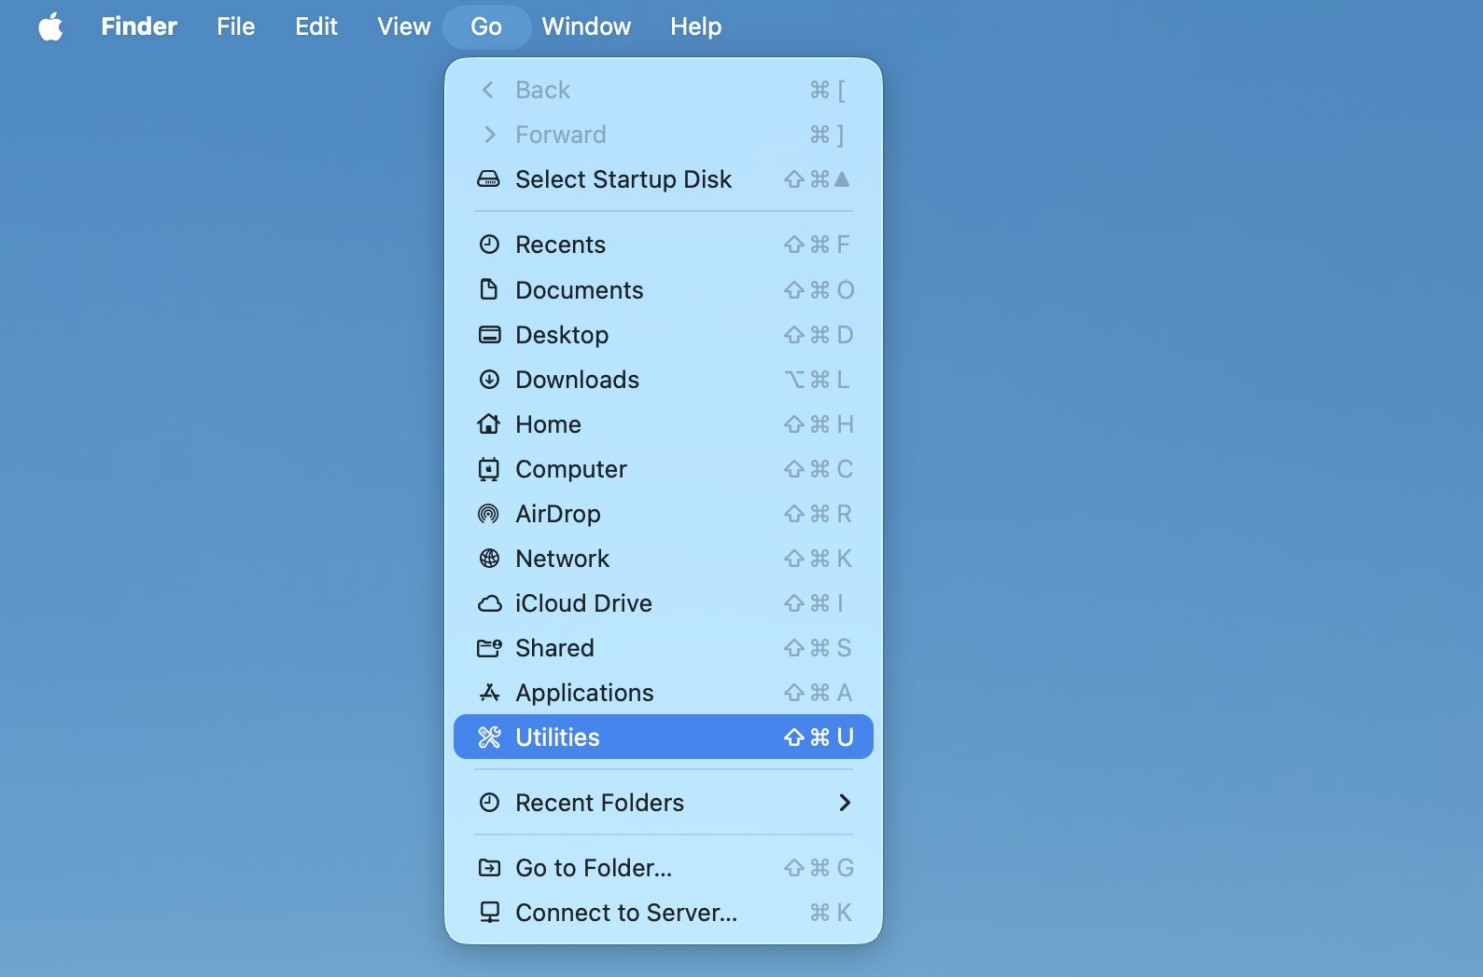
Step 5Now it's time to launch Boot Camp assistant utility. In Finder menu choose Go, then choose Utilities. |
 |
|
|
|
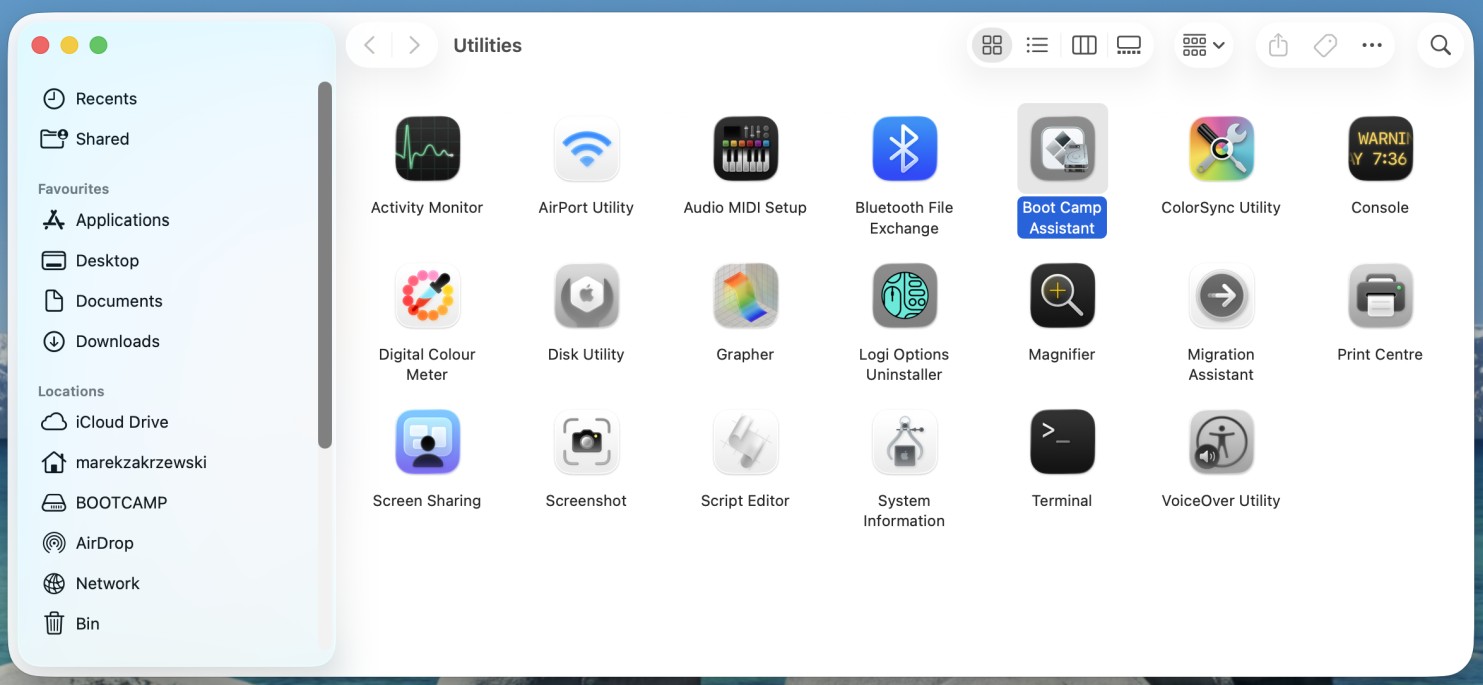
Step 6Double-click Boot Camp Assistant icon to launch it. |
 |
|
|
|
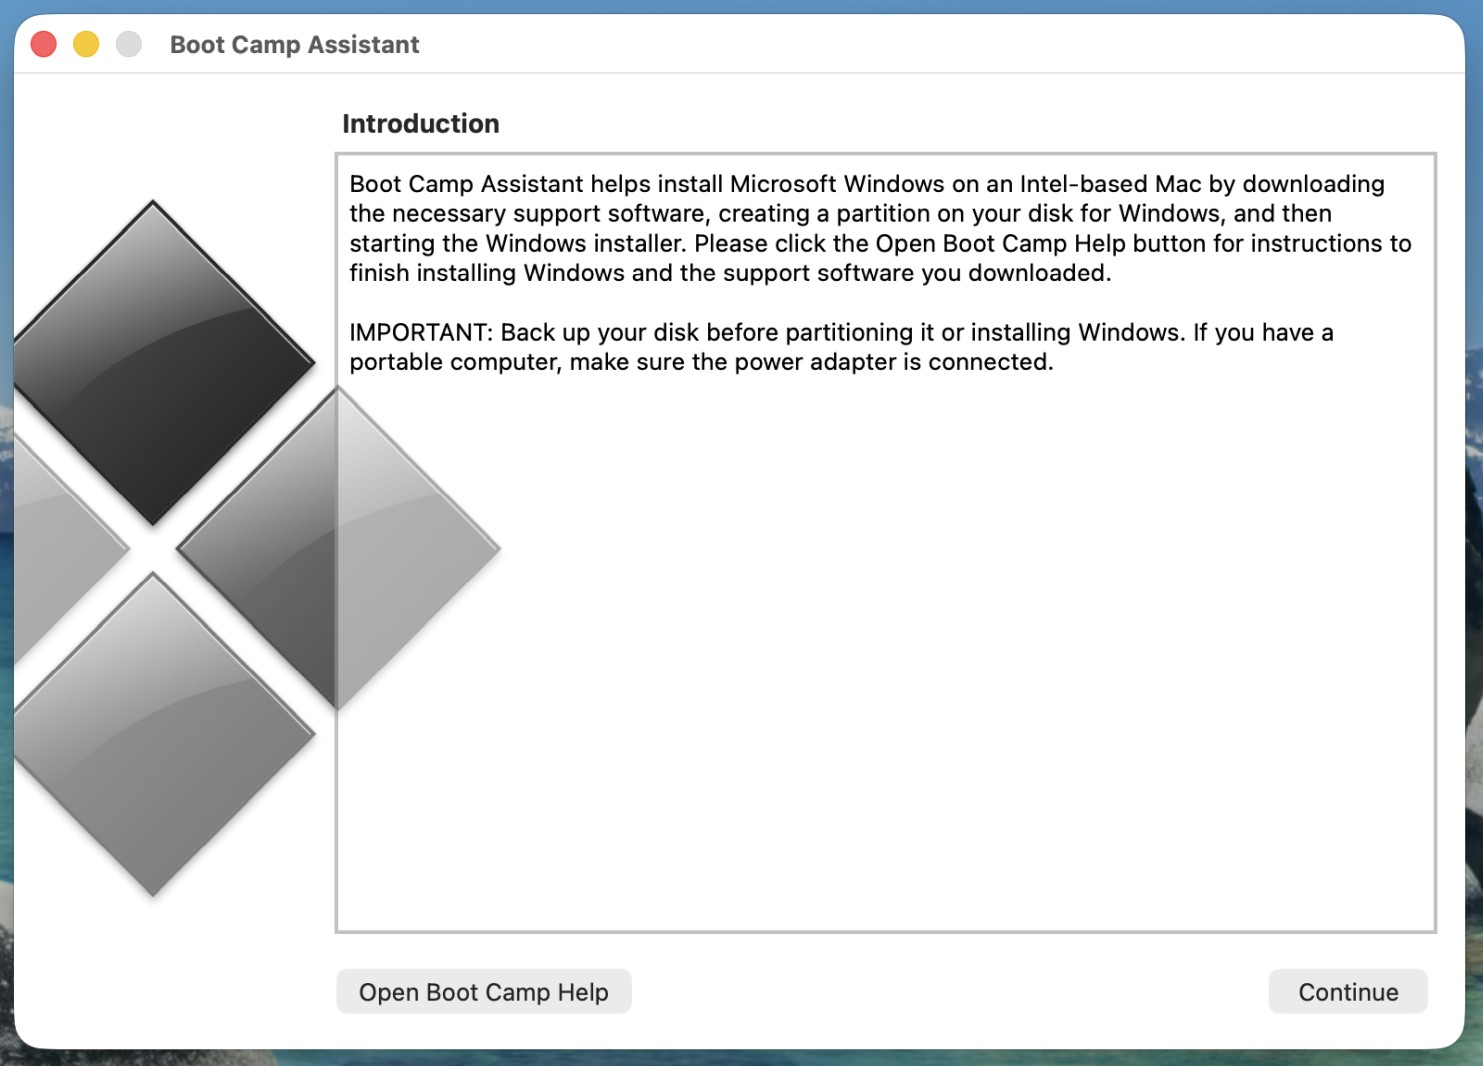
Step 7Click Continue button. |
 |
|
|
|
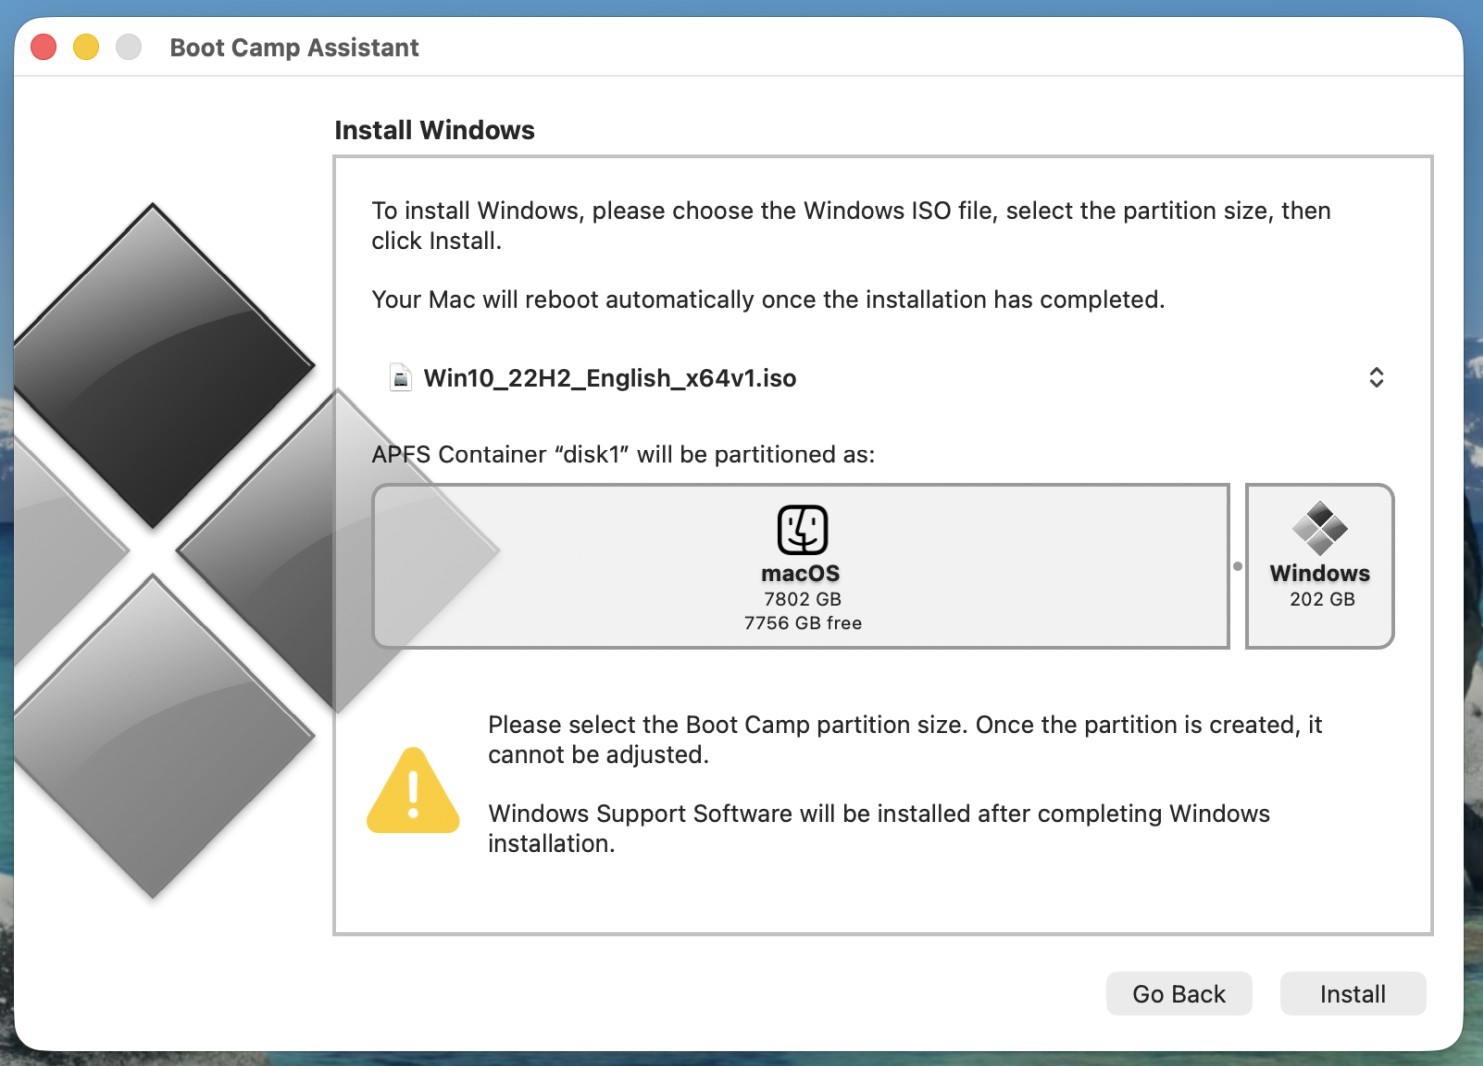
Step 8Here you need to resize your current macOS partition, so Windows 10 would fit. Minimum size is 45 GB, but we recommend at least 100 GB as it cannot be adjusted in future.
Move the dot between partitions to set proper size you wish.
Finally, click Install button to start the installation. |
 |
|
|
|
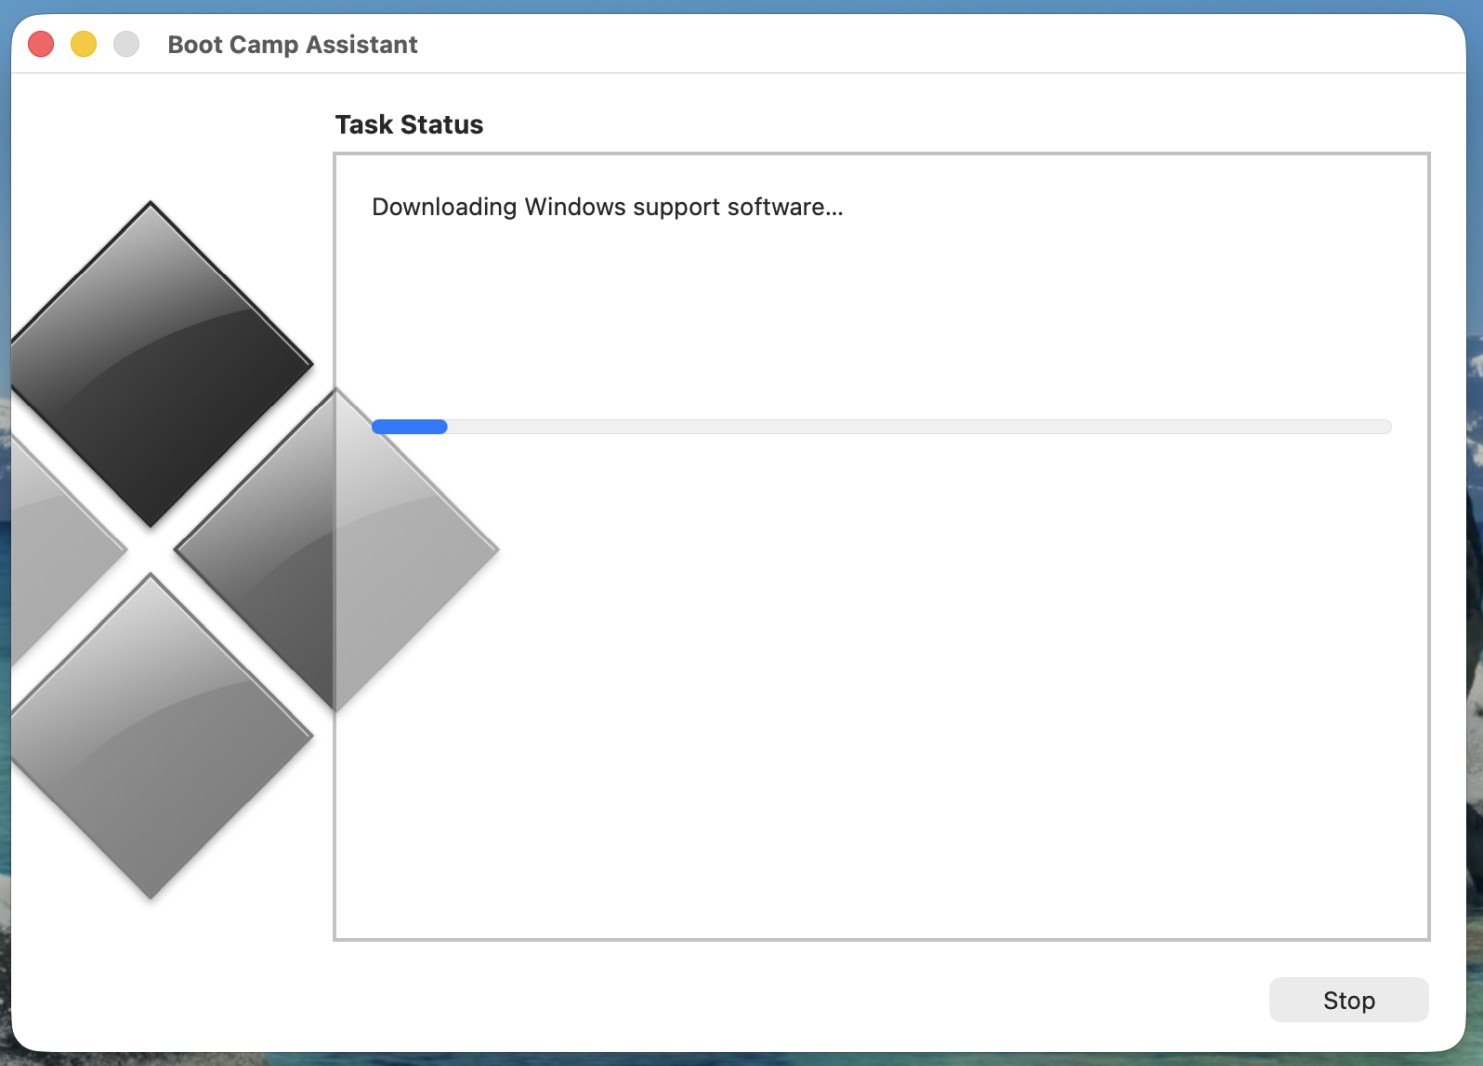
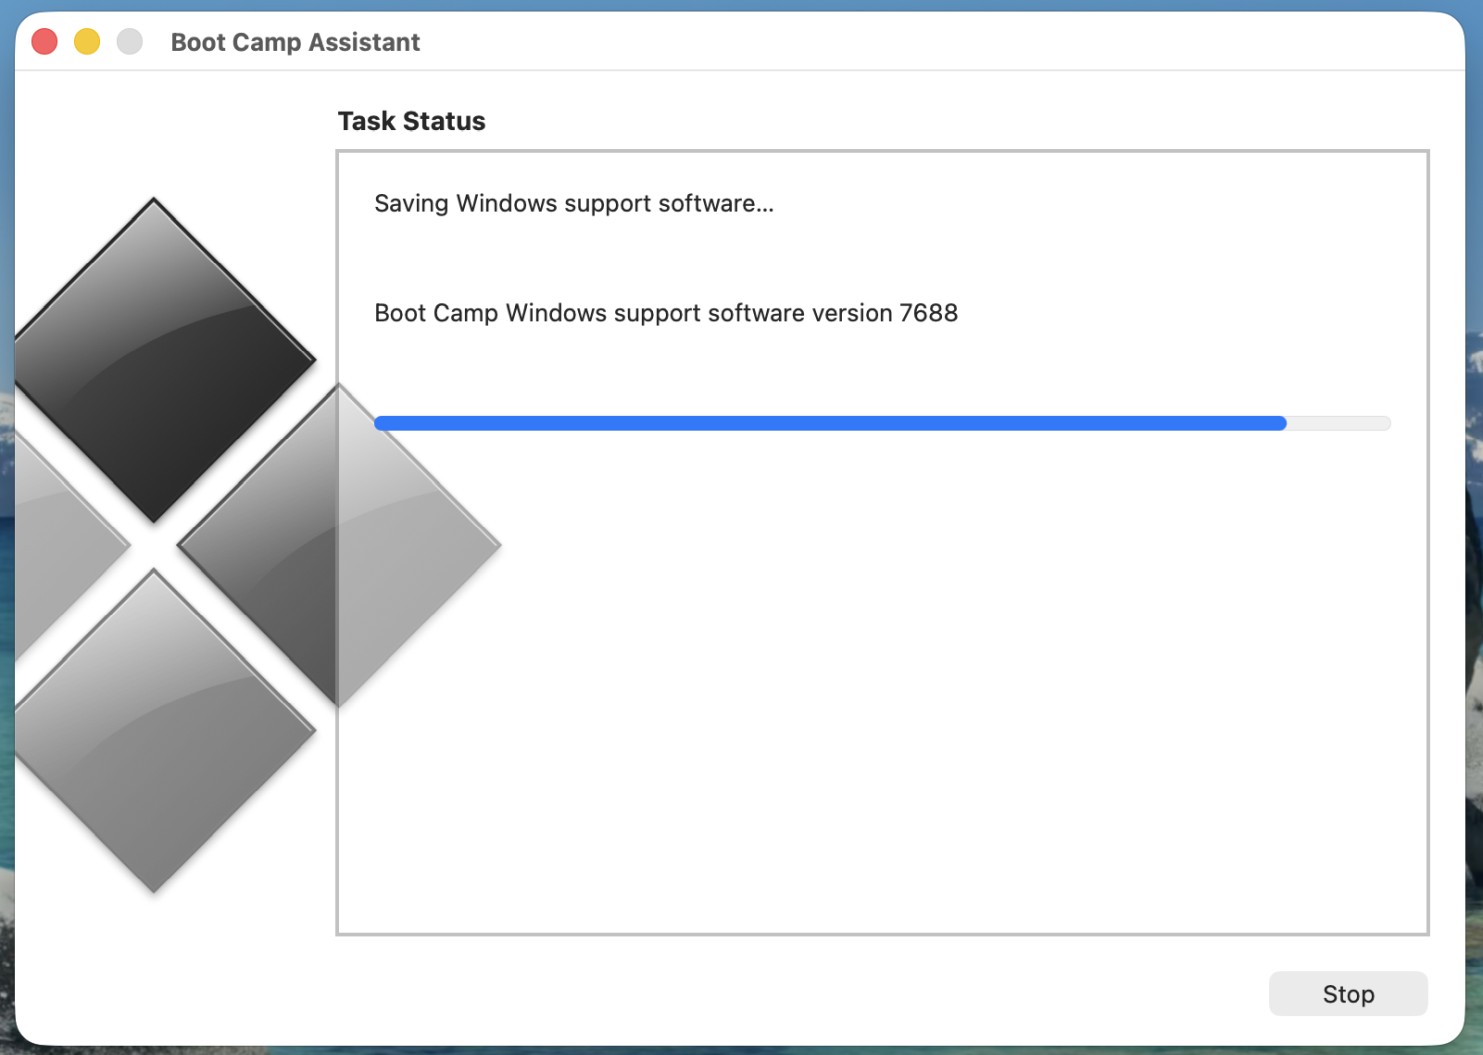
Step 9The assistant will download all the drivers needed for Windows 10 directly from Apple's servers. It will take a few minutes to complete depending on your Internet connection speed. Then they will be saved on your new Windows partition. |
 |
|
|
|
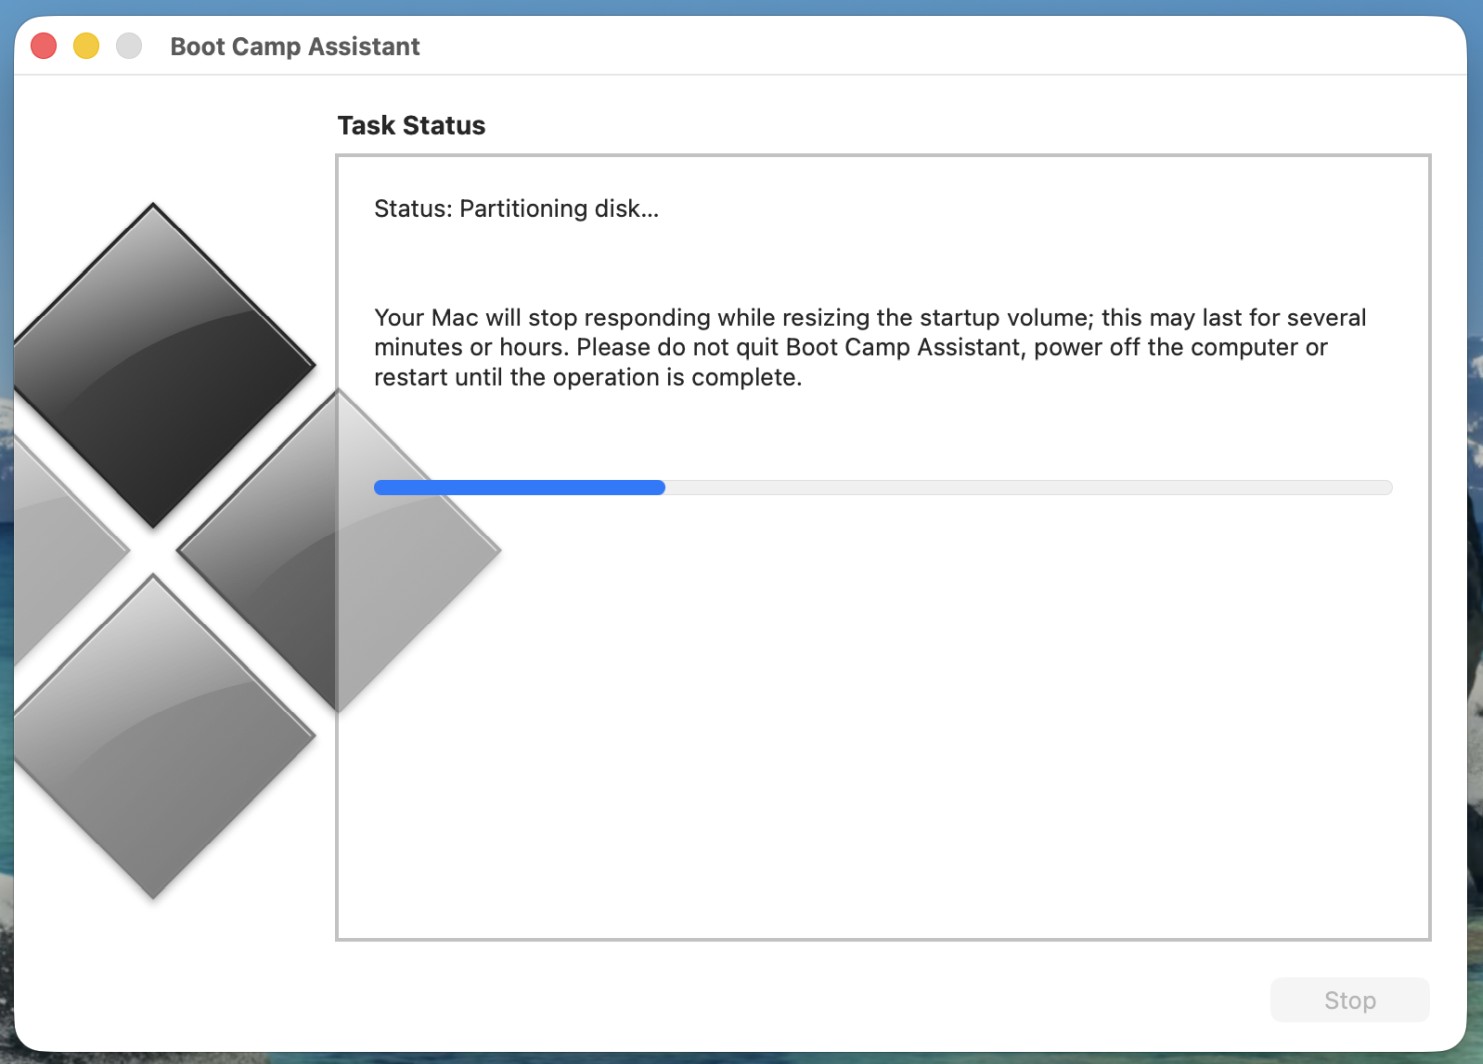
Step 10In the next step, the installer would partition the drive by shrinking current macOS partition and copy Windows installer files onto it.
It might take a while to complete this process depending on the size of your disk and amount of data. |
 |
|
|
|
Step 11Finally, it will save Boot Camp assistant on your new Windows partition, so it could be launched post Windows 10 installation.
|
 |
|
|
|
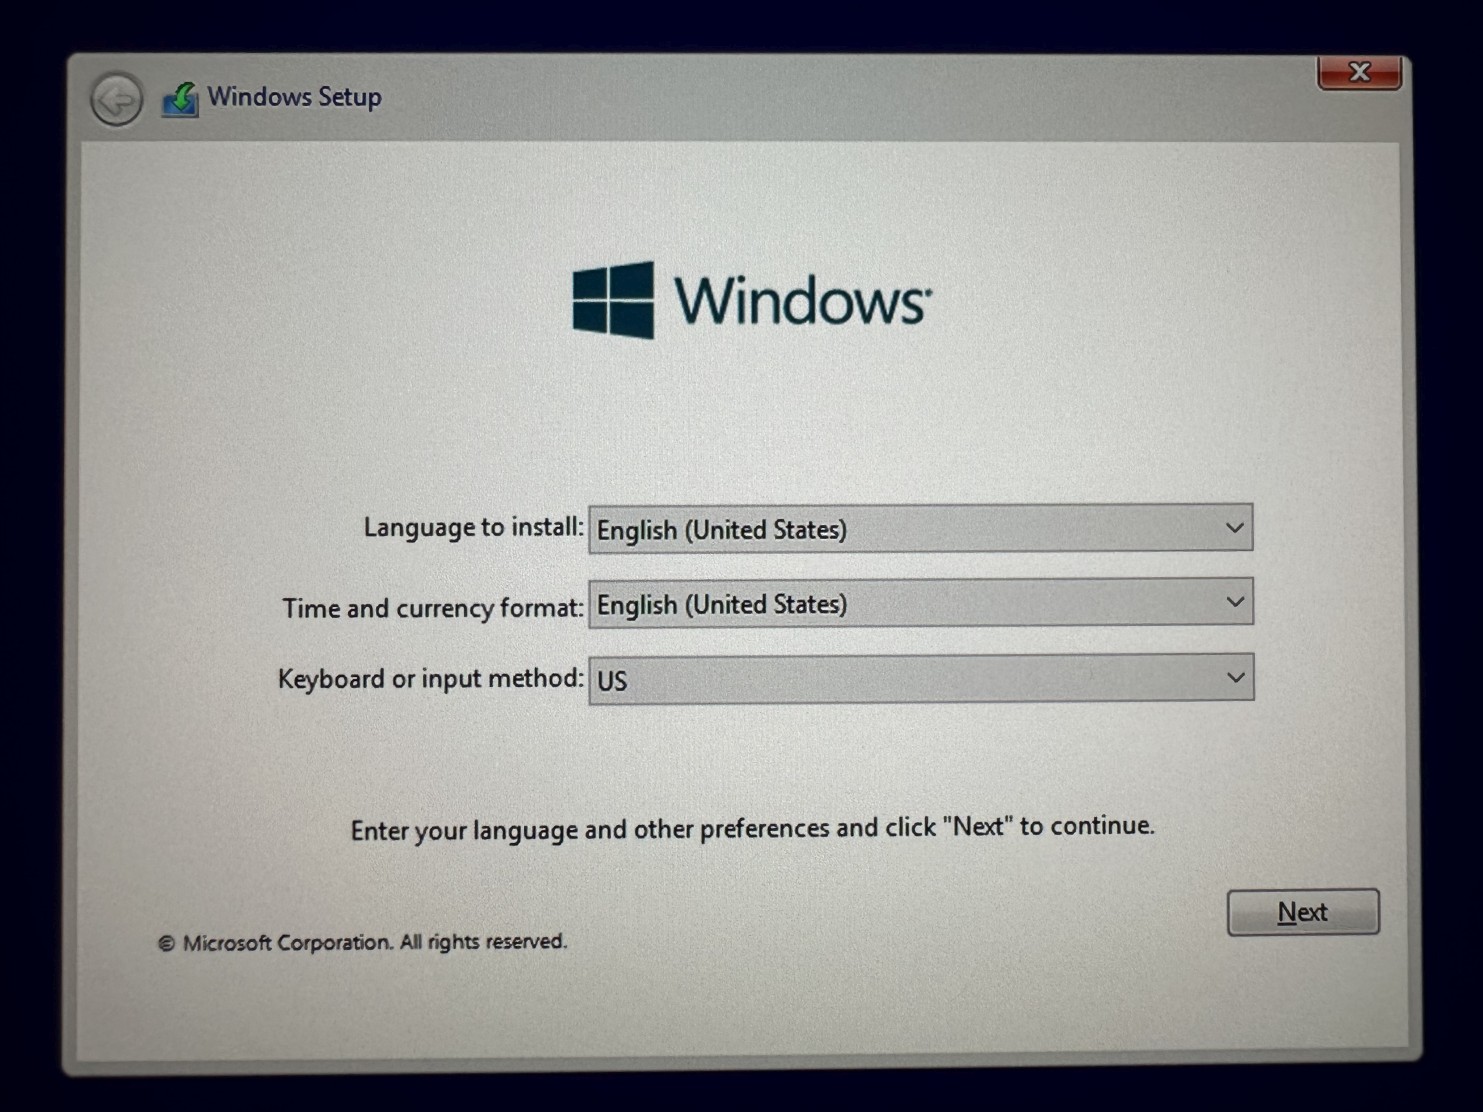
Step 12Choose your language to install, time, currency and keyboard layout and click Next button. |
 |
|
|
|
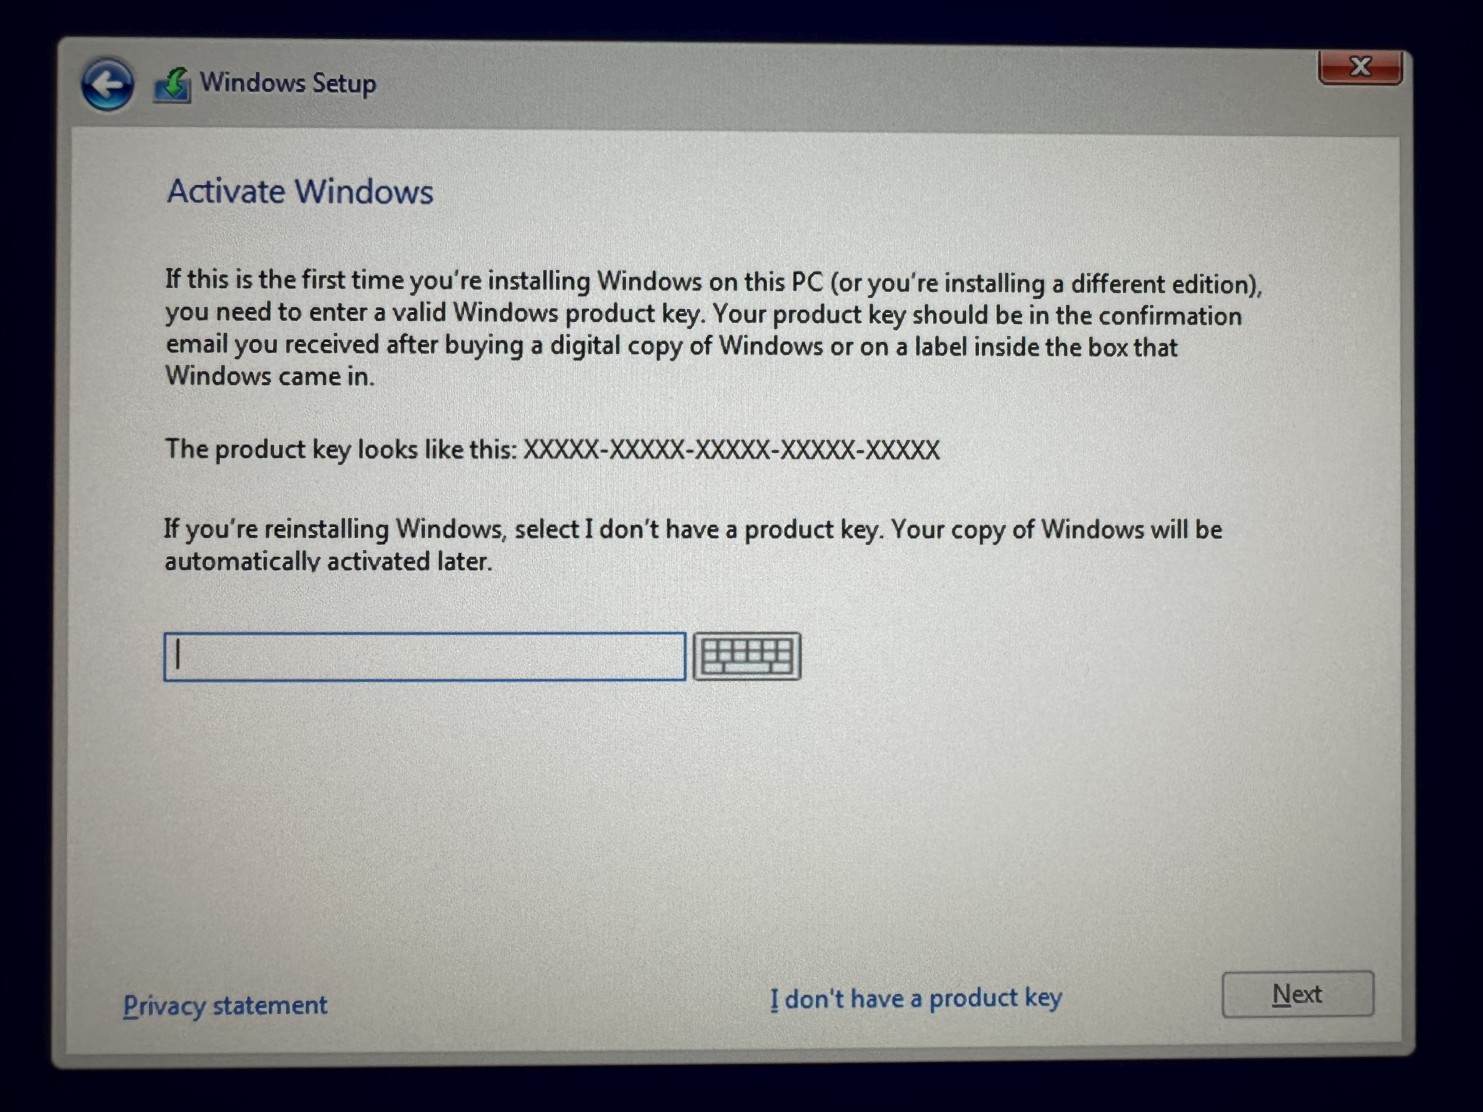
Step 13Enter your Windows 10 product key and click Next button. If you don't have it yet, simply click I don't have a product key. You will be able to enter your Windows 10 product key later and activate Windows. |
 |
|
|
|
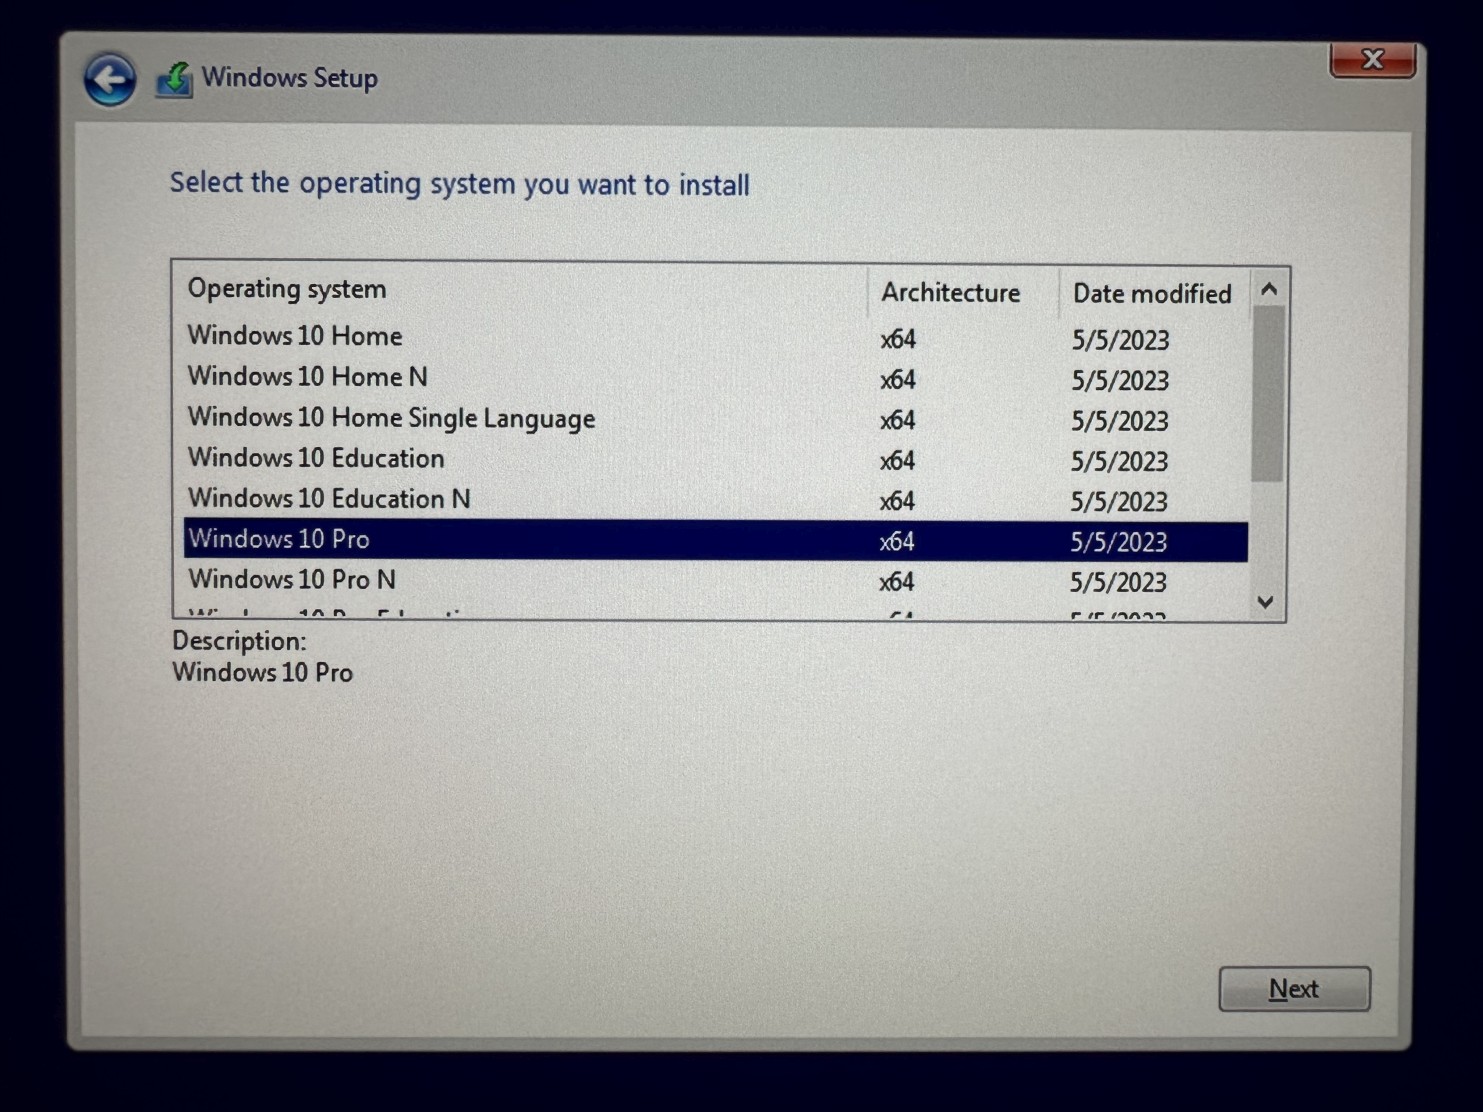
Step 14If you haven't entered your Windows 10 product key, please choose a Windows version you plan to buy and click Next button to continue. |
 |
|
|
|
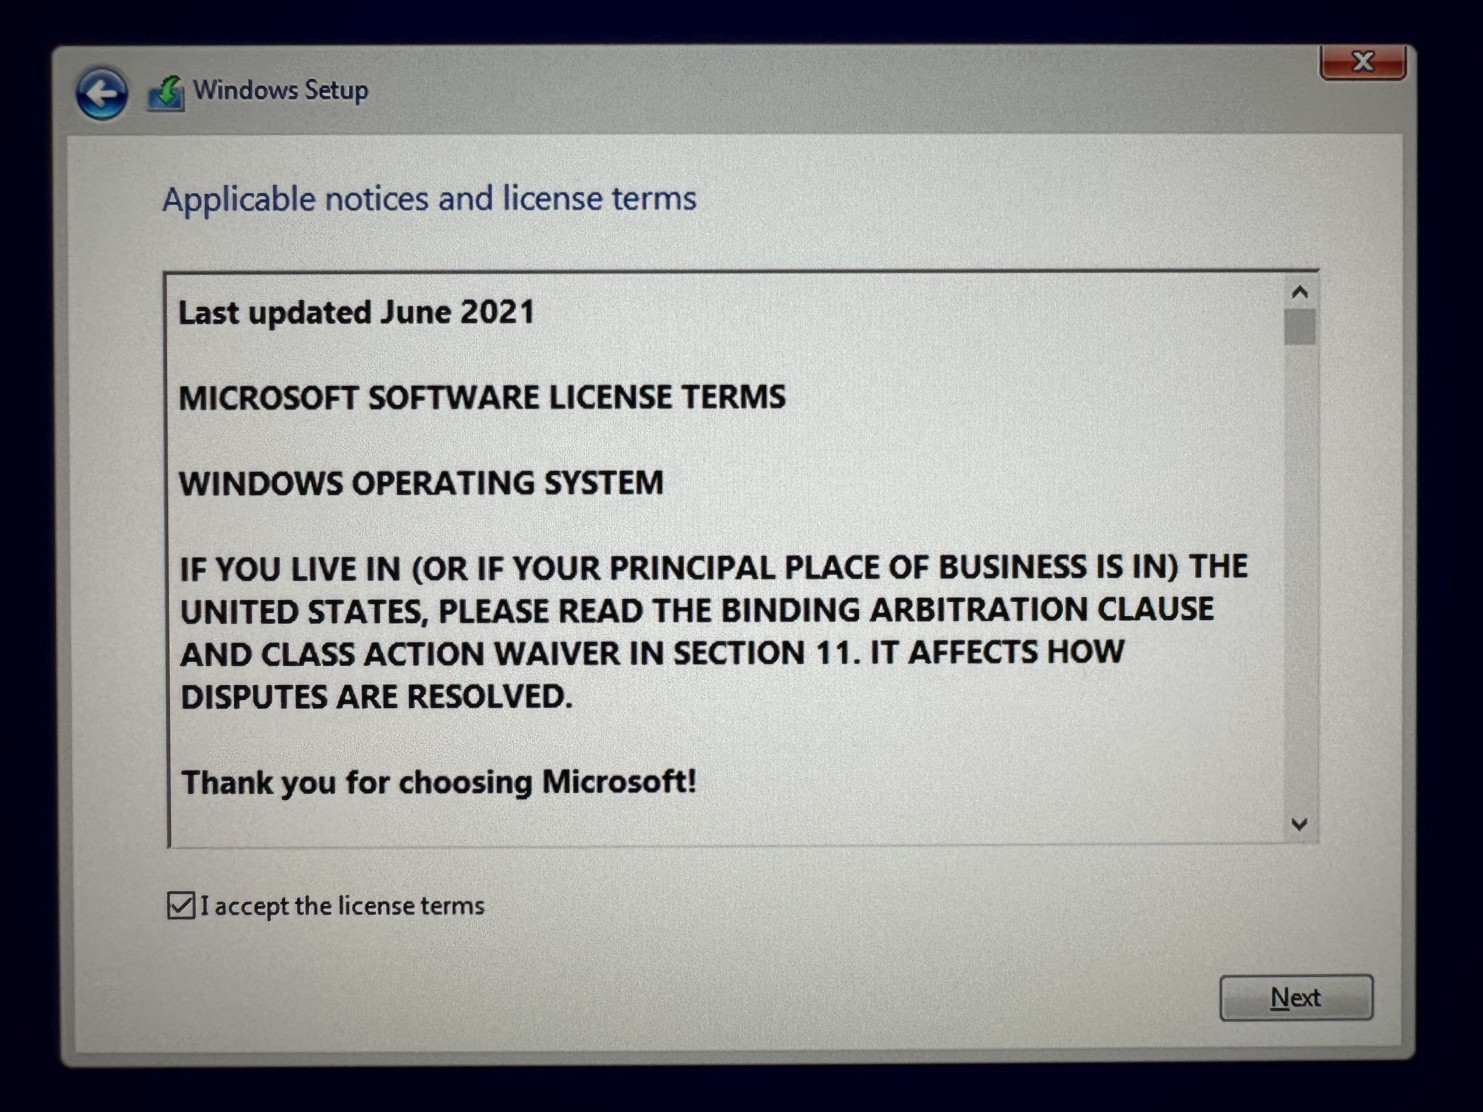
Step 15Read the licence terms, then check the checkbox I accept the licence terms and click Next button to continue. |
 |
|
|
|
Step 16Installation would be started right away. Installing Windows will take around 10-20 minutes. |
 |
|
|
|
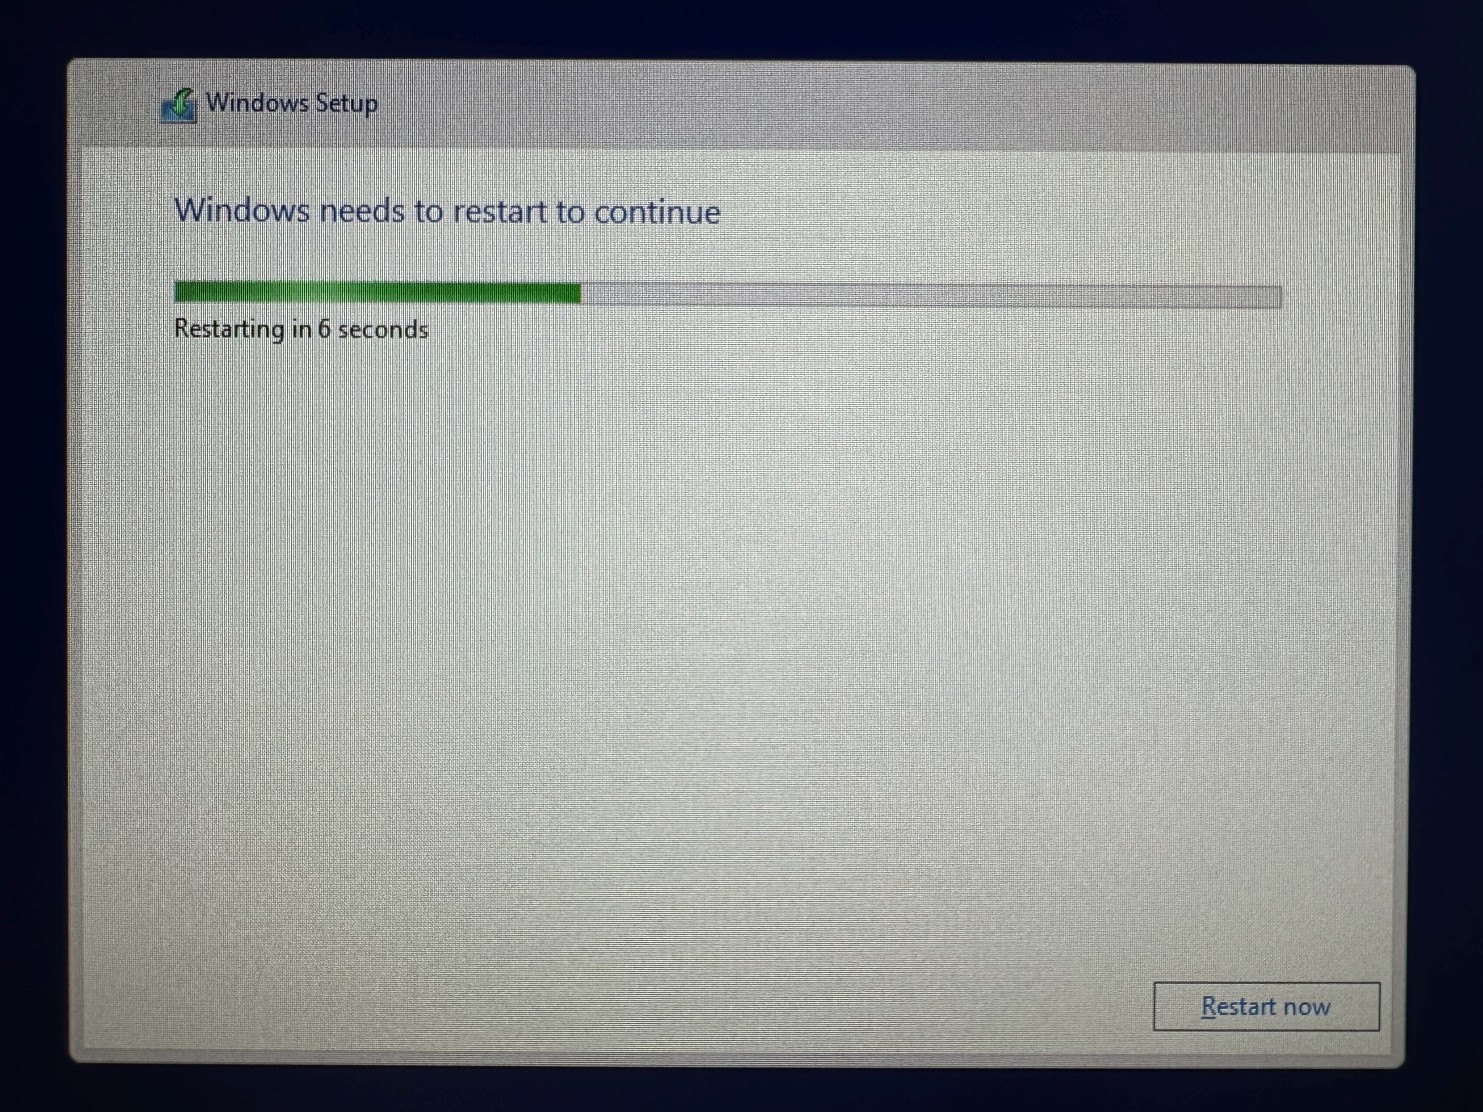
Step 17Wait a few seconds for automatic restart, or click Restart now button, if you don't like to wait. |
 |
|
|
|
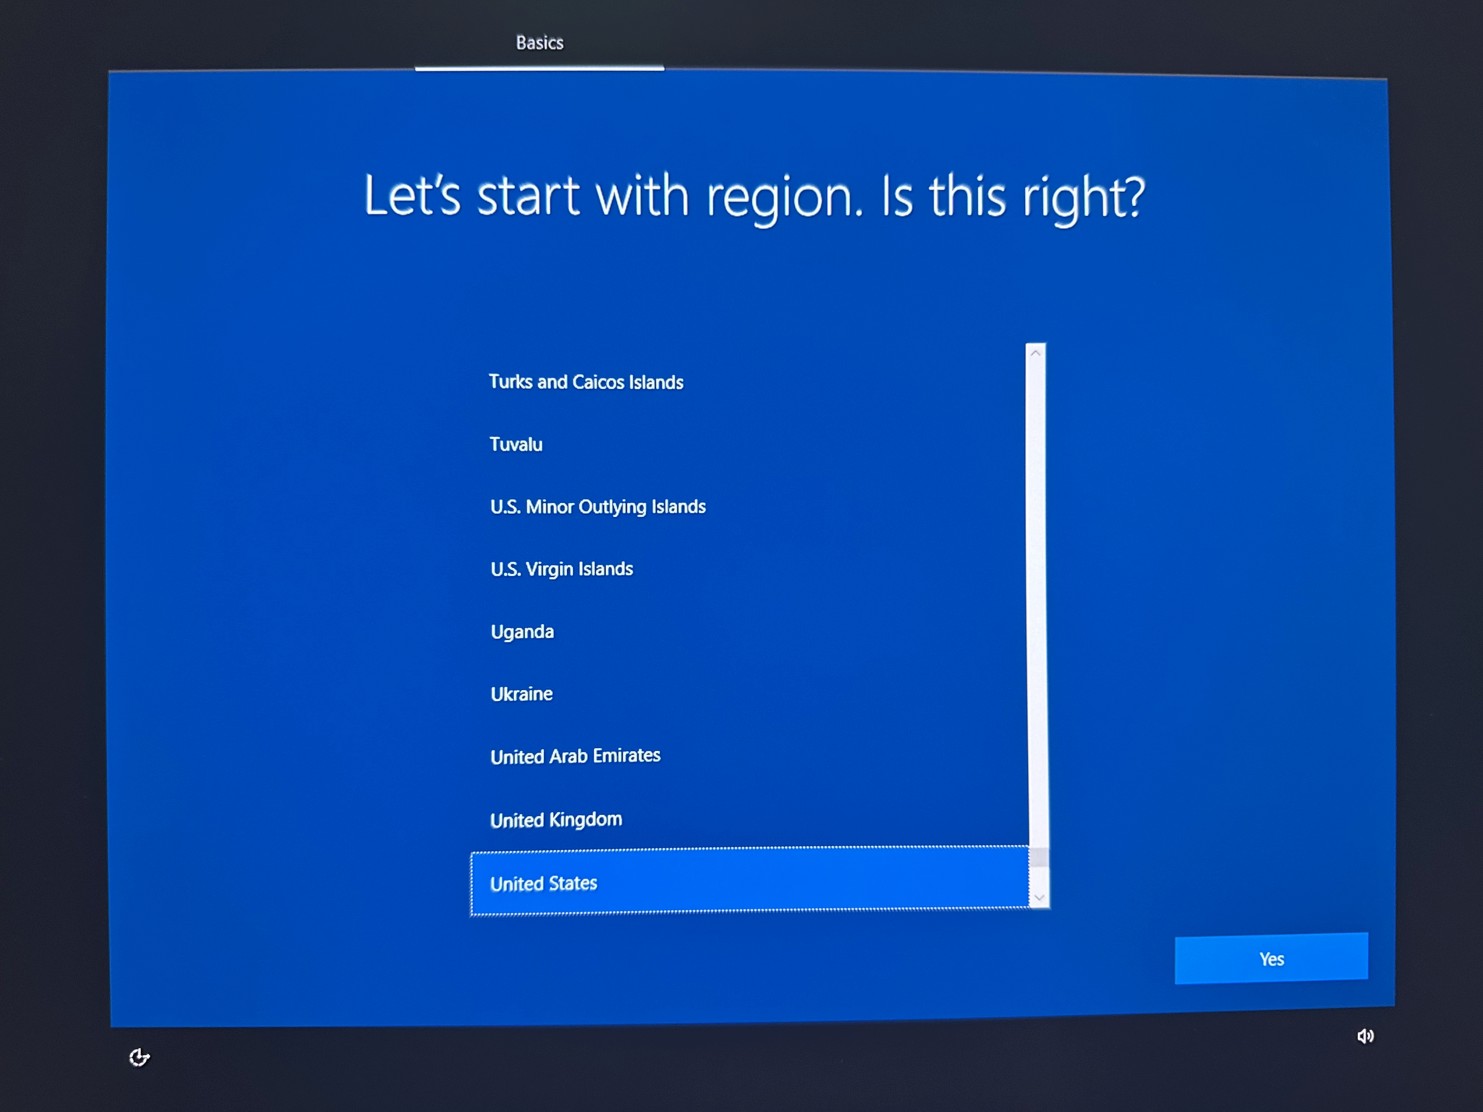
Step 18Now answer all installer questions, starting with region, and you will be presented with Windows 10 desktop. |
 |
|
|
|
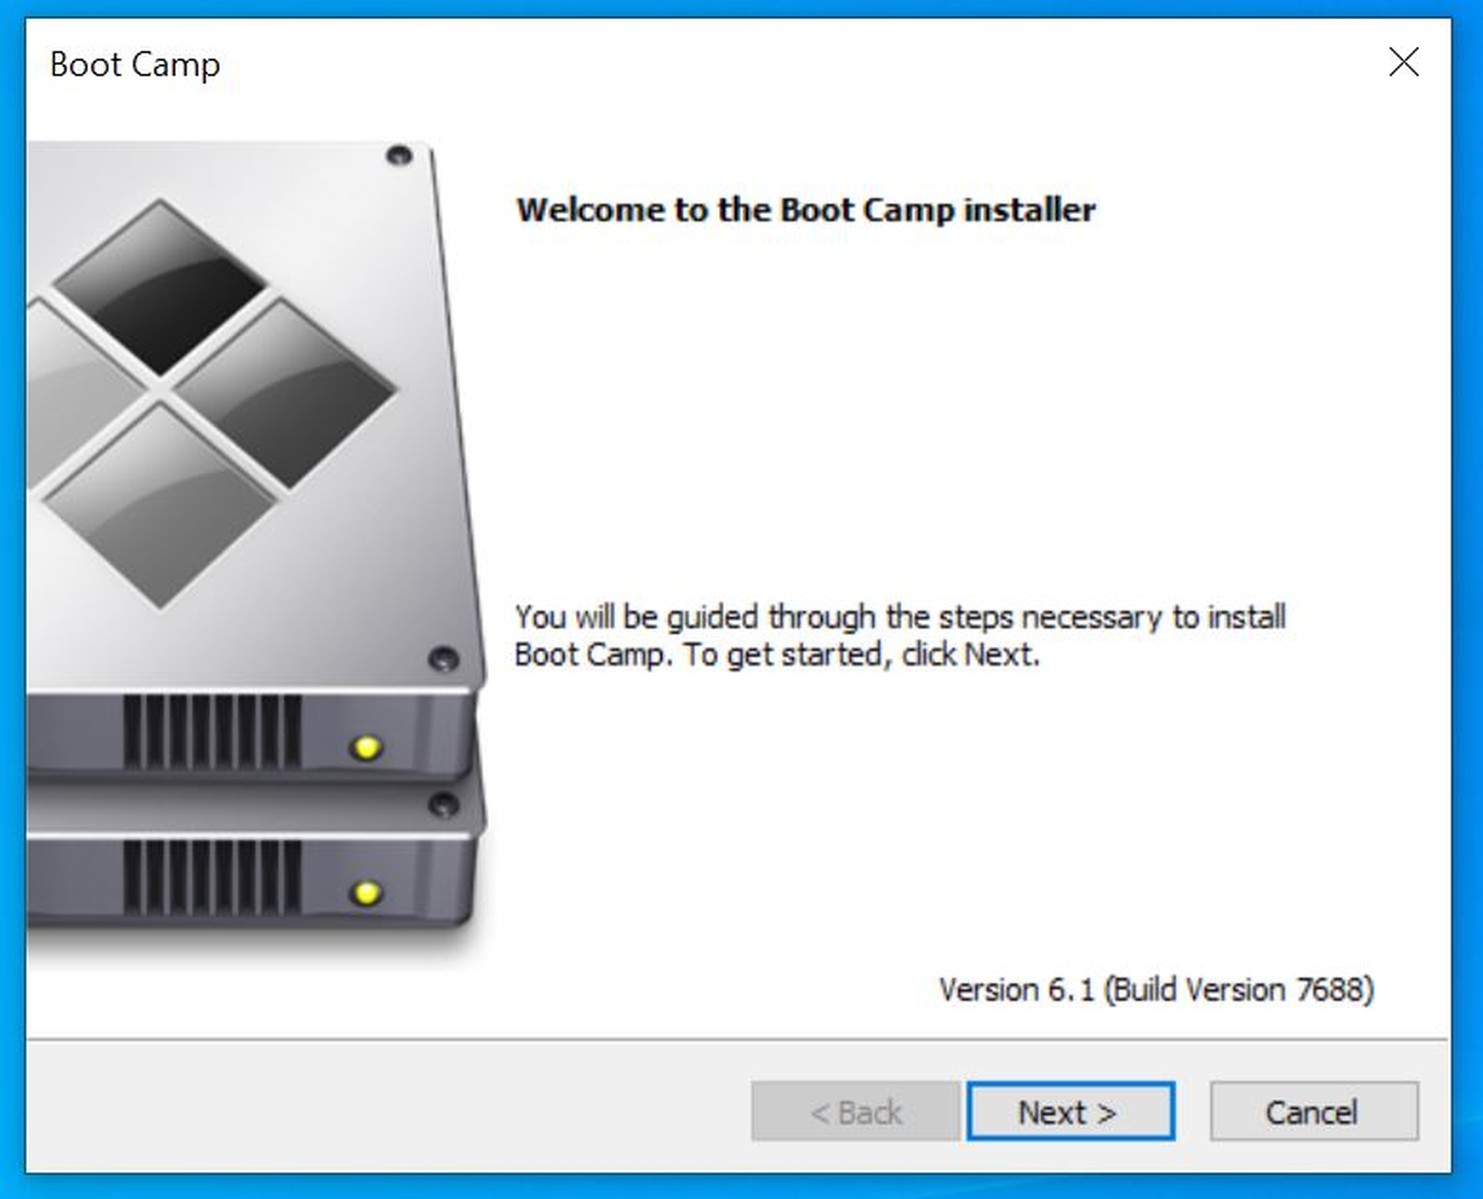
Step 19Apple Boot Camp assistant will start automatically. Click Next button to continue. |
 |
|
|
|
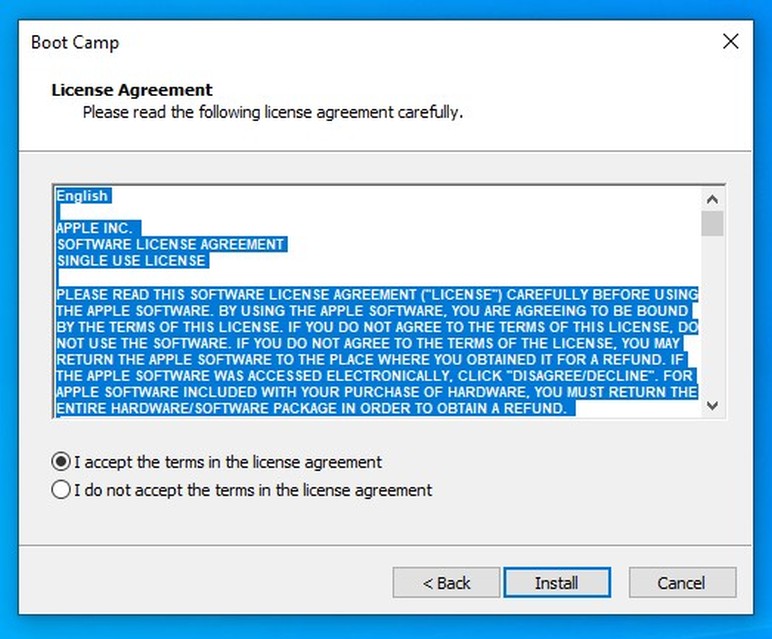
Step 20Read the licence agreement and click radio button next to "I accept the terms in the licence agreement" and then Install button to start the installation. |
 |
|
|
|
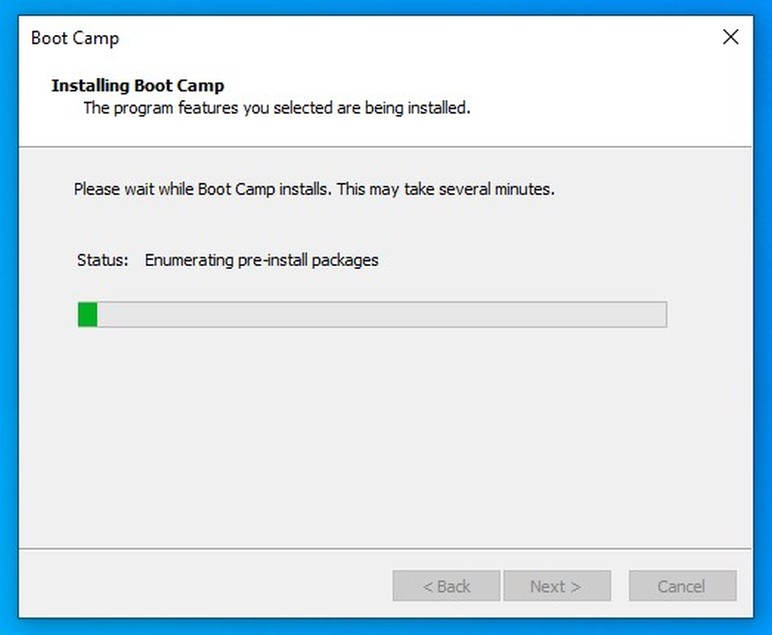
Step 21It will take several minutes to install all drivers and Apple Boot Camp software. Please note, your screen might go on and off during this time. |
 |
|
|
|
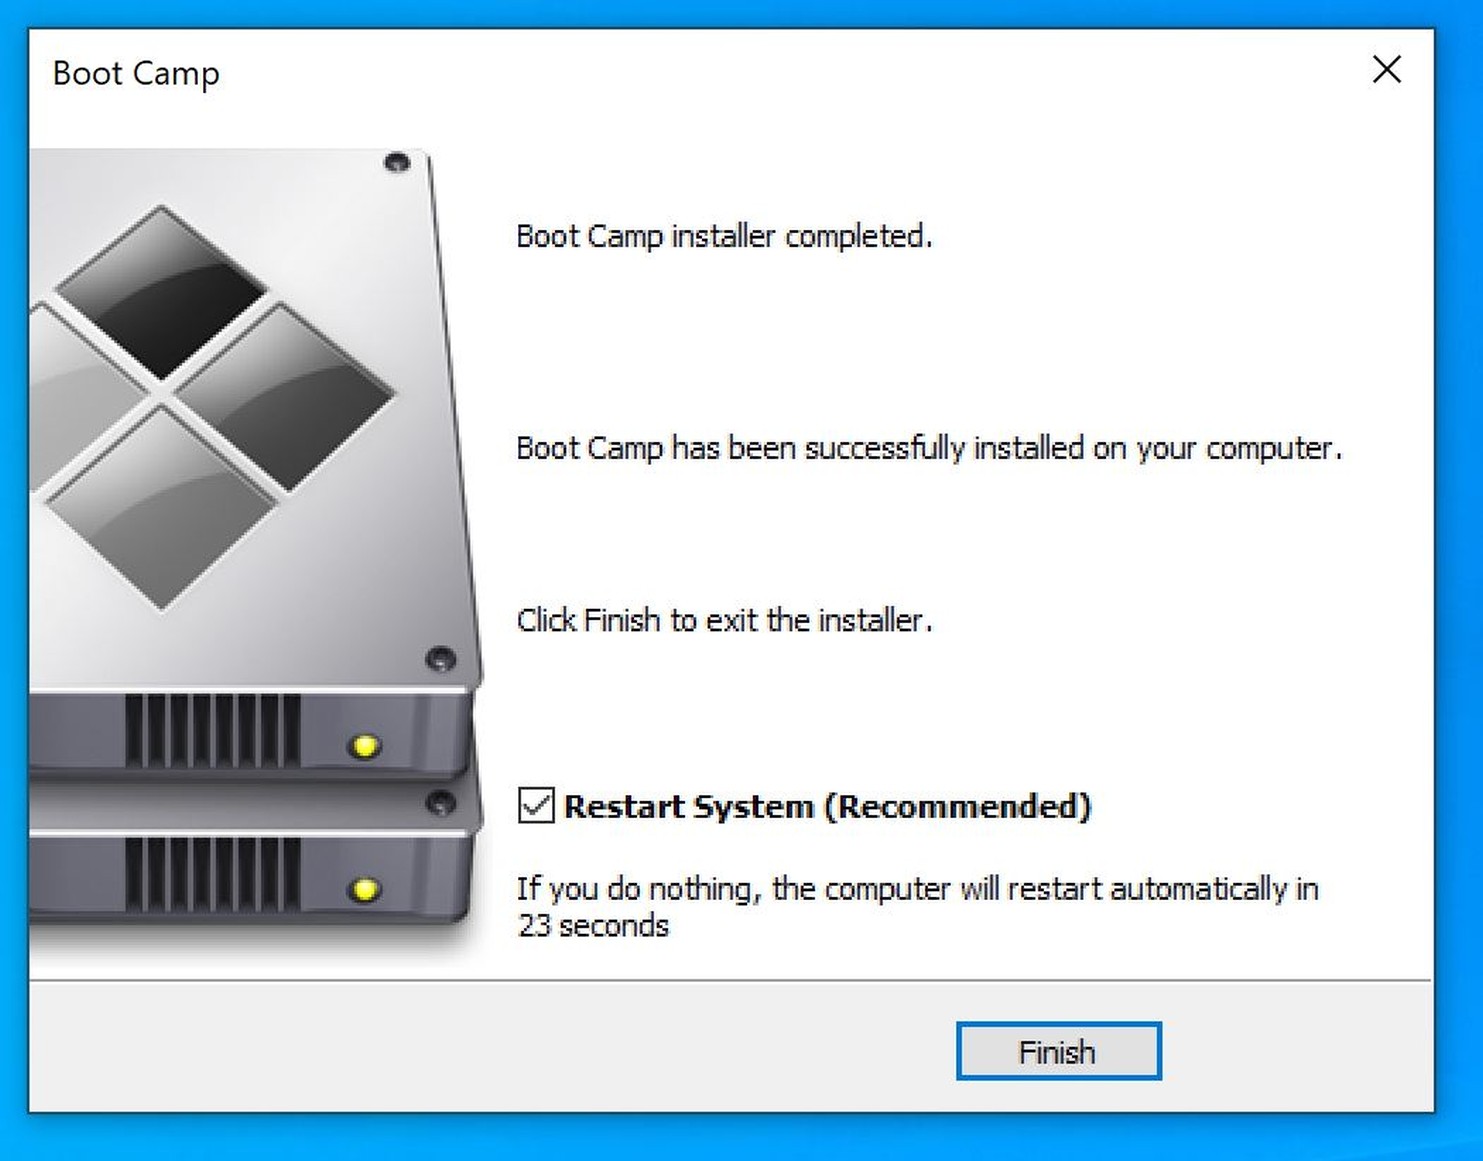
Step 22Make sure Restart System (Recommended) checkbox is checked and click Finish button to restart the computer. |
 |
|
|
|
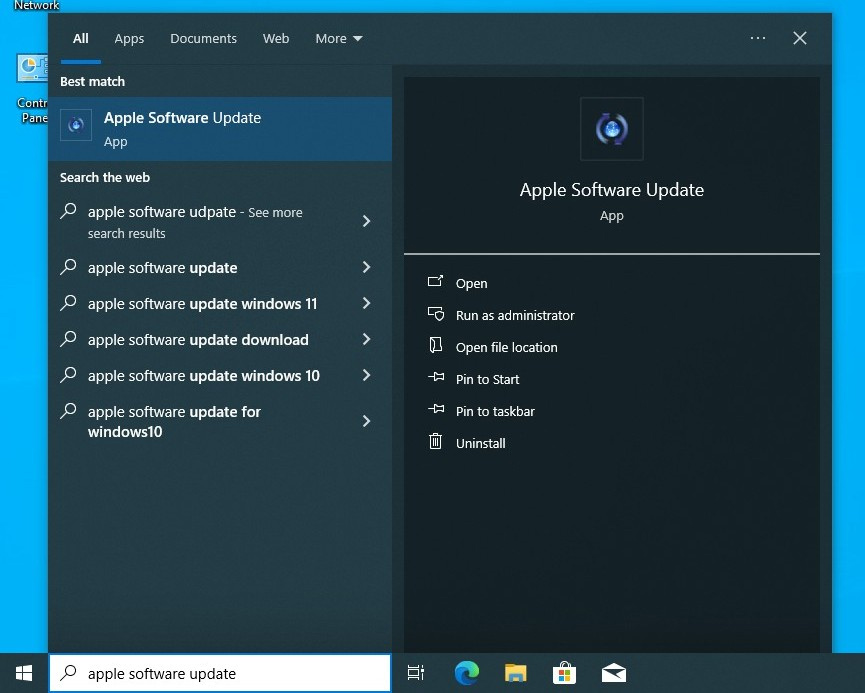
Step 23Now we need to update Apple Boot Camp software to much newer version 6.1.14. Also, there is some important Wi-Fi module security update, that's need to be installed.
Click Start menu, search for Apple Software Update and click on it to run it. |
 |
|
|
|
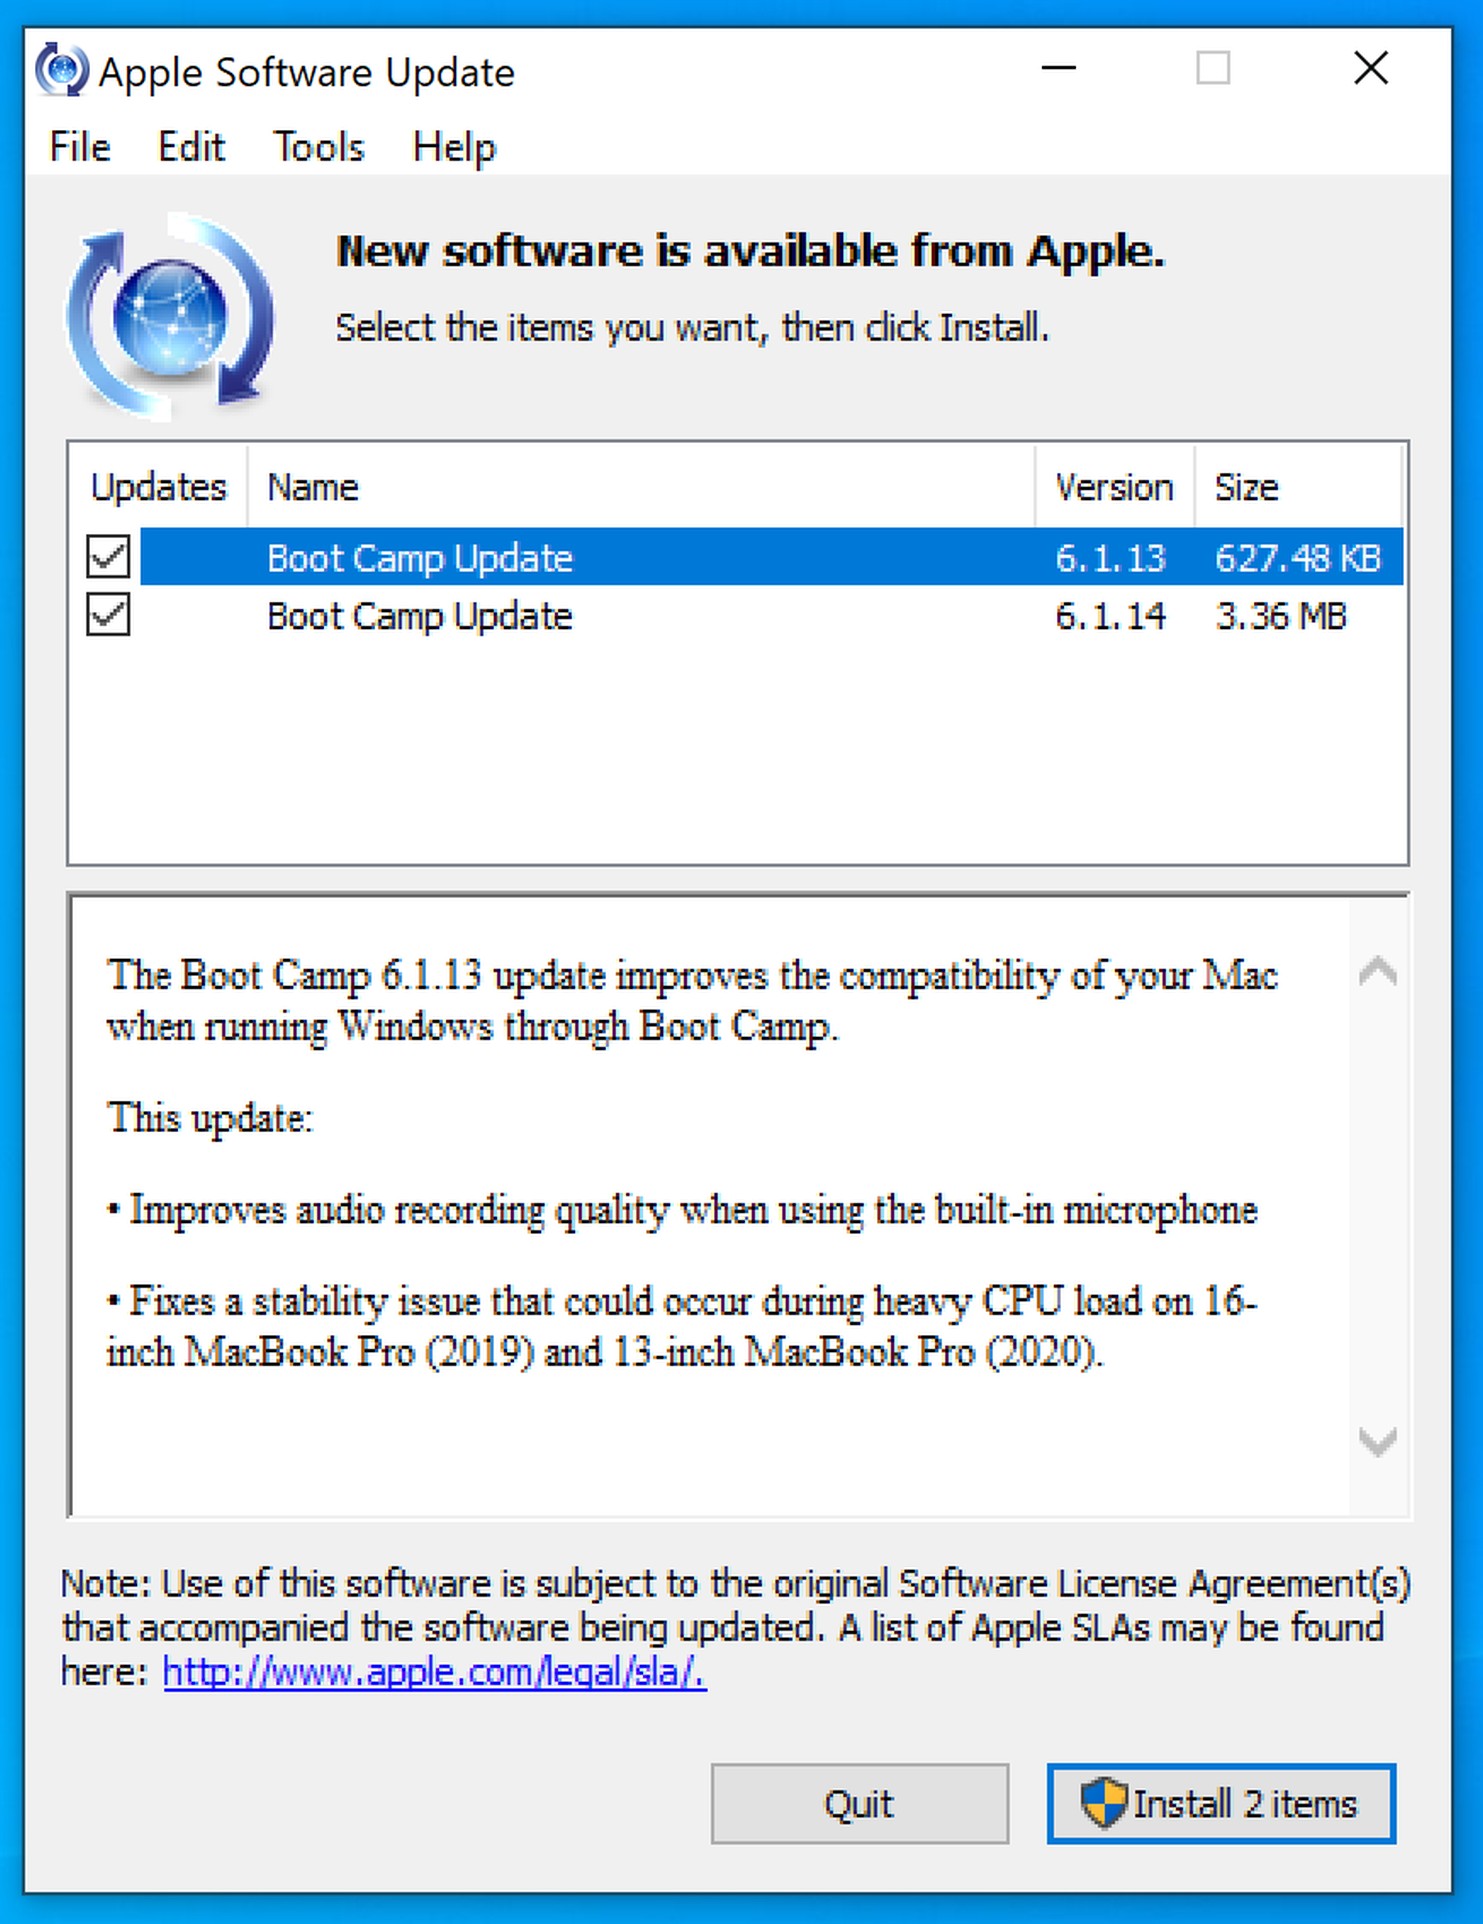
Step 24Make sure both Boot Camp Update 6.1.13 and Boot Camp Update 6.1.14 are selected, and click Install 2 items button to continue.
WARNING: If you have an old Apple Cinema HD Display uncheck Boot Camp Update 6.1.14 update, so it won't get installed, otherwise brightness overlay would stop working. |
 |
|
|
|
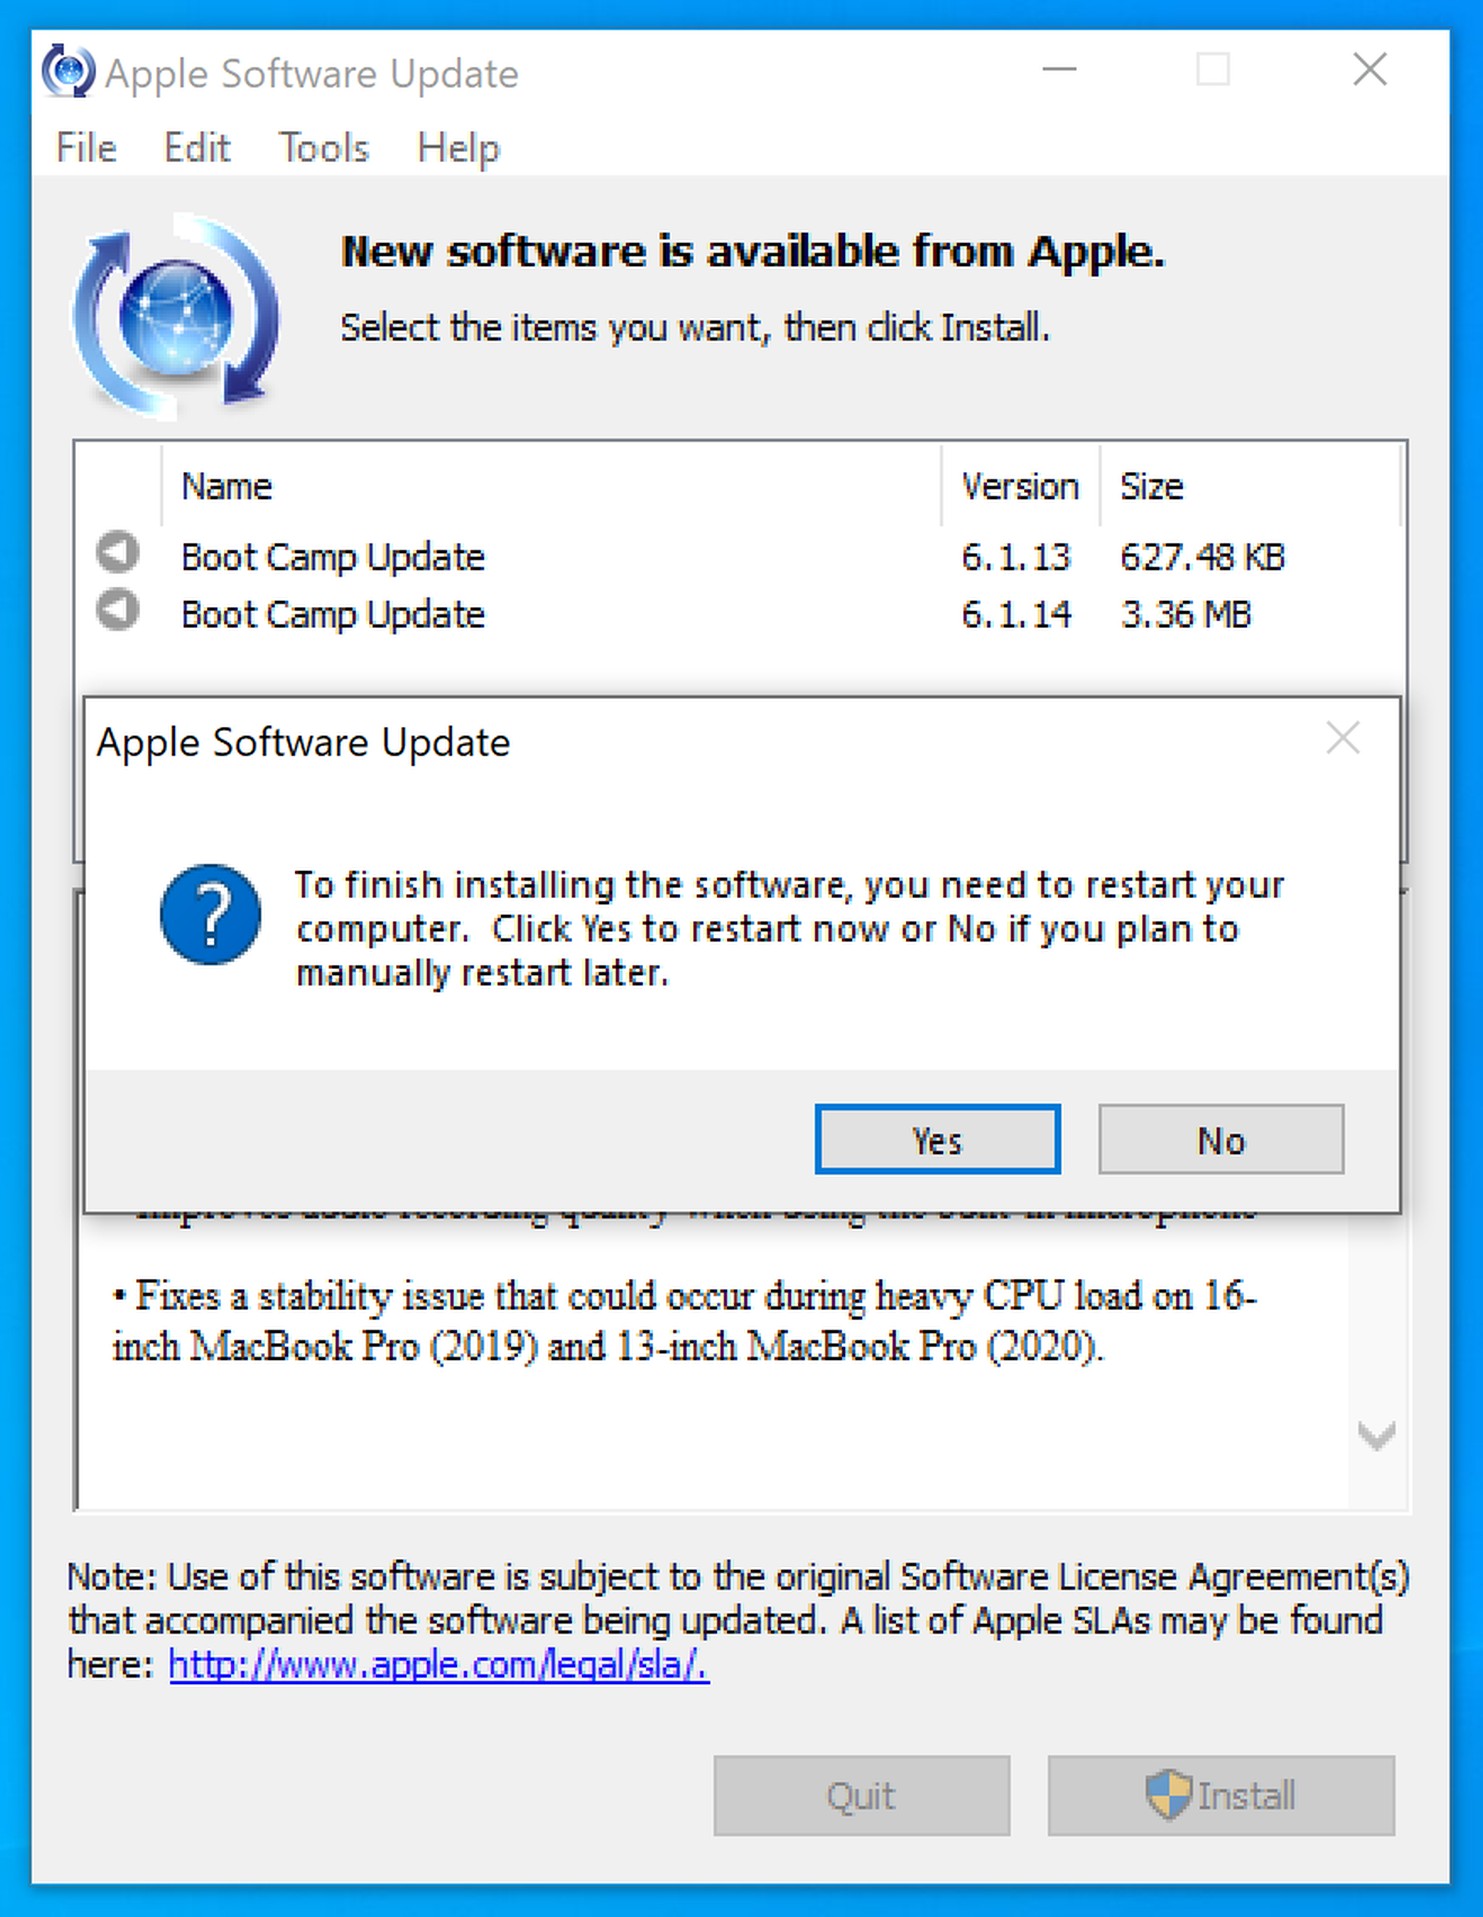
Step 25Click Yes button to restart the computer. |
 |
|
|
|
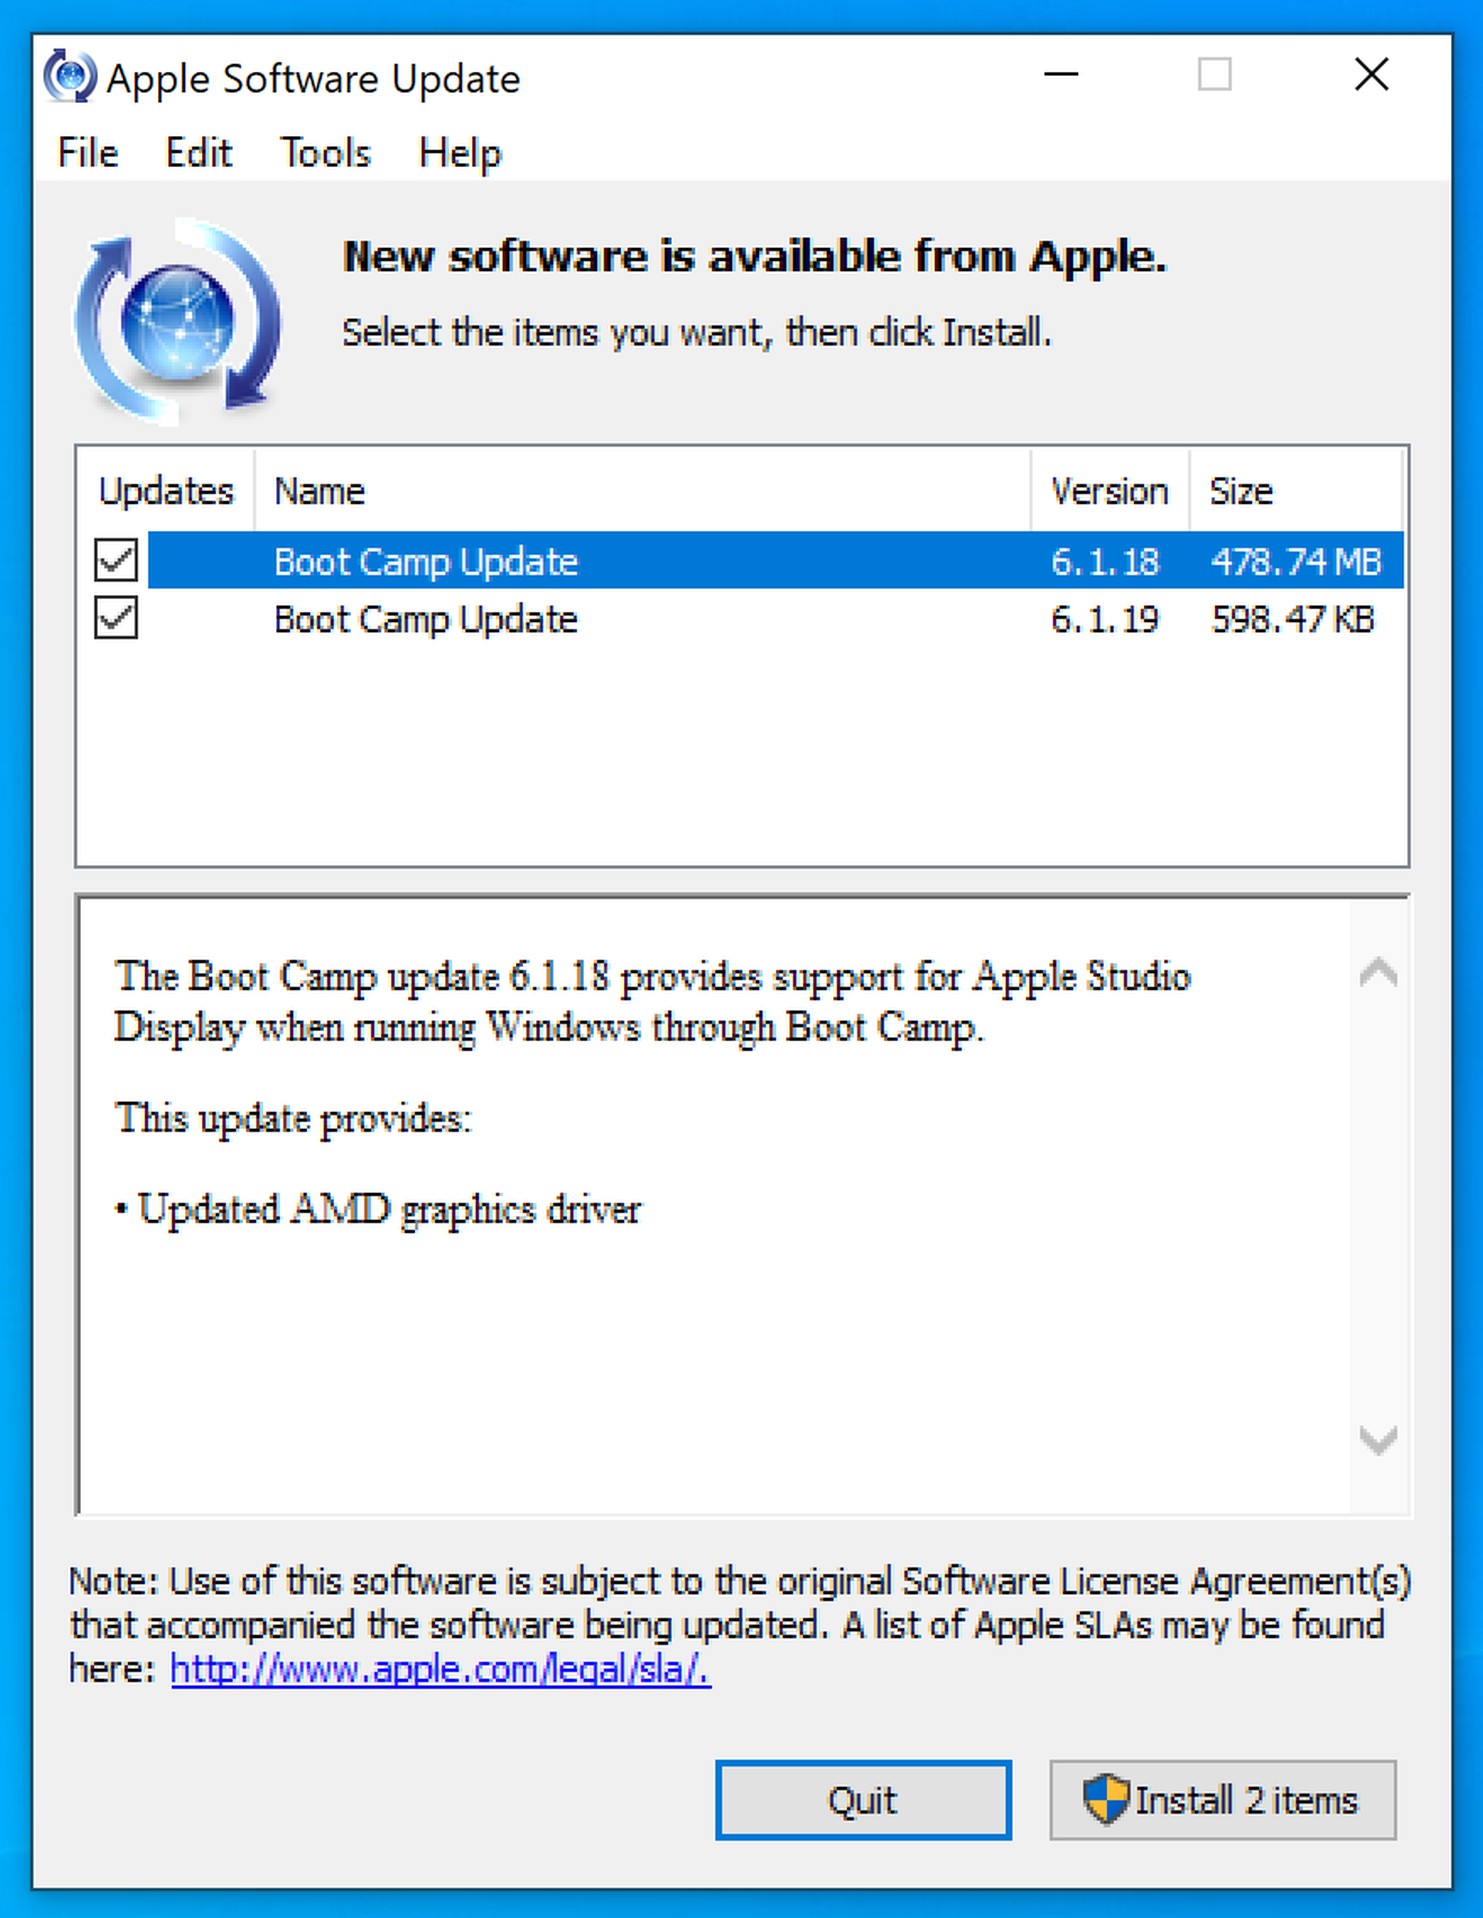
Step 26After restart please run Apple Software Update again, so you can update Boot Camp to the latest version.
Make sure both Boot Camp Update 6.1.18 and Boot Camp Update 6.1.19 are selected, and click Install 2 items button to continue. |
 |
|
|
|
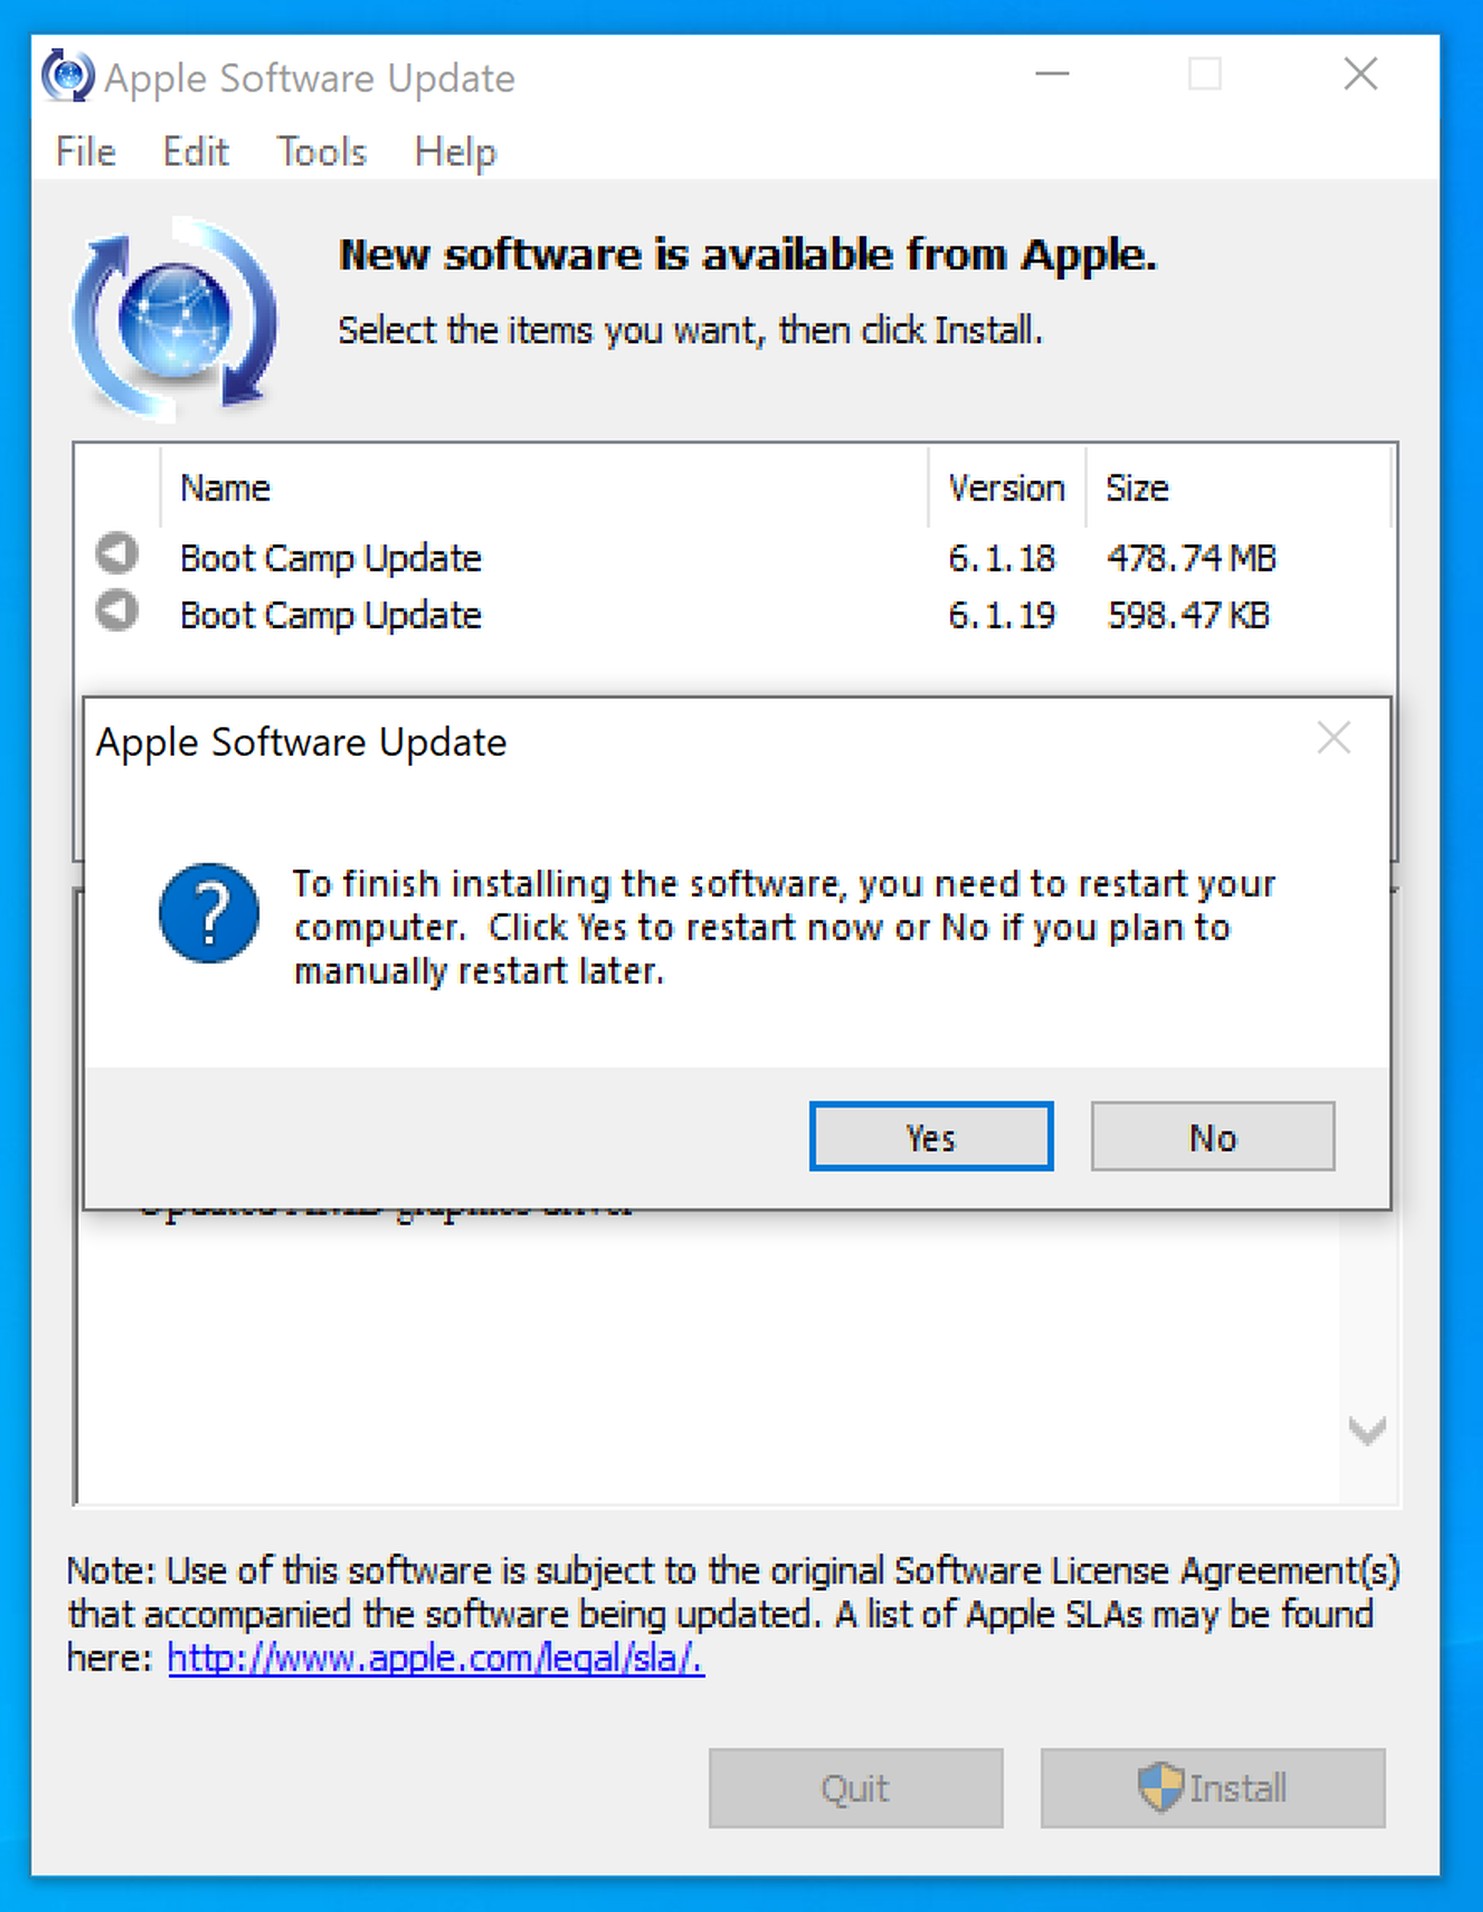
Step 27Again, click Yes button to restart the computer. |
 |
|
|
|
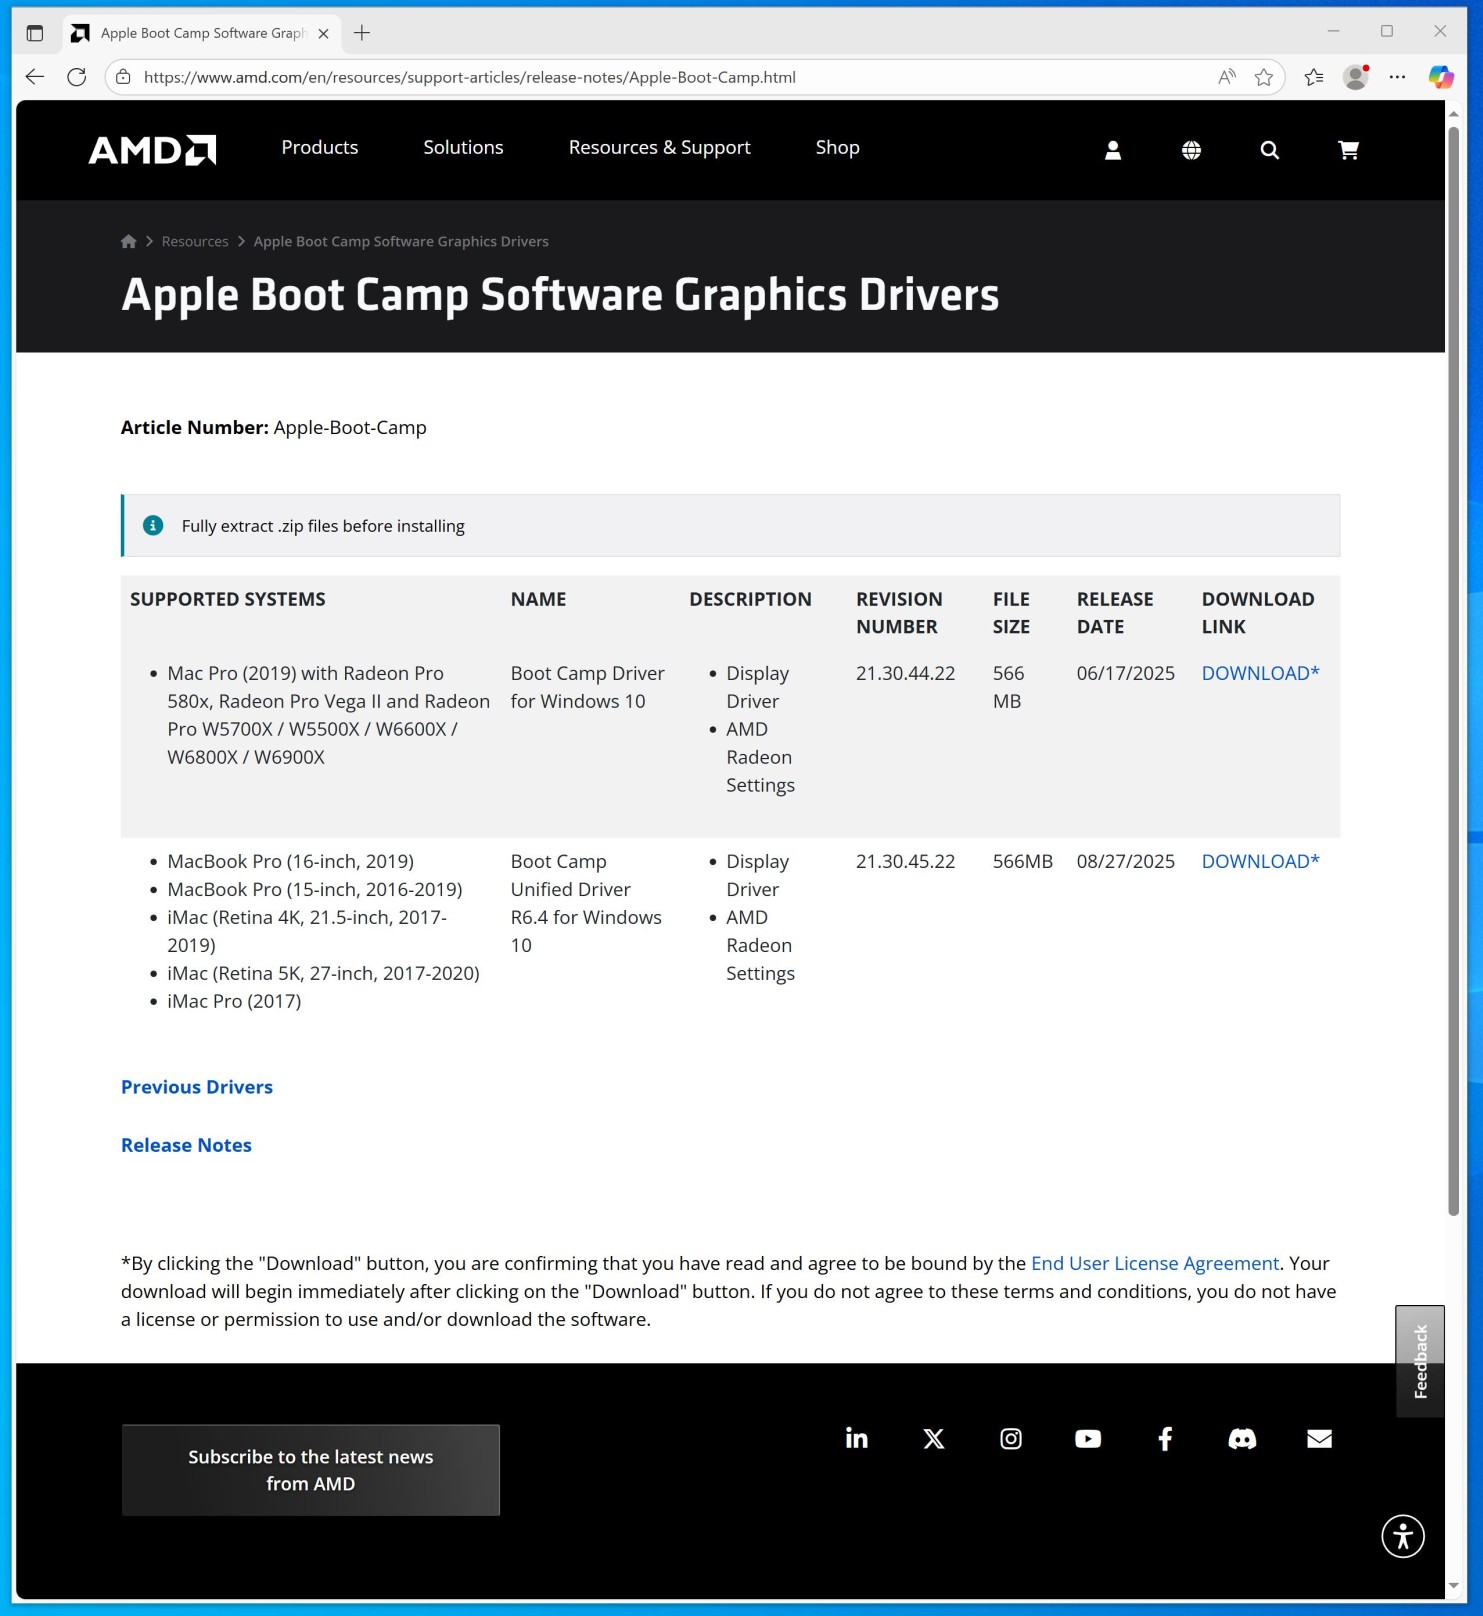
Step 28Now it's time to update AMD graphics driver to the latest version containing all security updates.
Open a following website in Microsoft Edge: https://www.amd.com/en/resources/support-articles/release-notes/Apple-Boot-Camp.html
Click Download link in the first line to download drivers for Mac Pro (2019). |
 |
|
|
|
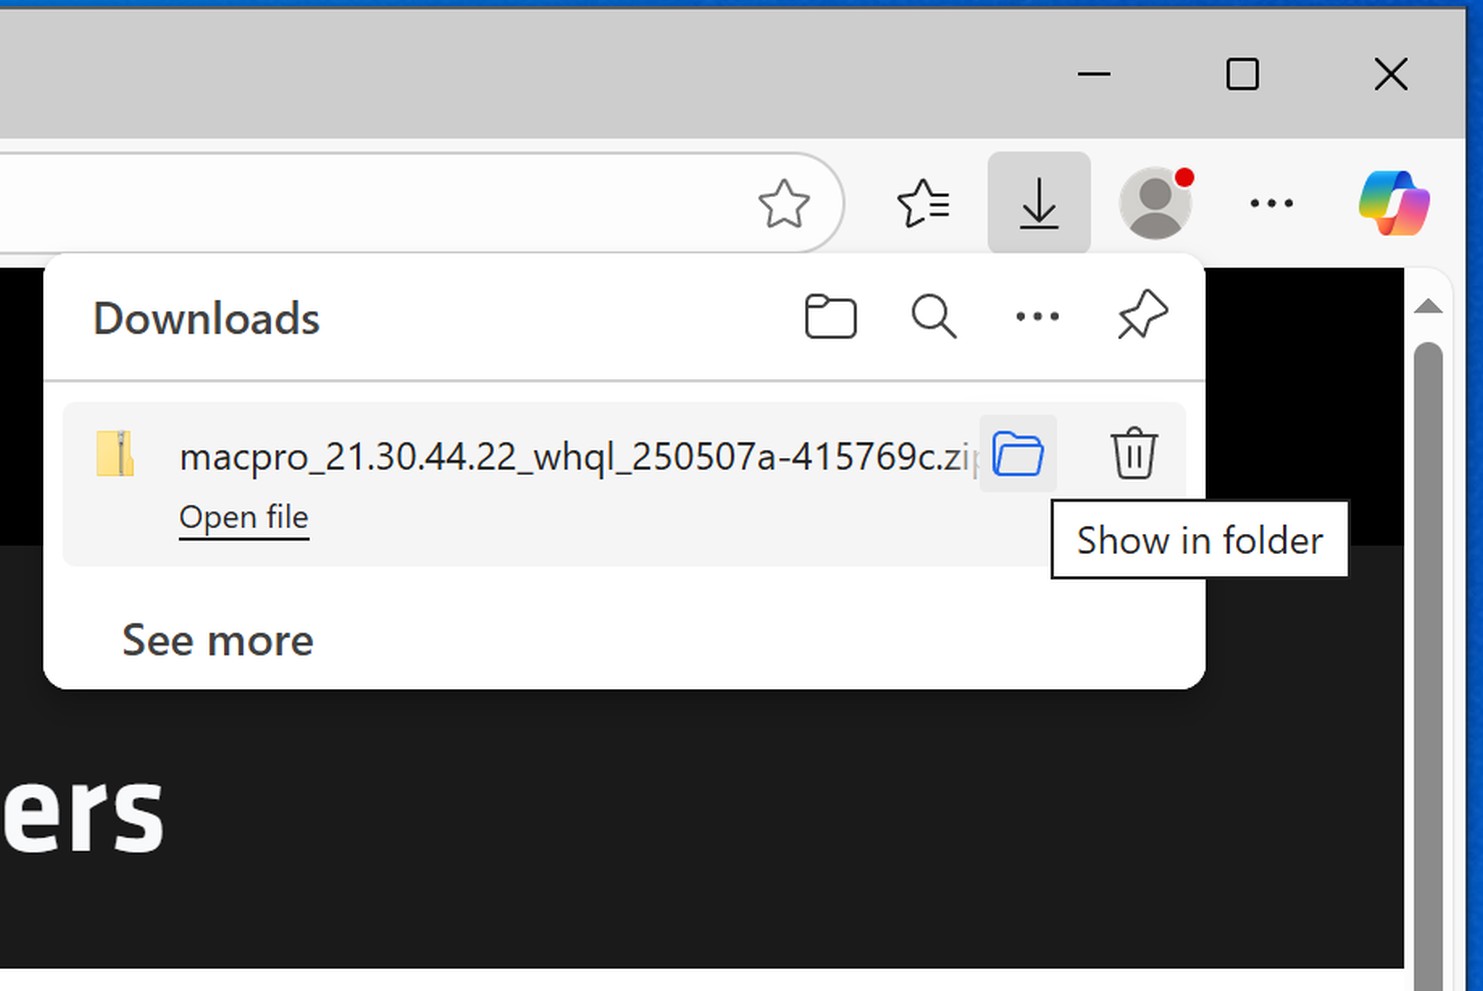
Step 29In browser Downloads section click Show in folder icon.
|
 |
|
|
|
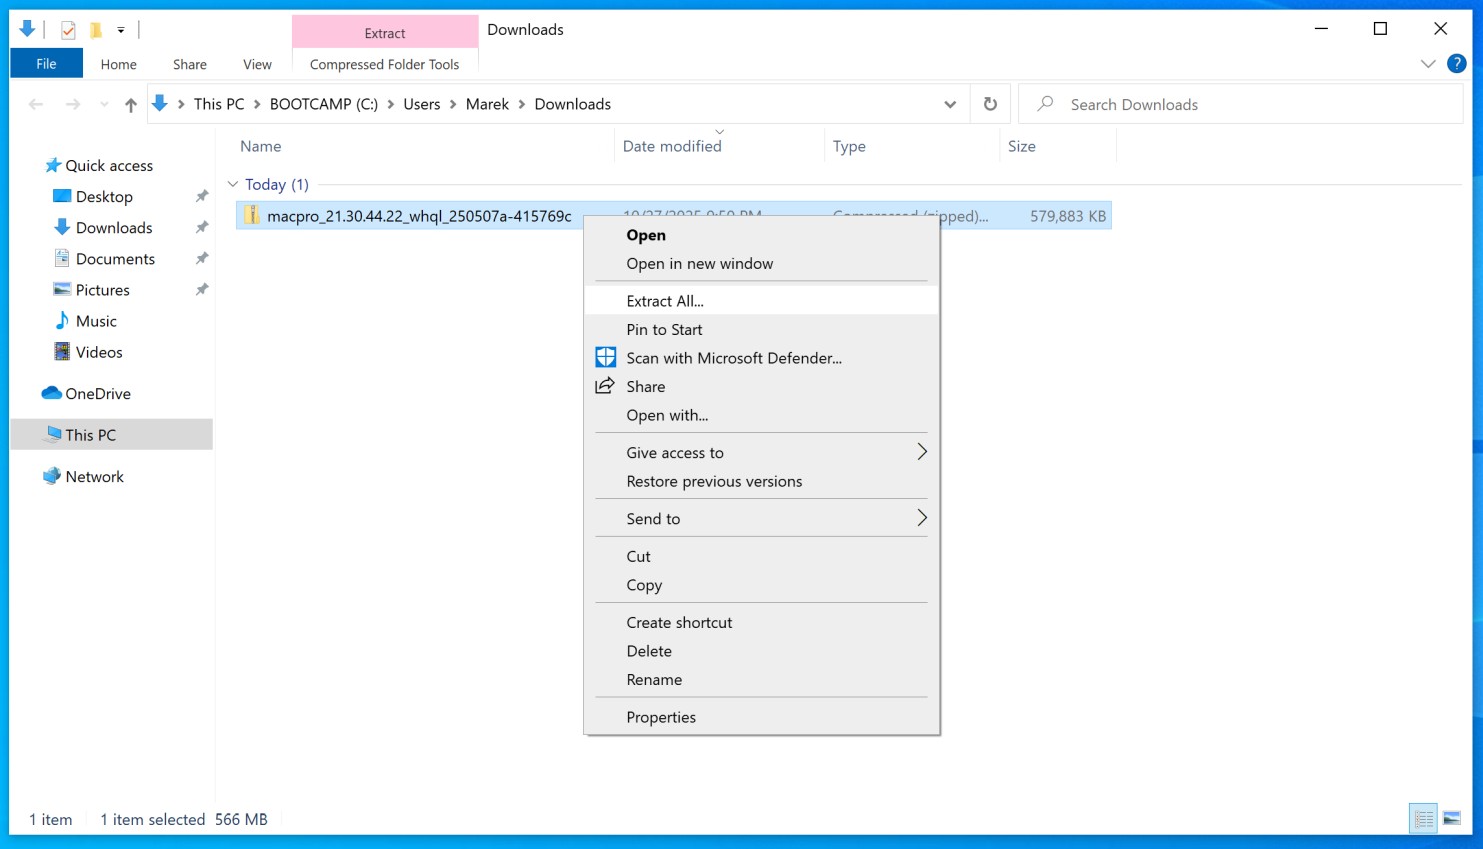
Step 30Right-click the downloaded zip file and choose Extract All.. option from the context menu to extract the archive.
|
 |
|
|
|
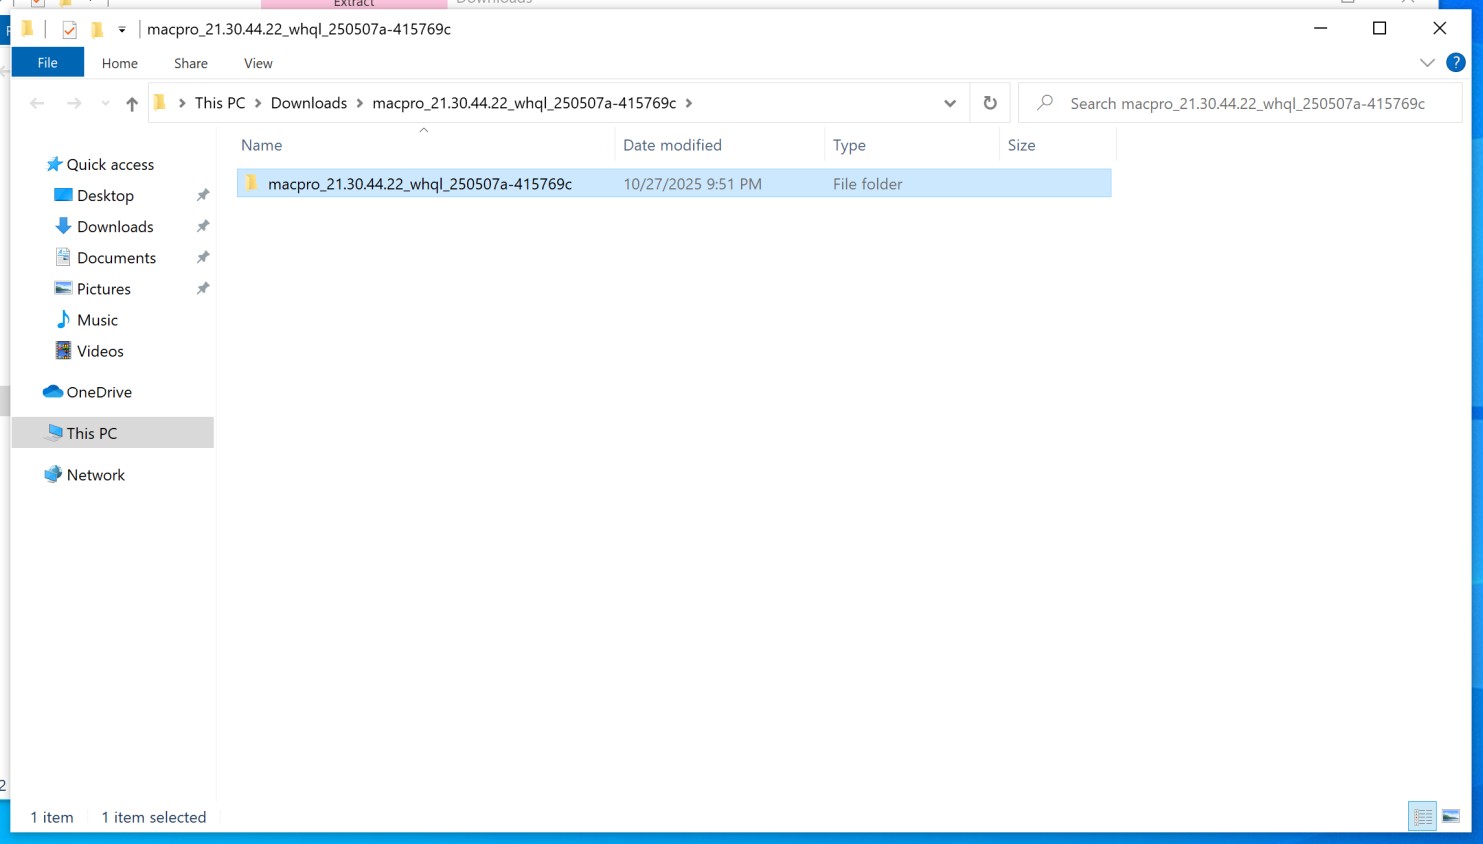
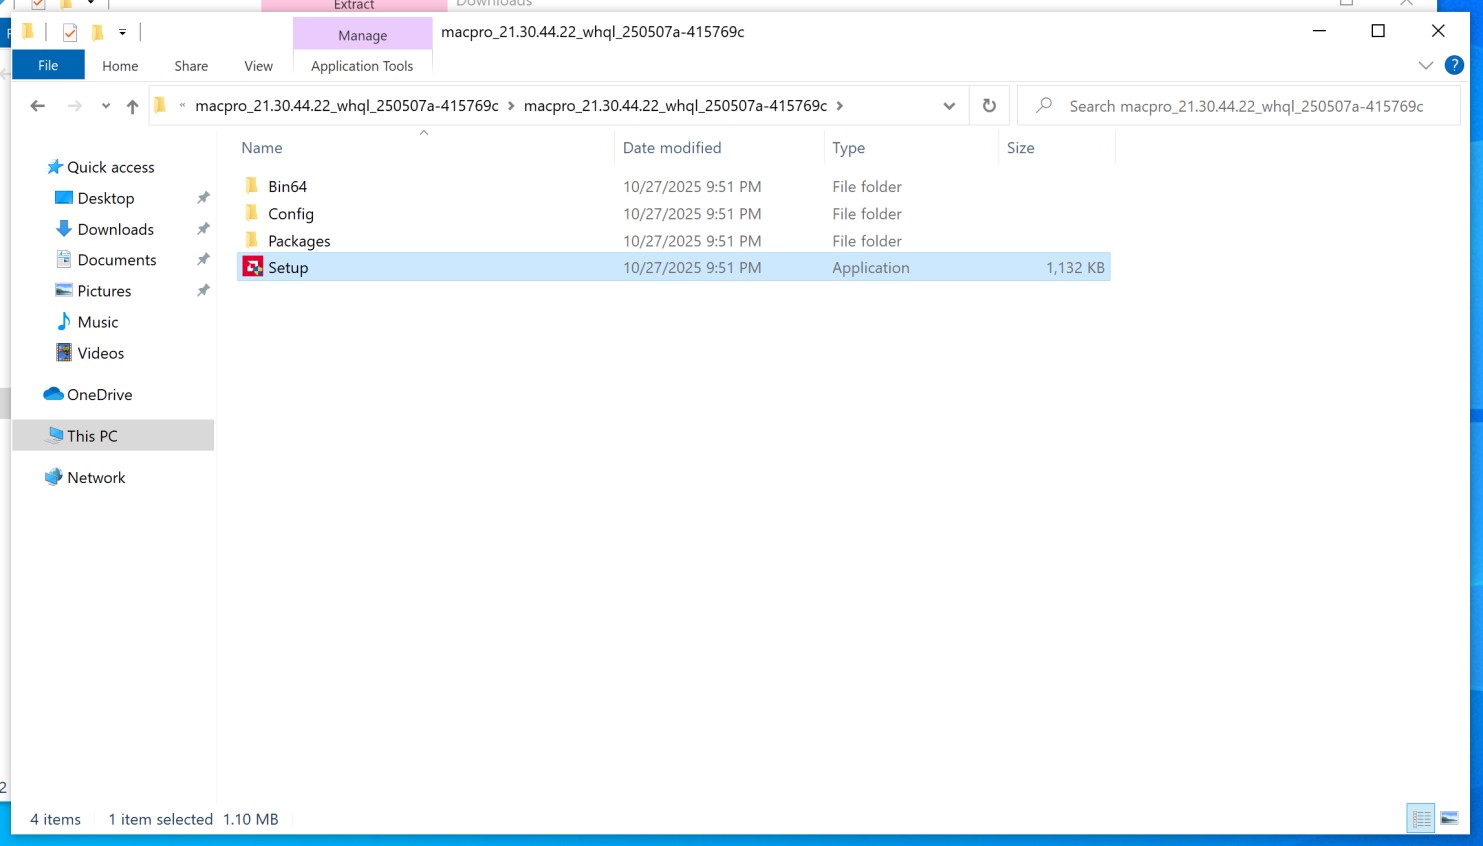
Step 31Double-click the extracted folder to open it.
|
 |
|
|
|
Step 32Double-click Setup.exe file to run driver installer.
|
 |
|
|
|
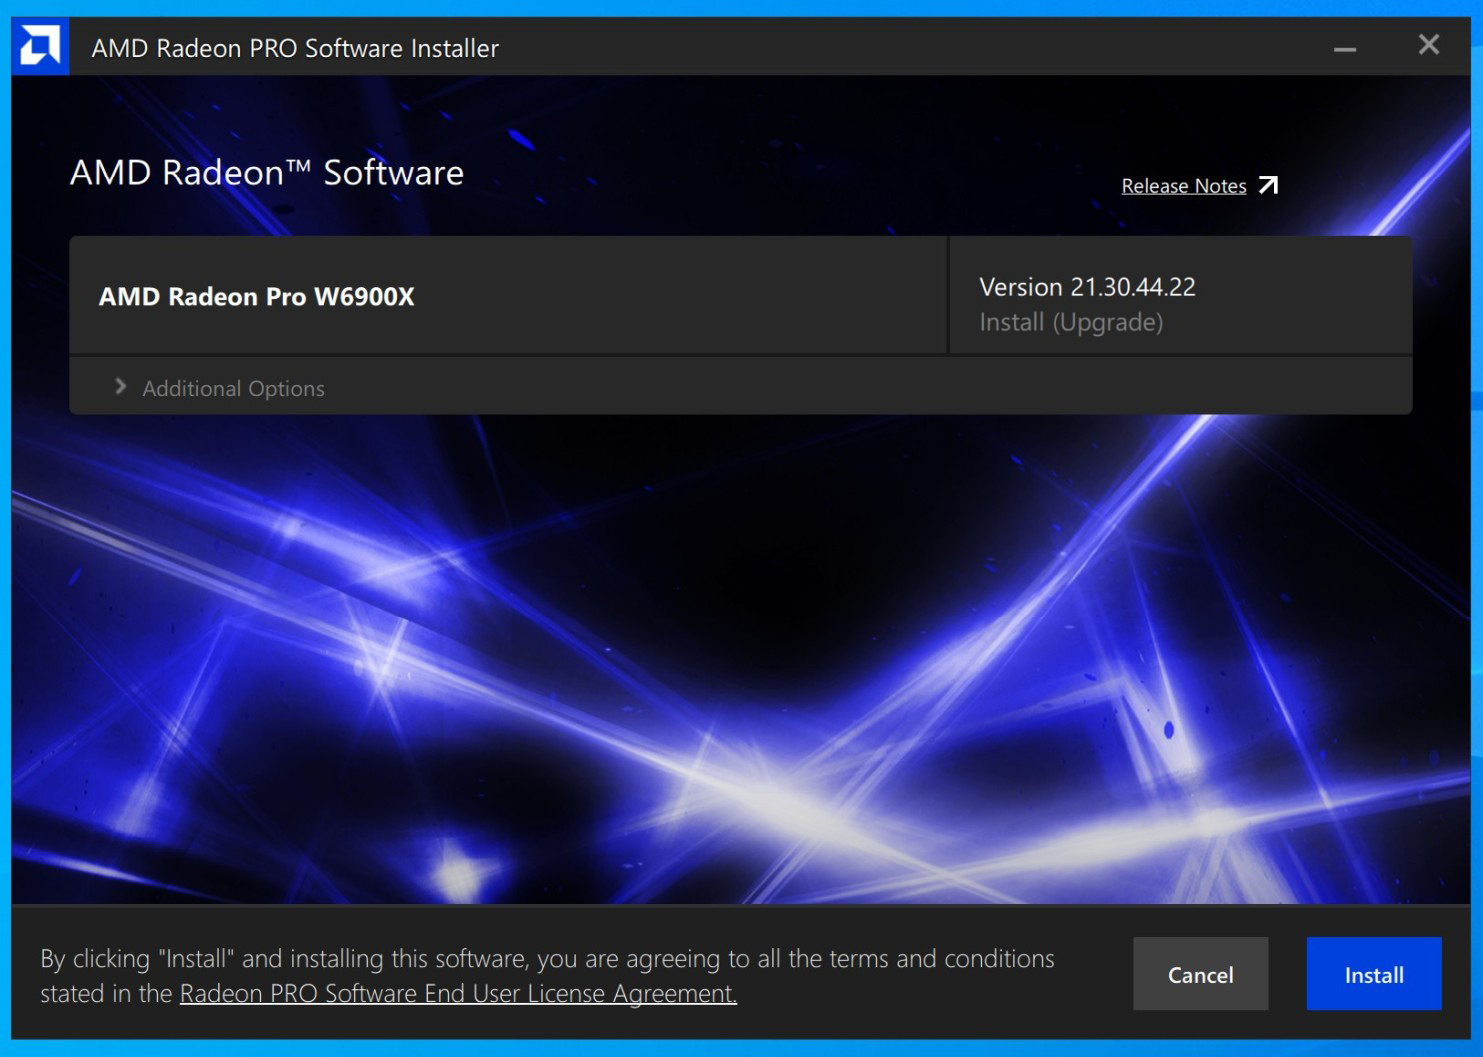
Step 33Leave all options as is and click Install button to start the installation.
|
 |
|
|
|
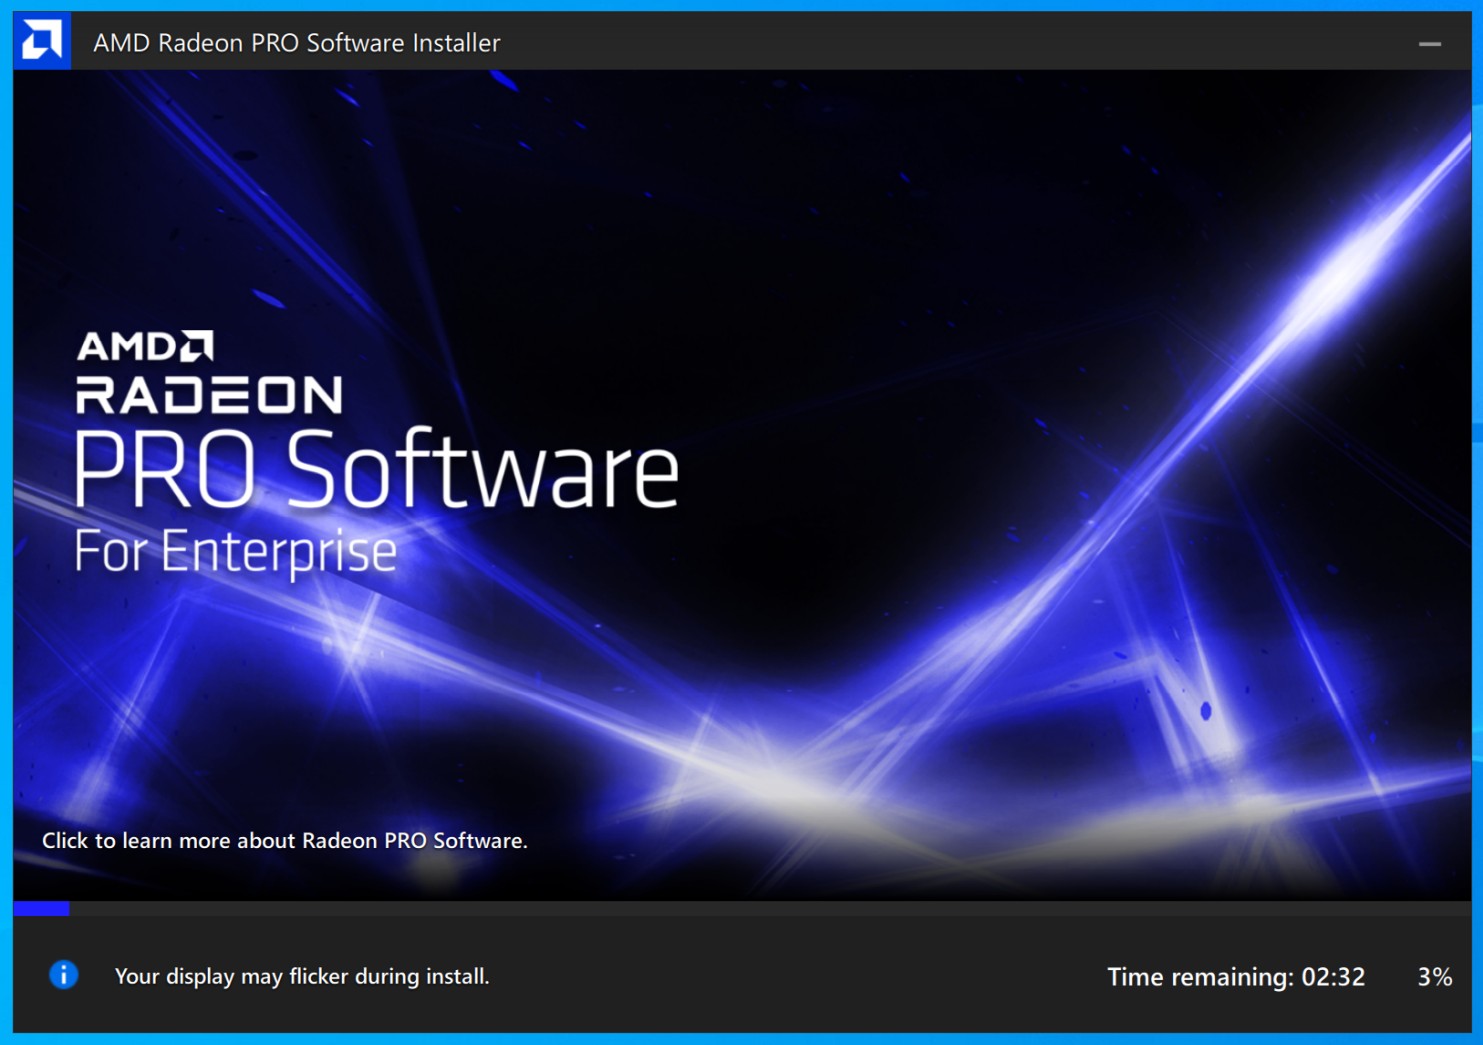
Step 34Installing the driver would take around 3 minutes to complete.
|
 |
|
|
|
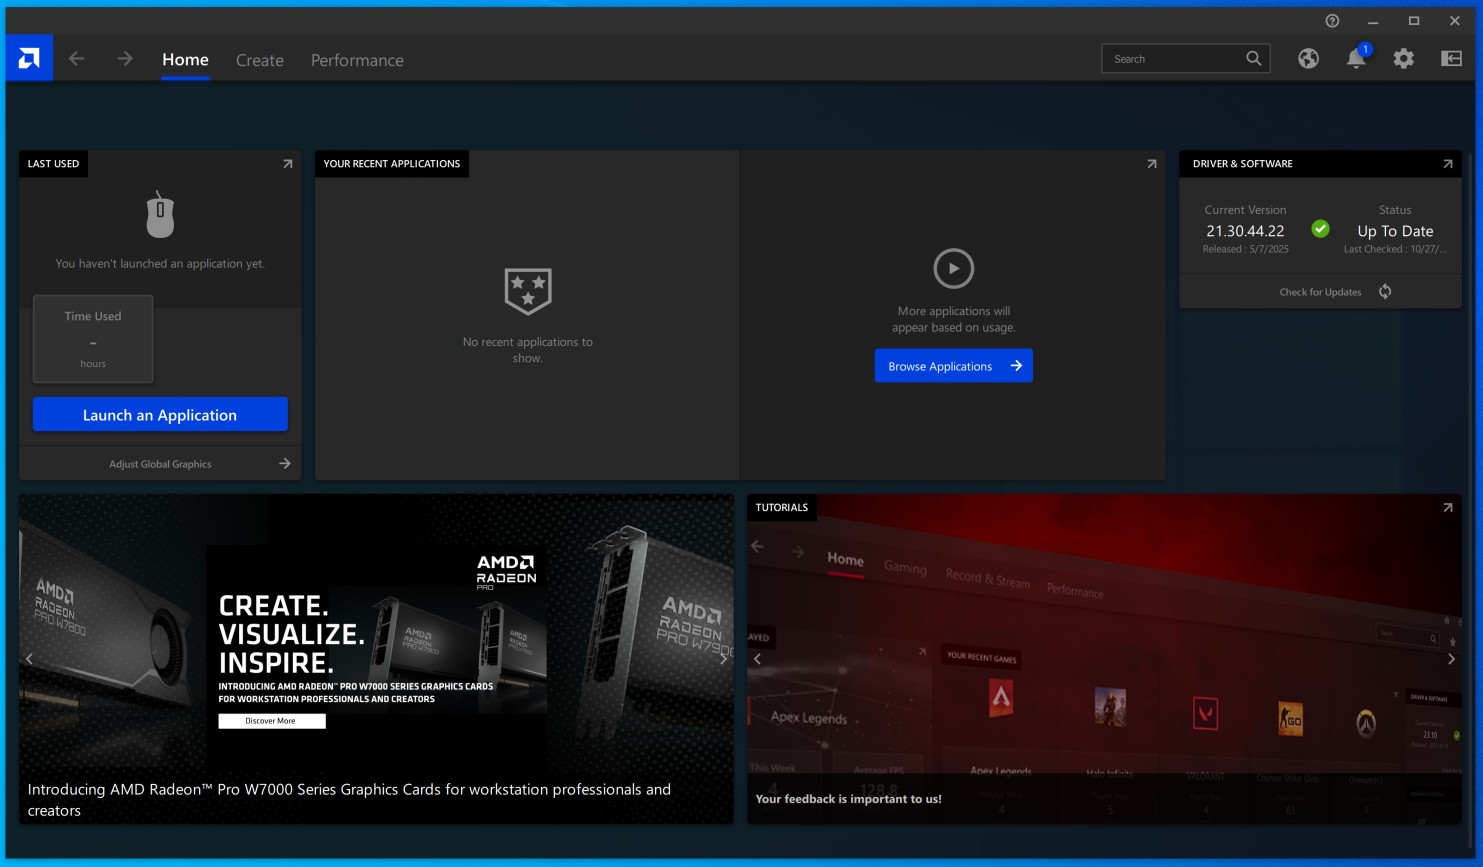
Step 35Leave the Launch AMD Radeon Pro Software checkbox checked and click Finish button to finish the driver installation.
|
 |
|
|
|
Step 36Here you can change all your AMD MPX graphics module options if needed. |
 |
|
|
|
Step 37Now you can test if the Boot Camp application itself is working properly.
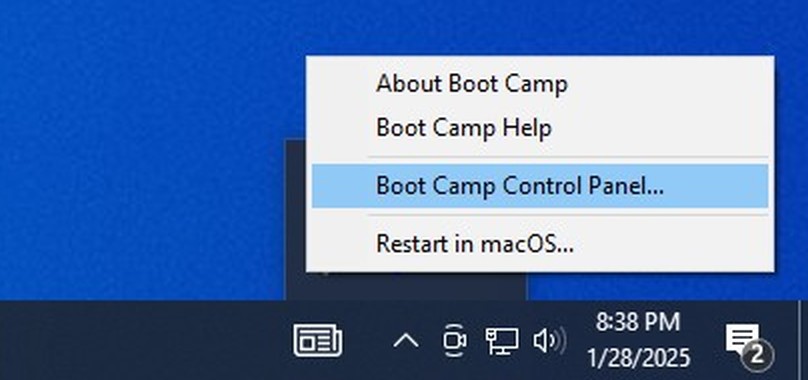
Apple Boot Camp is located in the system tray. You need to click gray triangle icon in your tray (sometimes you need to click an arrow to reveal all tray icons). |
 |
|
|
|
Step 38Now select Boot Camp Control Panel... option from the context menu. |
 |
|
|
|
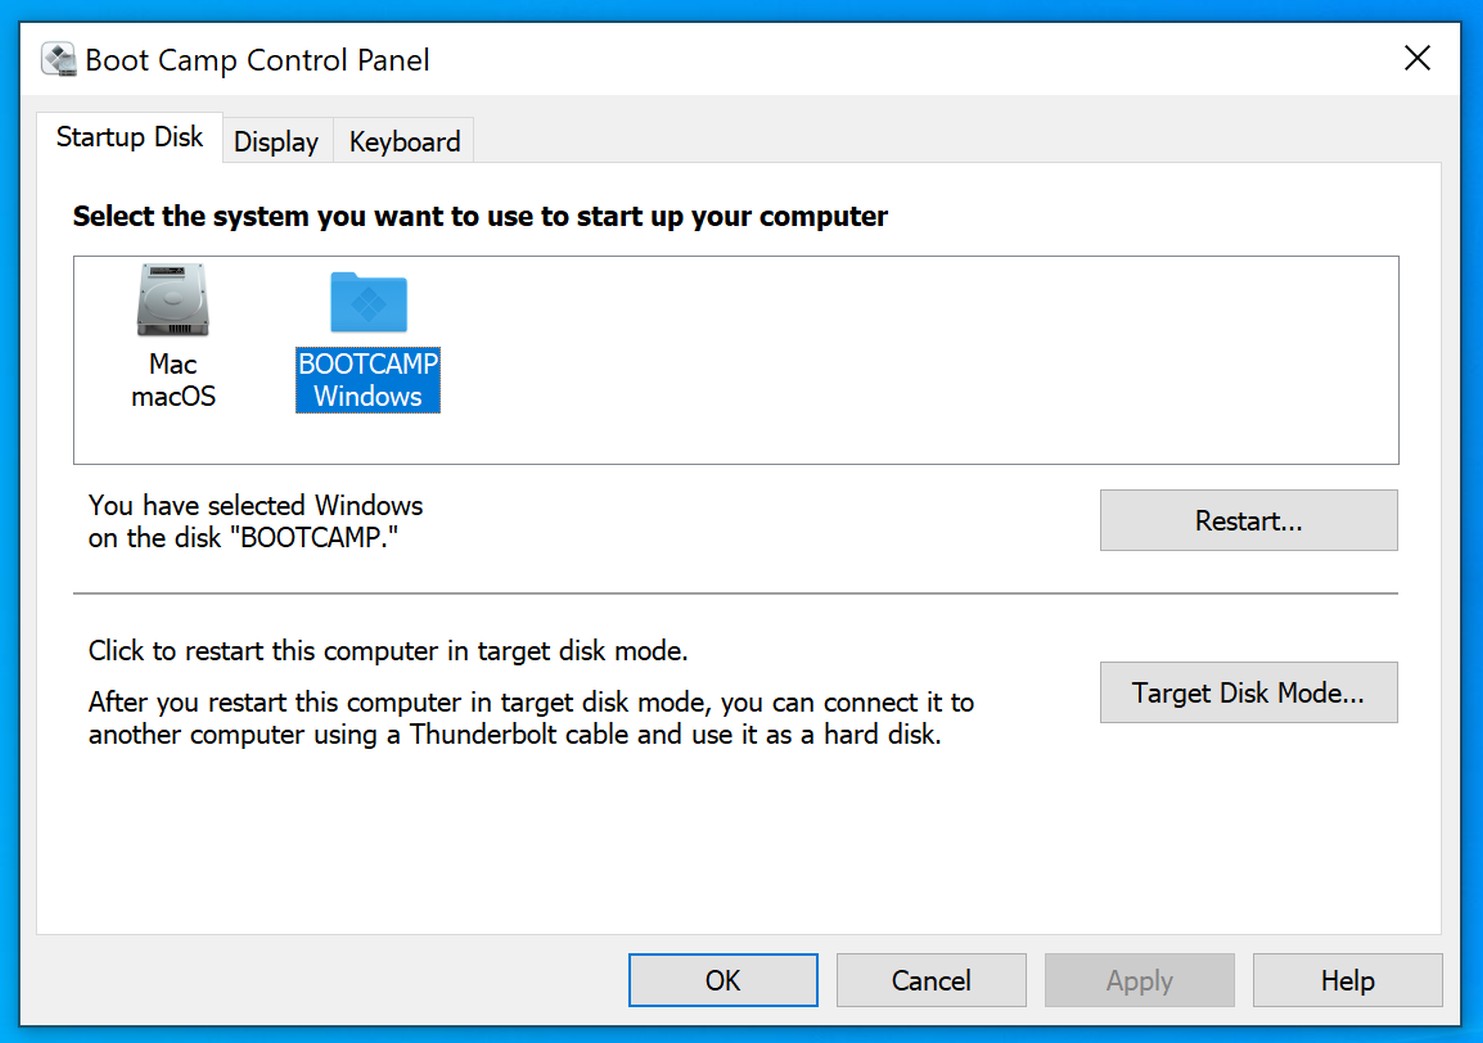
Step 39Here you can select the default drive to boot the computer from. It could be either any macOS partition or Windows partition. |
 |
|
|
|
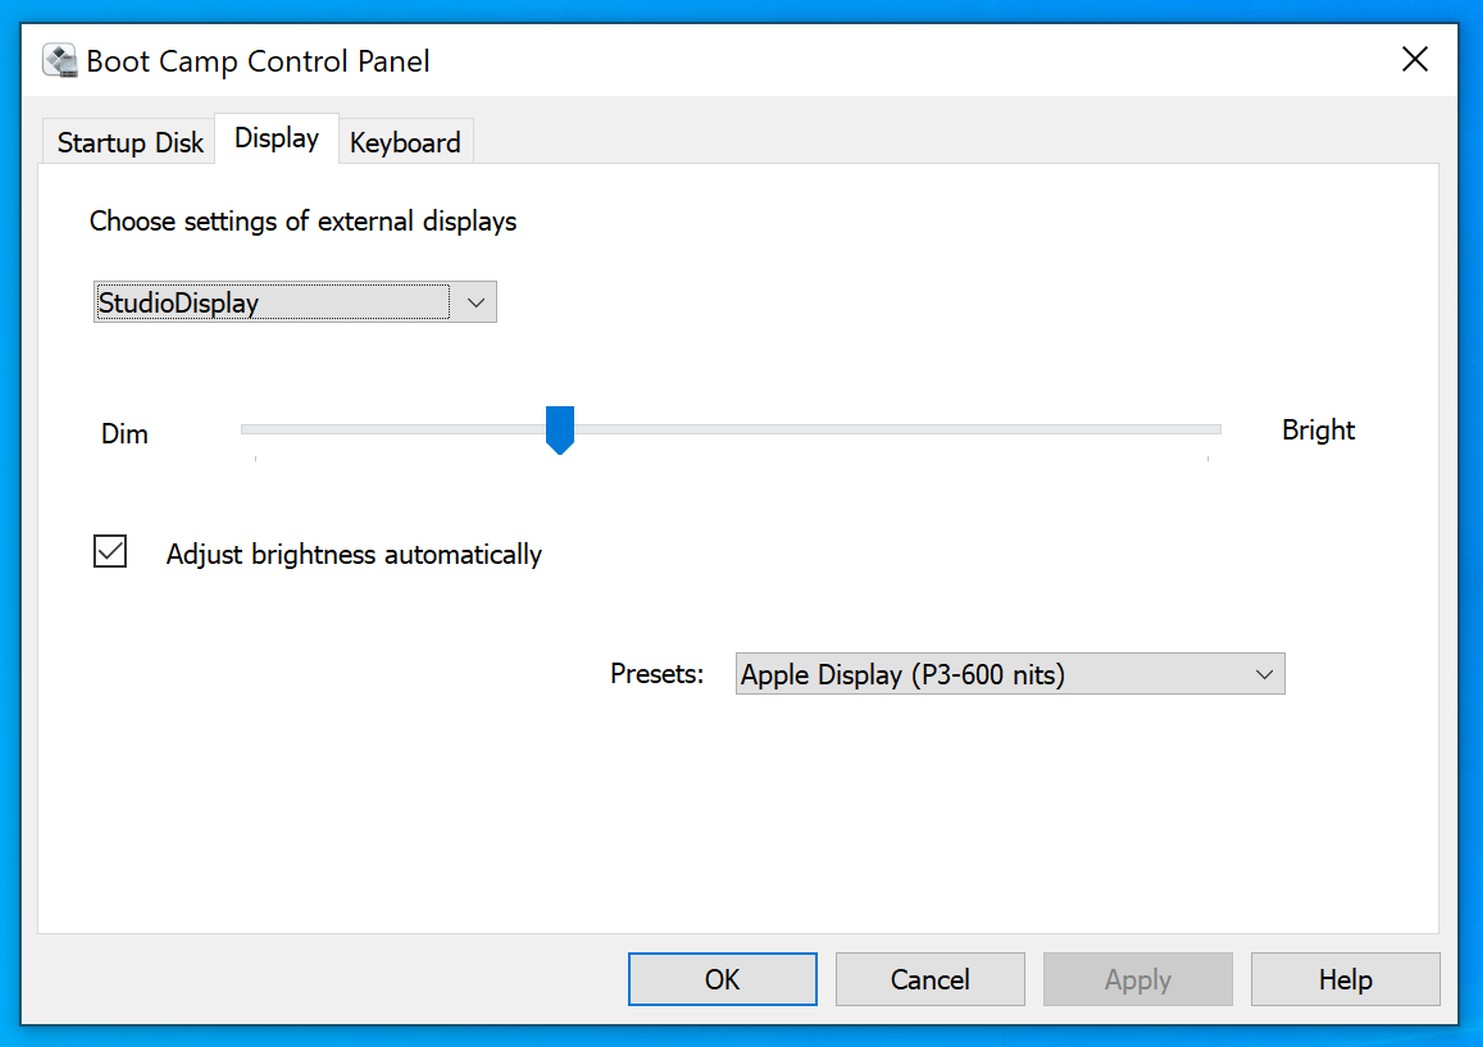
Step 40If you have an Apple Studio Display or Apple Pro Display XDR you should now see dimming slider and automatic brightness checkbox. Also there are presets to choose from.
Please note, brightness control only works on default Apple Display (P3-600 nits) preset.
That's it. Enjoy! |
 |