Installing AMD drivers under Windows
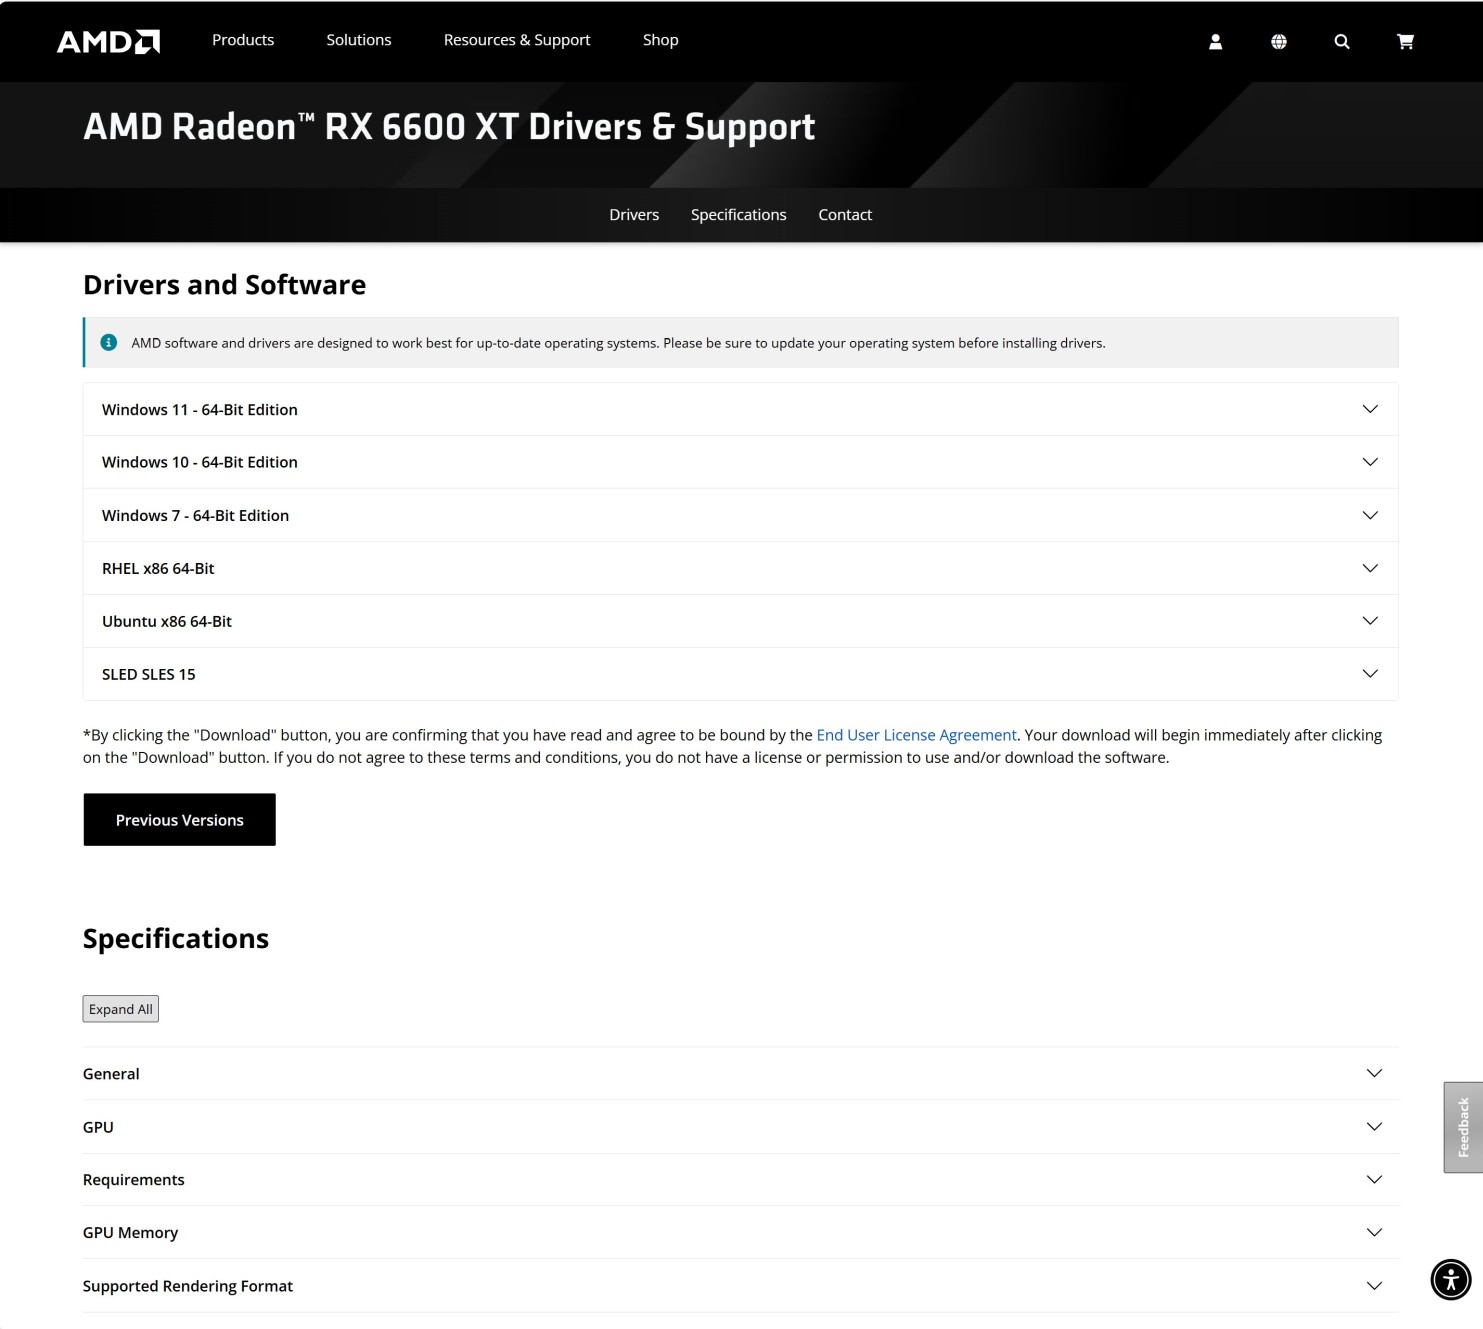
Step 1Go to AMD drivers download page: https://www.amd.com/en/support
Choose product type Graphics, select proper Product Family, Product Line and Product Model and click Submit button. |
|
|
|
|
Step 2Choose your Windows version e.g. Windows 11 - 64-Bit Edition or Windows 10 - 64-Bit Edition. |
|
|
|
|
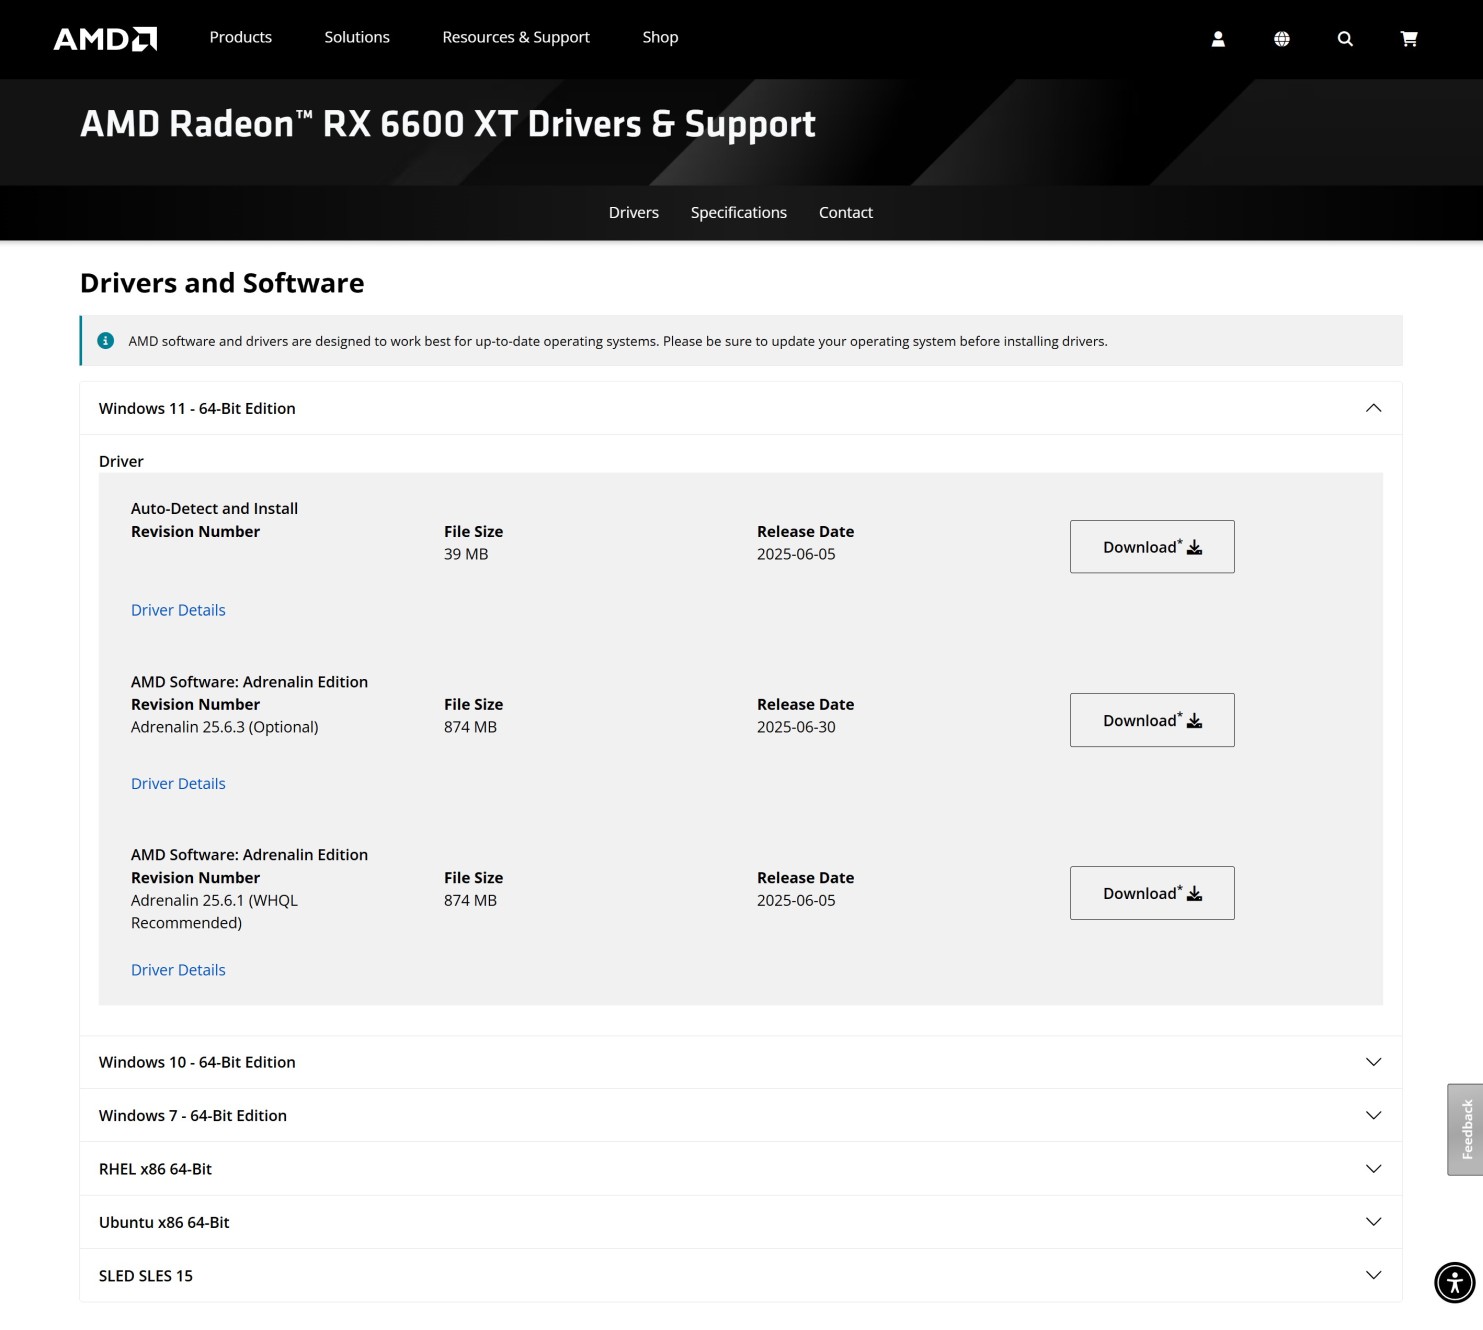
Step 3Click Download button to start downloading the driver.
WHQL driver is recommended for best stability, while Optional is the most current driver. |
|
|
|
|
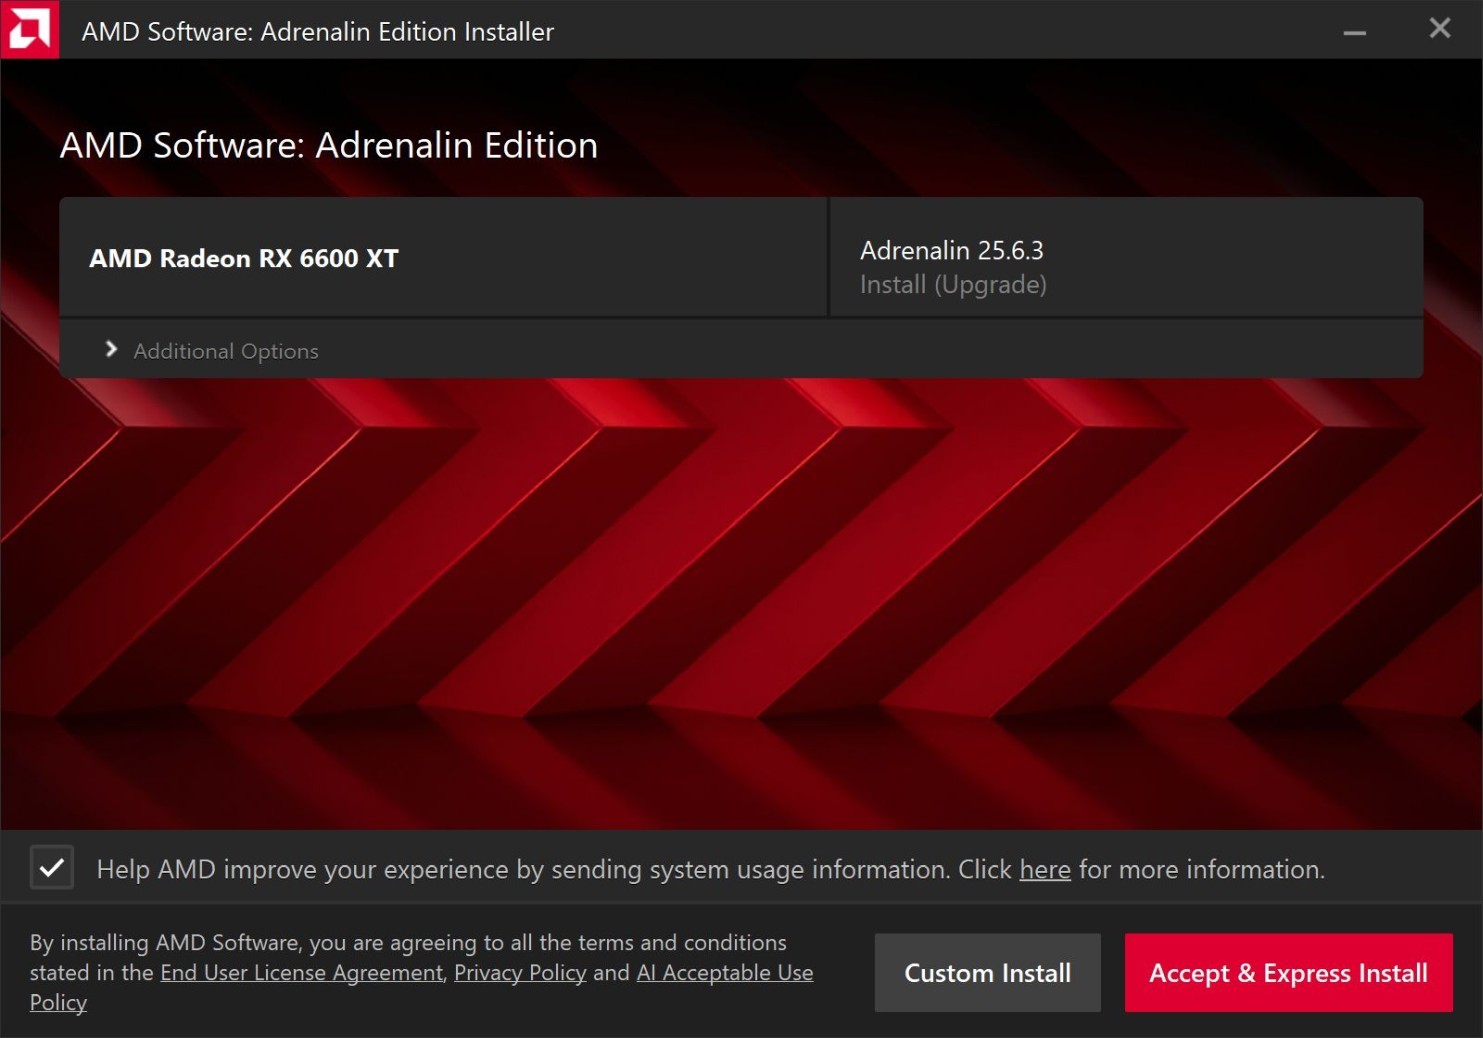
Step 4Click Accept & Express Install button to start installing the driver. |
|
|
|
|
Step 5Driver installation will take a while. The display can go on and off several times during this process. |
|
|
|
|
Step 6Click Close button to finish the driver installation and run AMD software. |
|
|
|
|
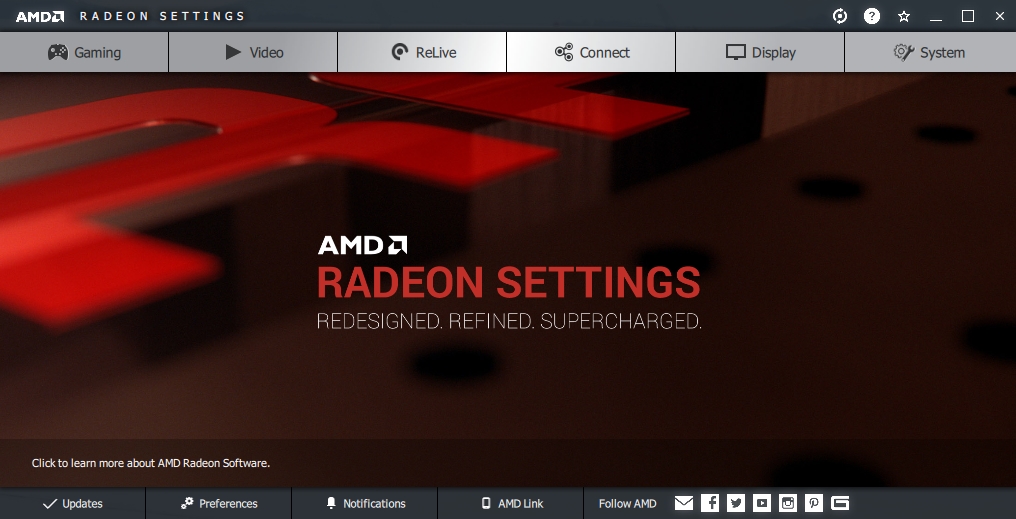
Step 7If it didn't run automatically, you can right-click on desktop and choose AMD Software: Adrenalin Edition. |
|
|
|
|
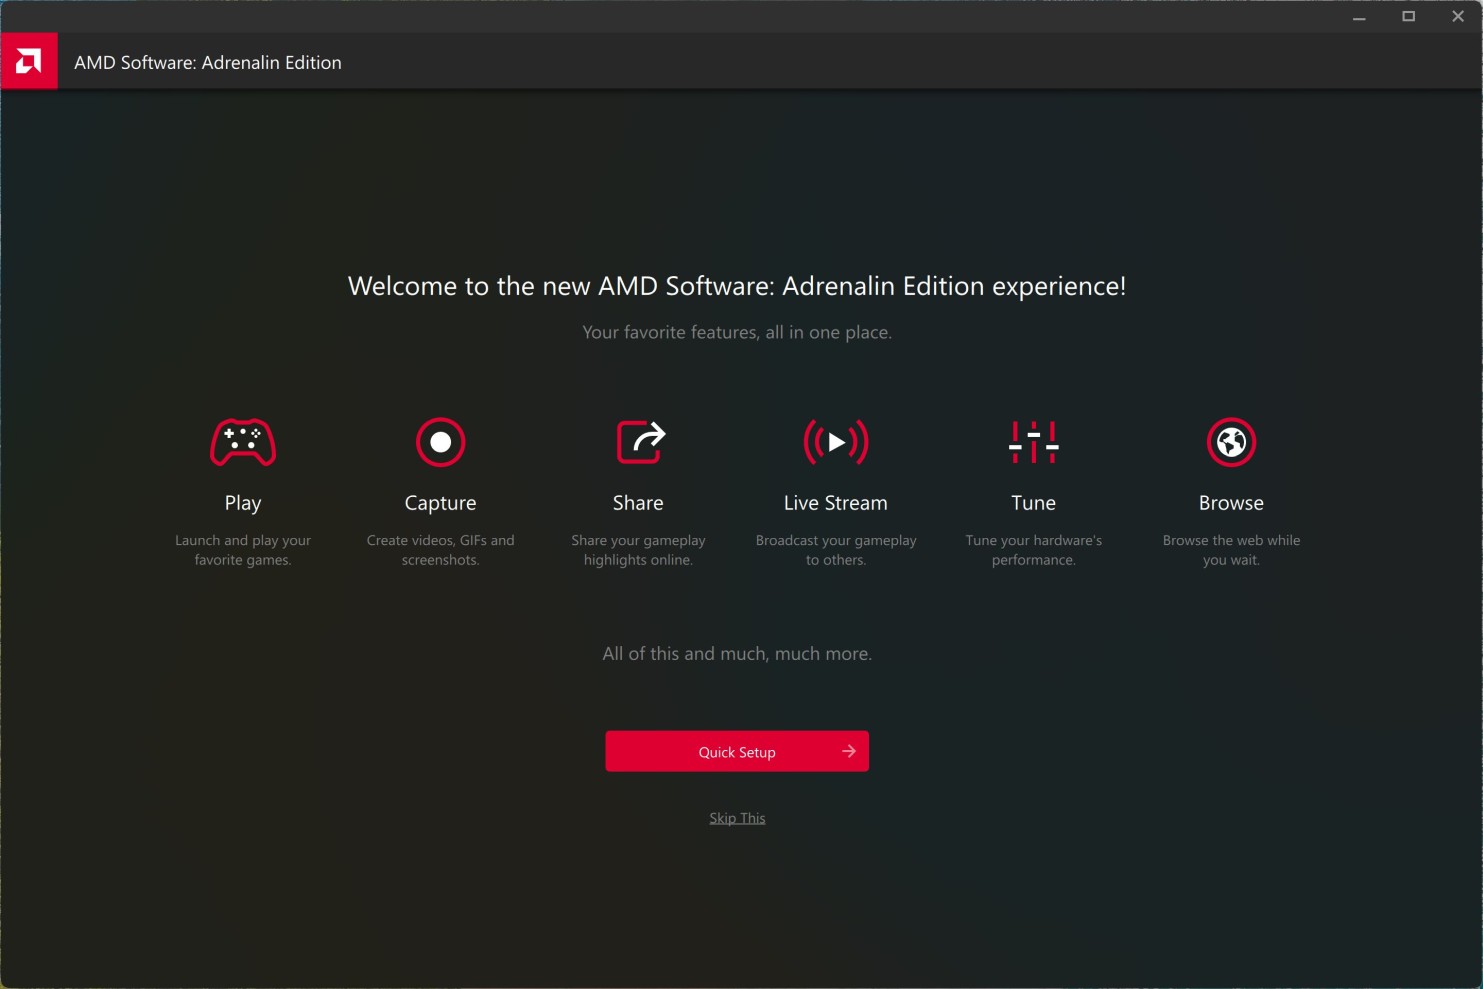
Step 8Click Quick Setup button. |
|
|
|
|
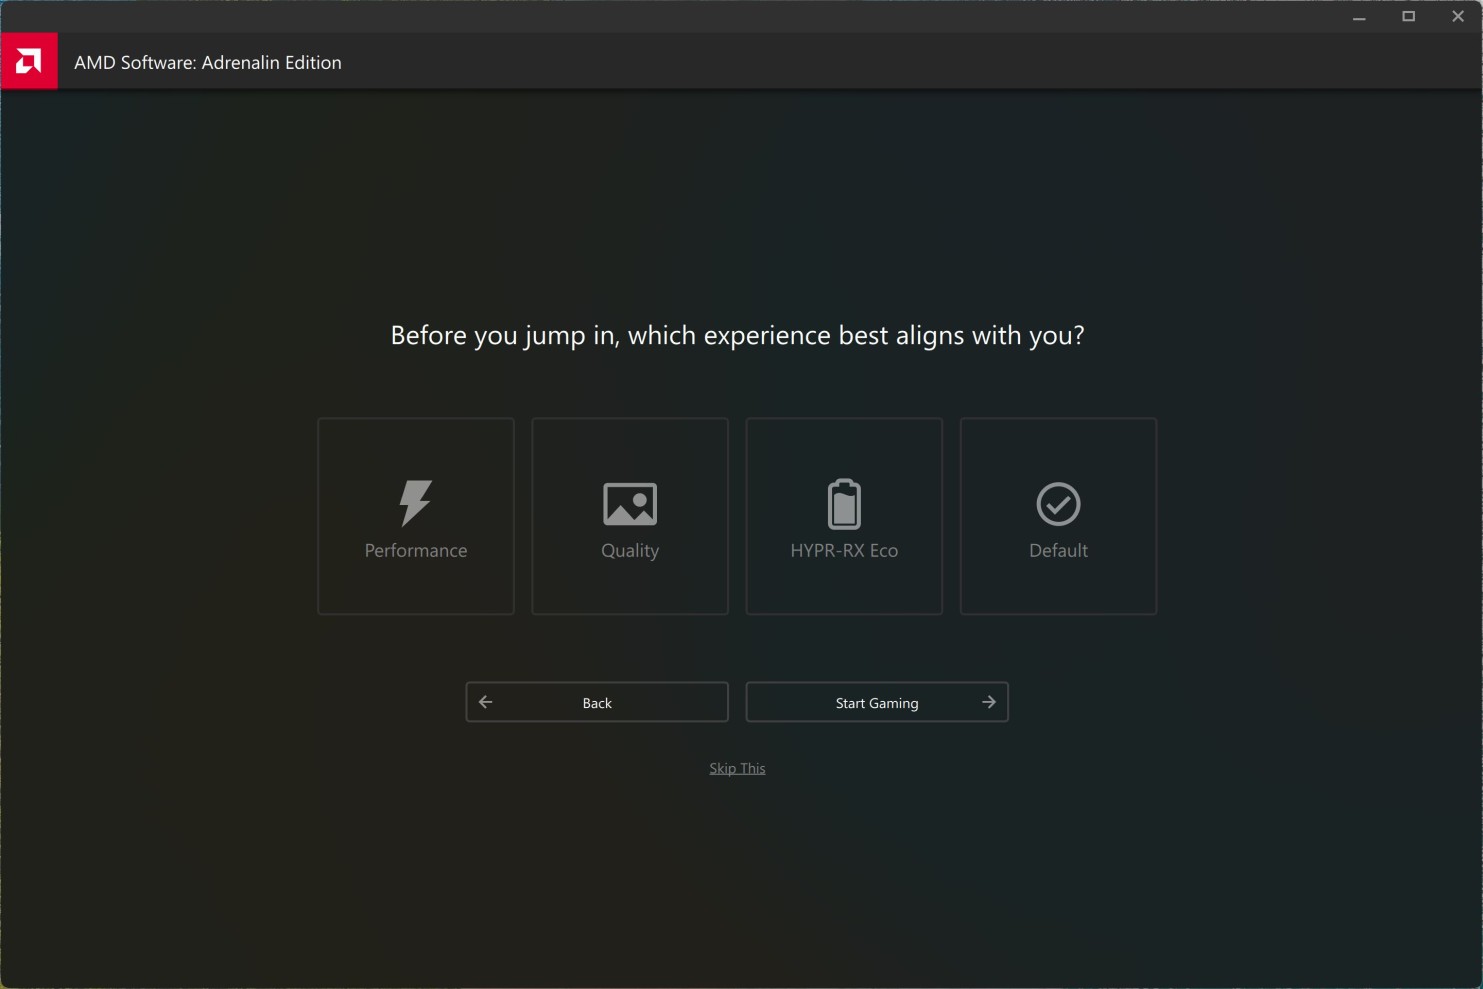
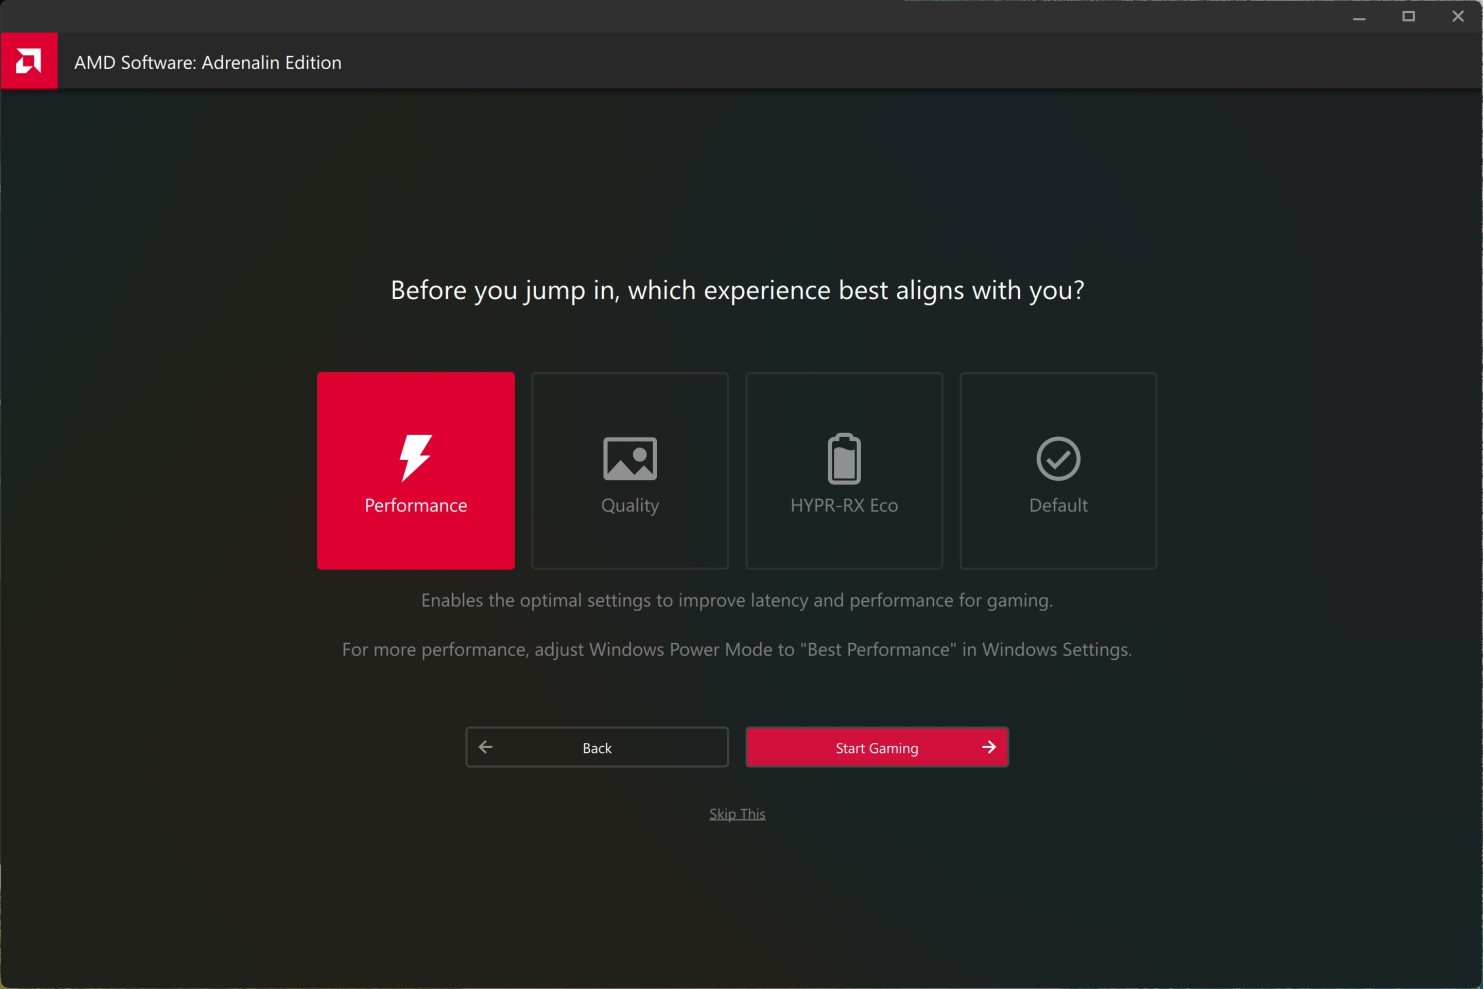
Step 9Choose Performance icon for the best performance. |
|
|
|
|
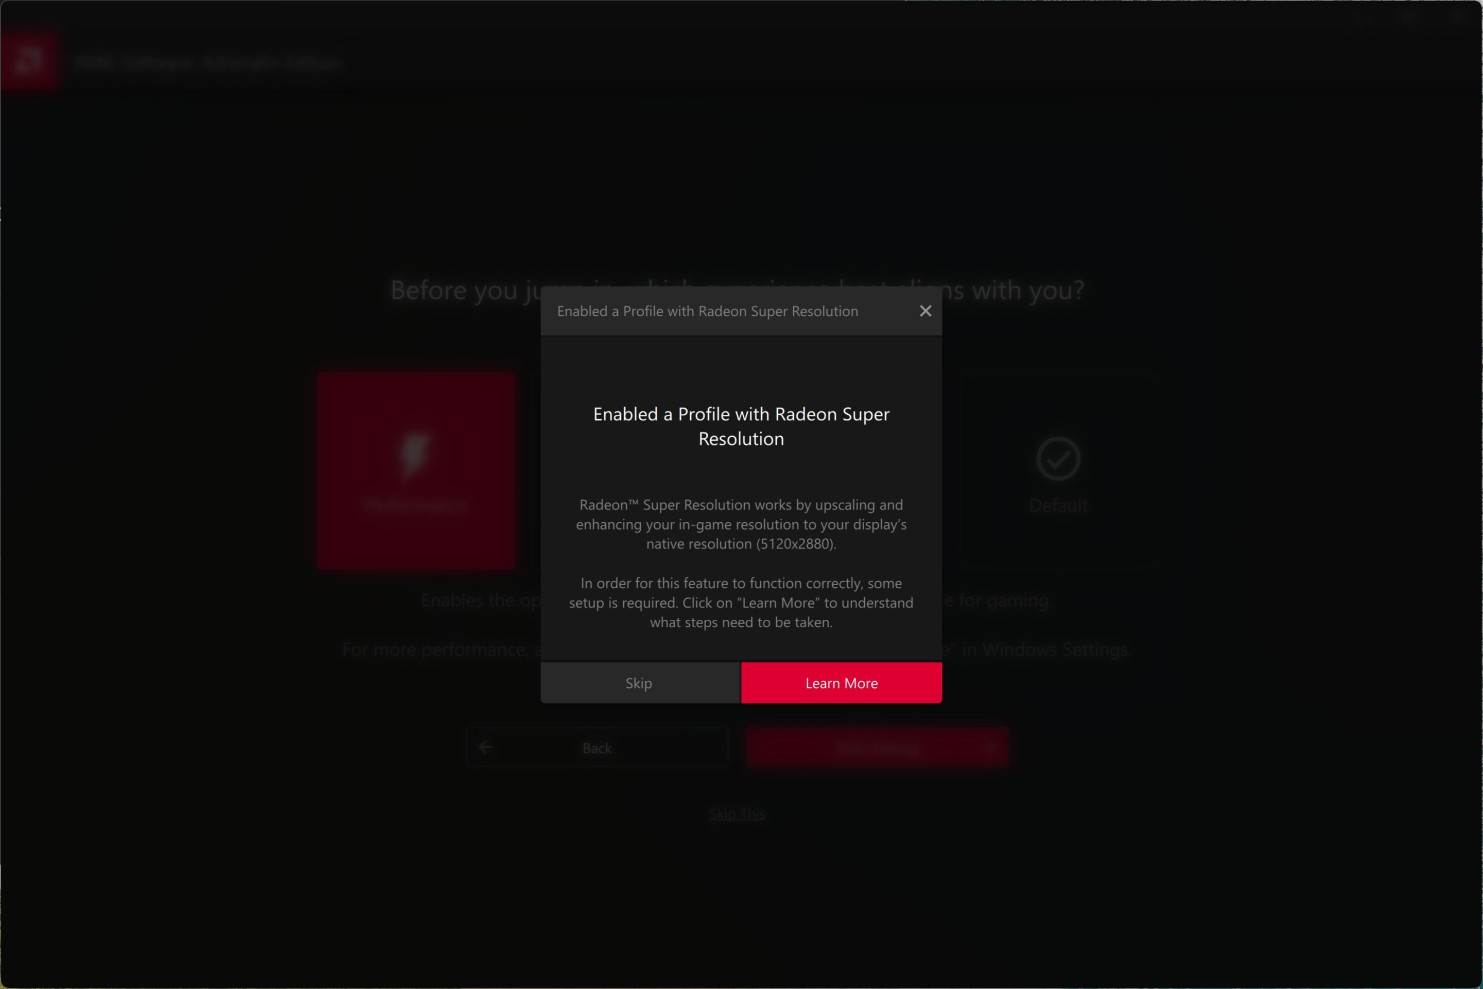
Step 10Click Skip button. |
|
|
|
|
Step 11Click Start Gaming button. |
|
|
|
|
Step 12Your AMD Windows driver is now fully working.
You can now try undervolting feature to reduce coil whine and temperatures: Undervolting AMD graphics cards under Windows. |


