
Installation in a Mac Pro 7,1 (2019) using Apple MPX graphics modules
You can install up to two MPX modules inside slots 1-2 and slots 3-4 in a Mac Pro 7,1 (2019) with the exception of Radeon Pro 580X and Radeon Pro W6600X, which can be installed as a single MPX modules only.
There is no need to use of any extra power cables as MPX modules are powered directly from the PCIe slot.
PLEASE NOTE: If you have Windows installed via Apple Boot Camp and plan to use Apple MPX graphics module instead of standard PC graphics card, you need to first remove standard PC graphics card drivers.
In Control Panel, click Programs, then click Programs and Features.
Right-click the program named AMD Radeon Software, then choose Change.
Click Clean Uninstall, then follow the onscreen instructions to remove the drivers.
Now you can safely remove the standard PC graphics card and install Apple MPX module.
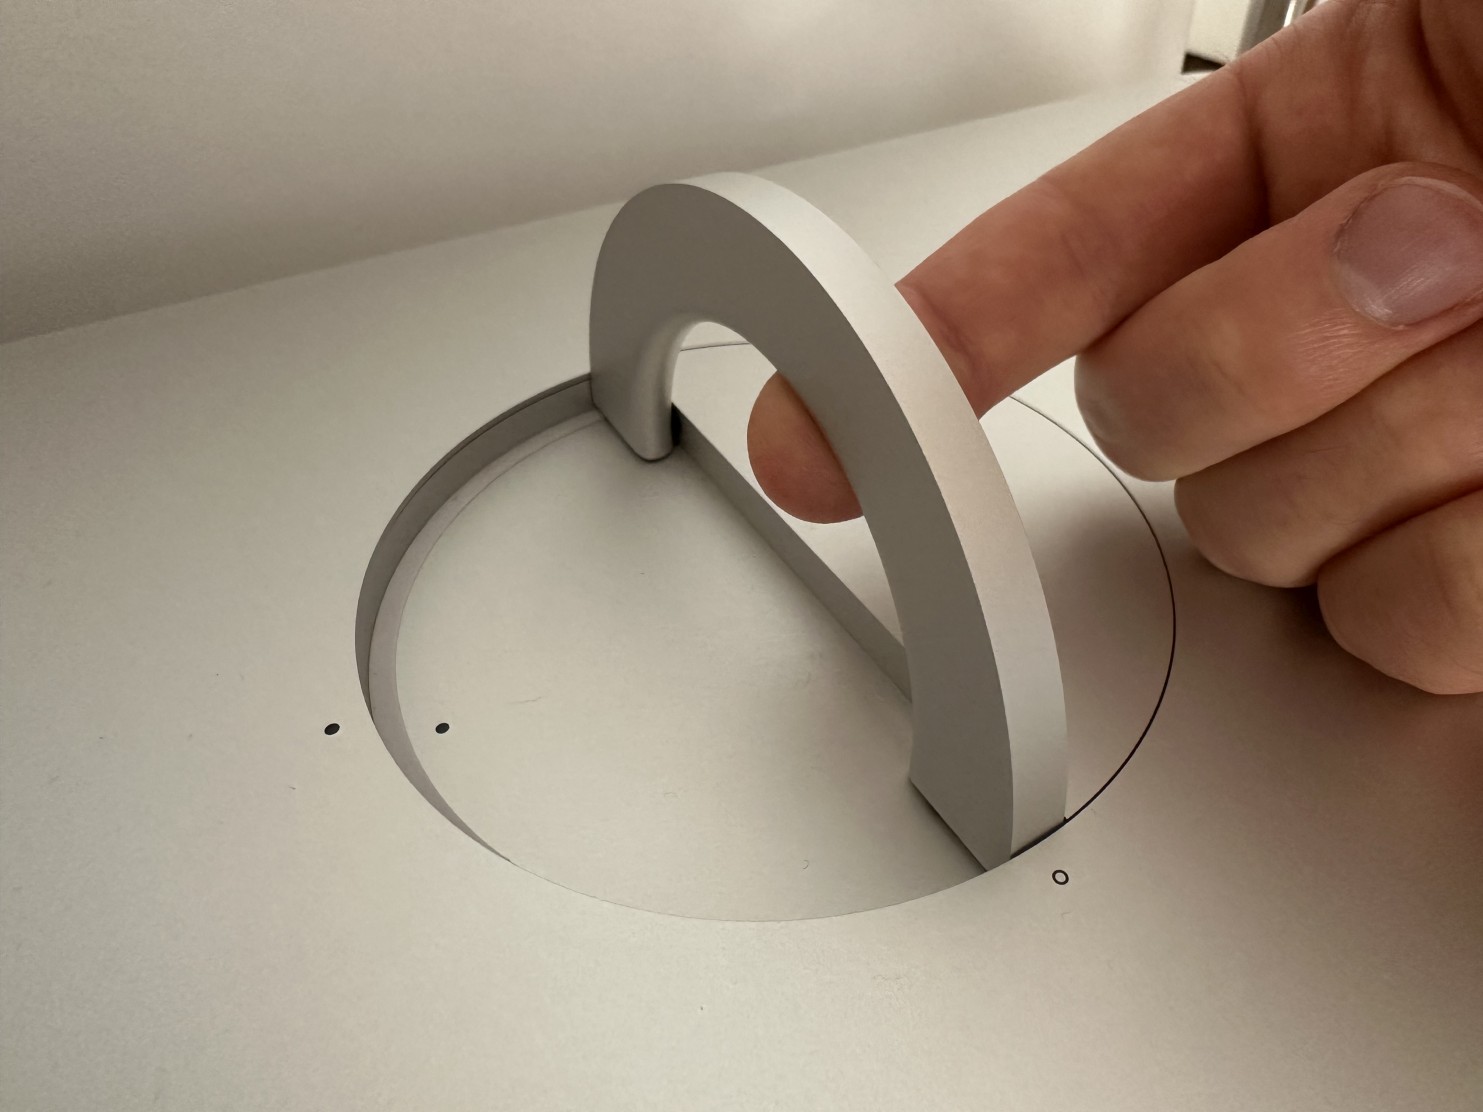
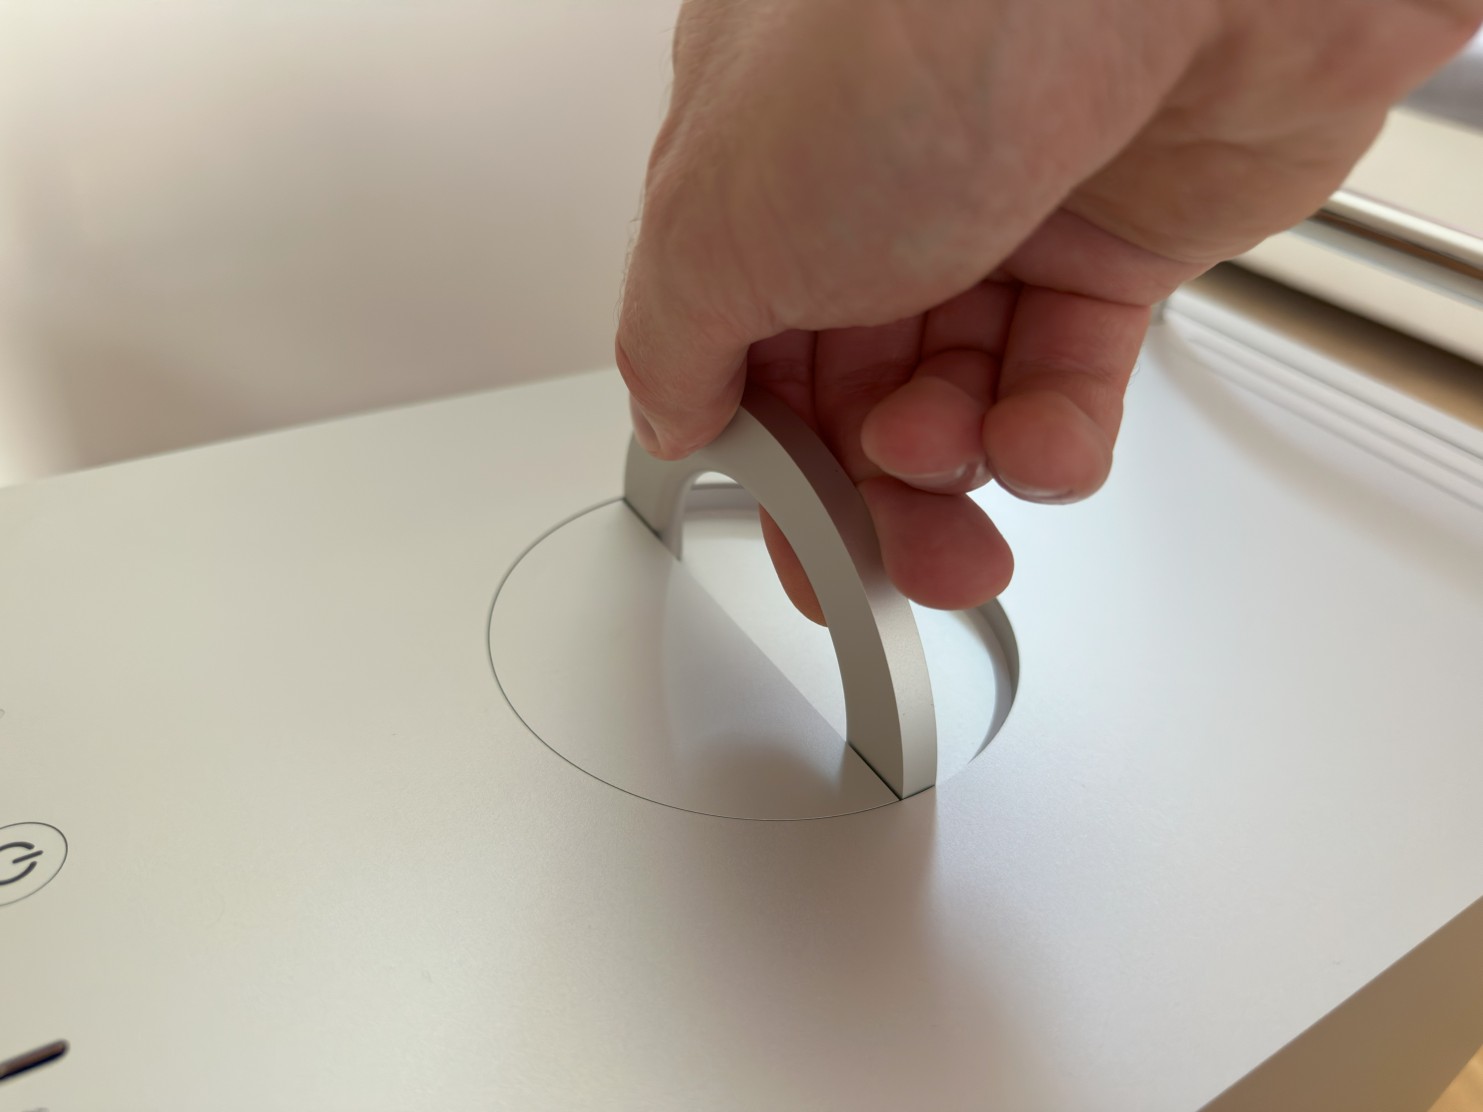
Step 1Lift the housing latch with your finger. |
 |
|
|
|
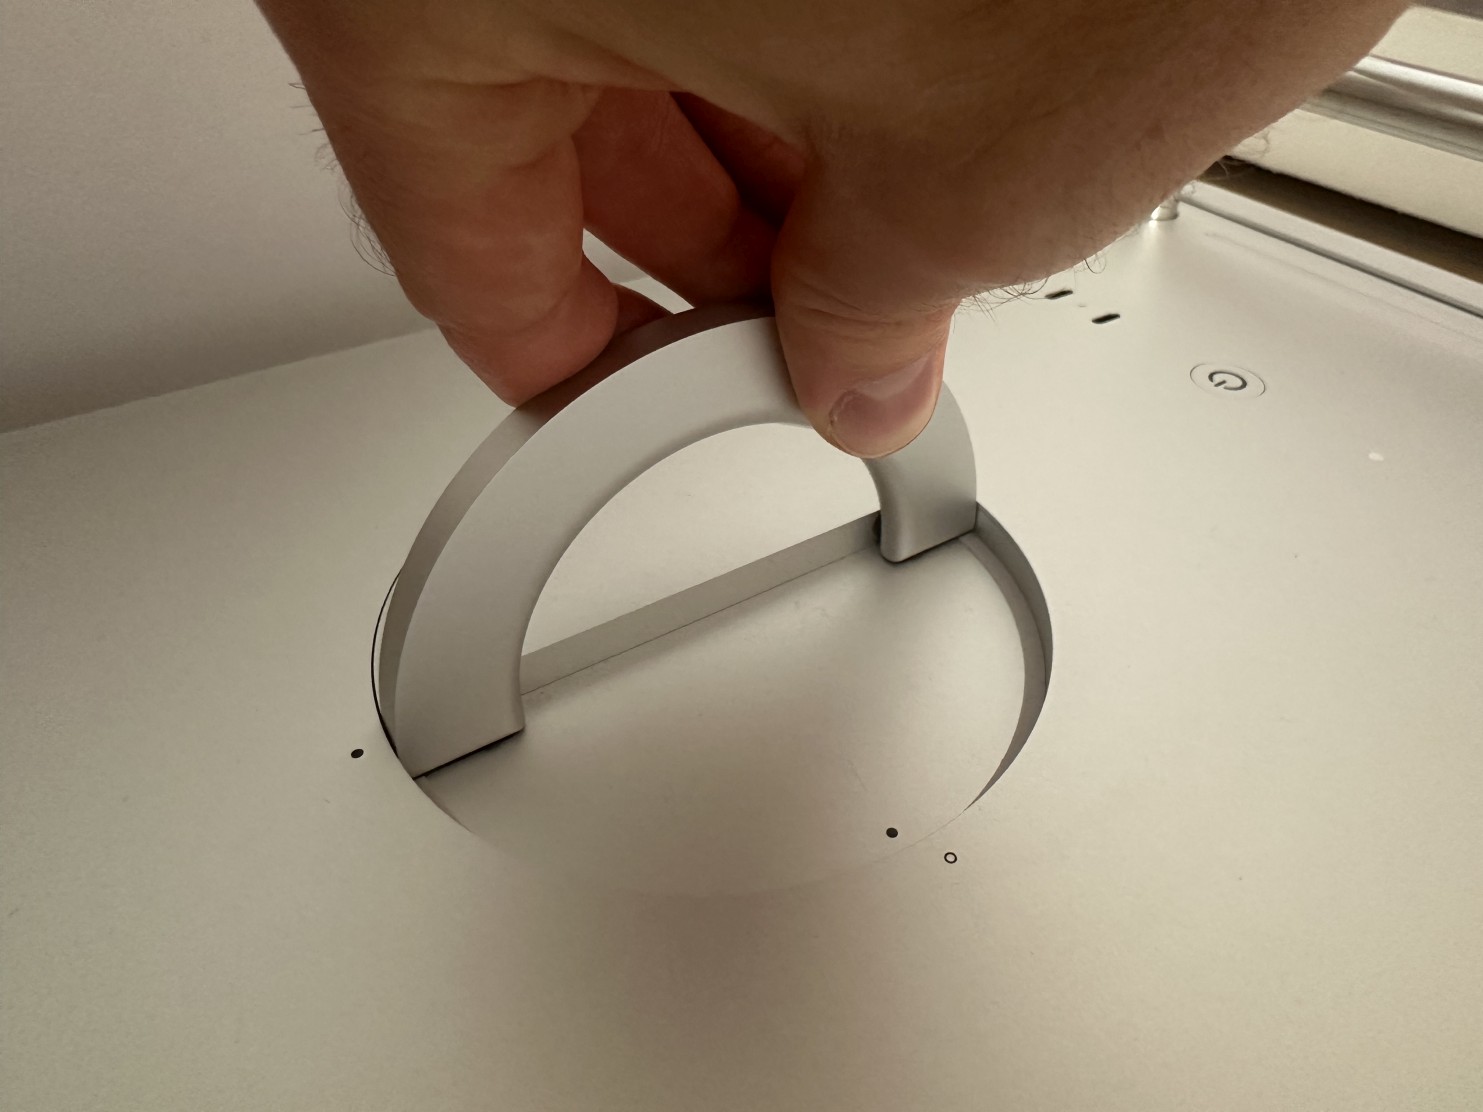
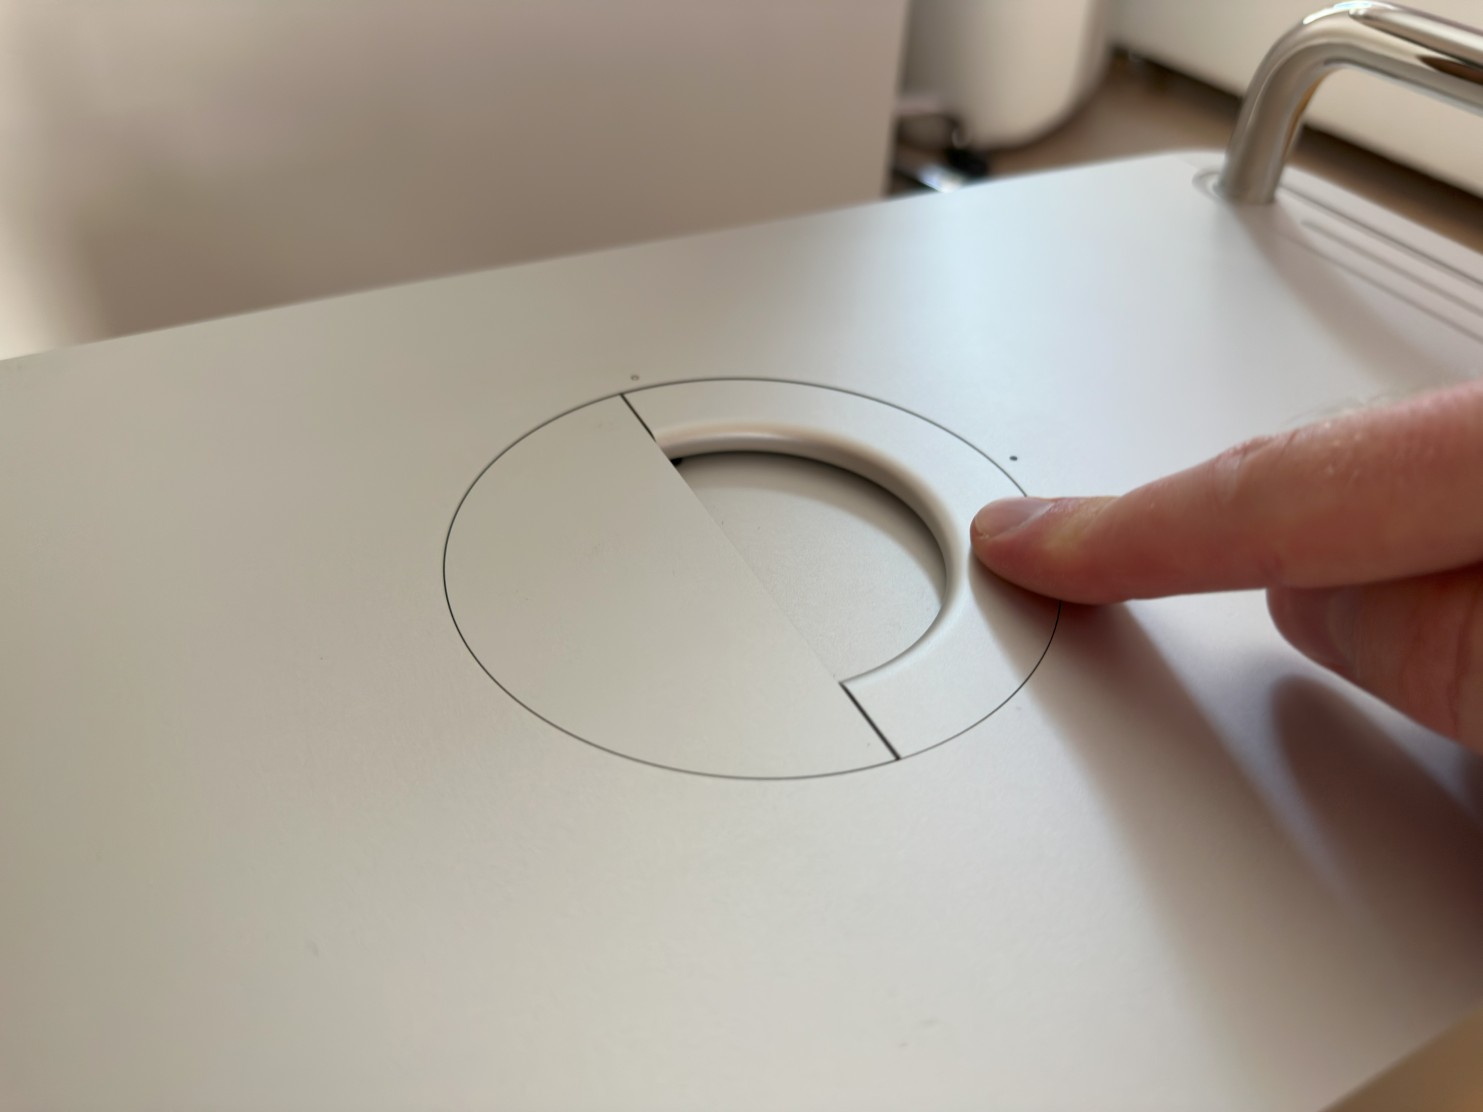
Step 2Rotate the latch into unlocked position (empty dot). |
 |
|
|
|
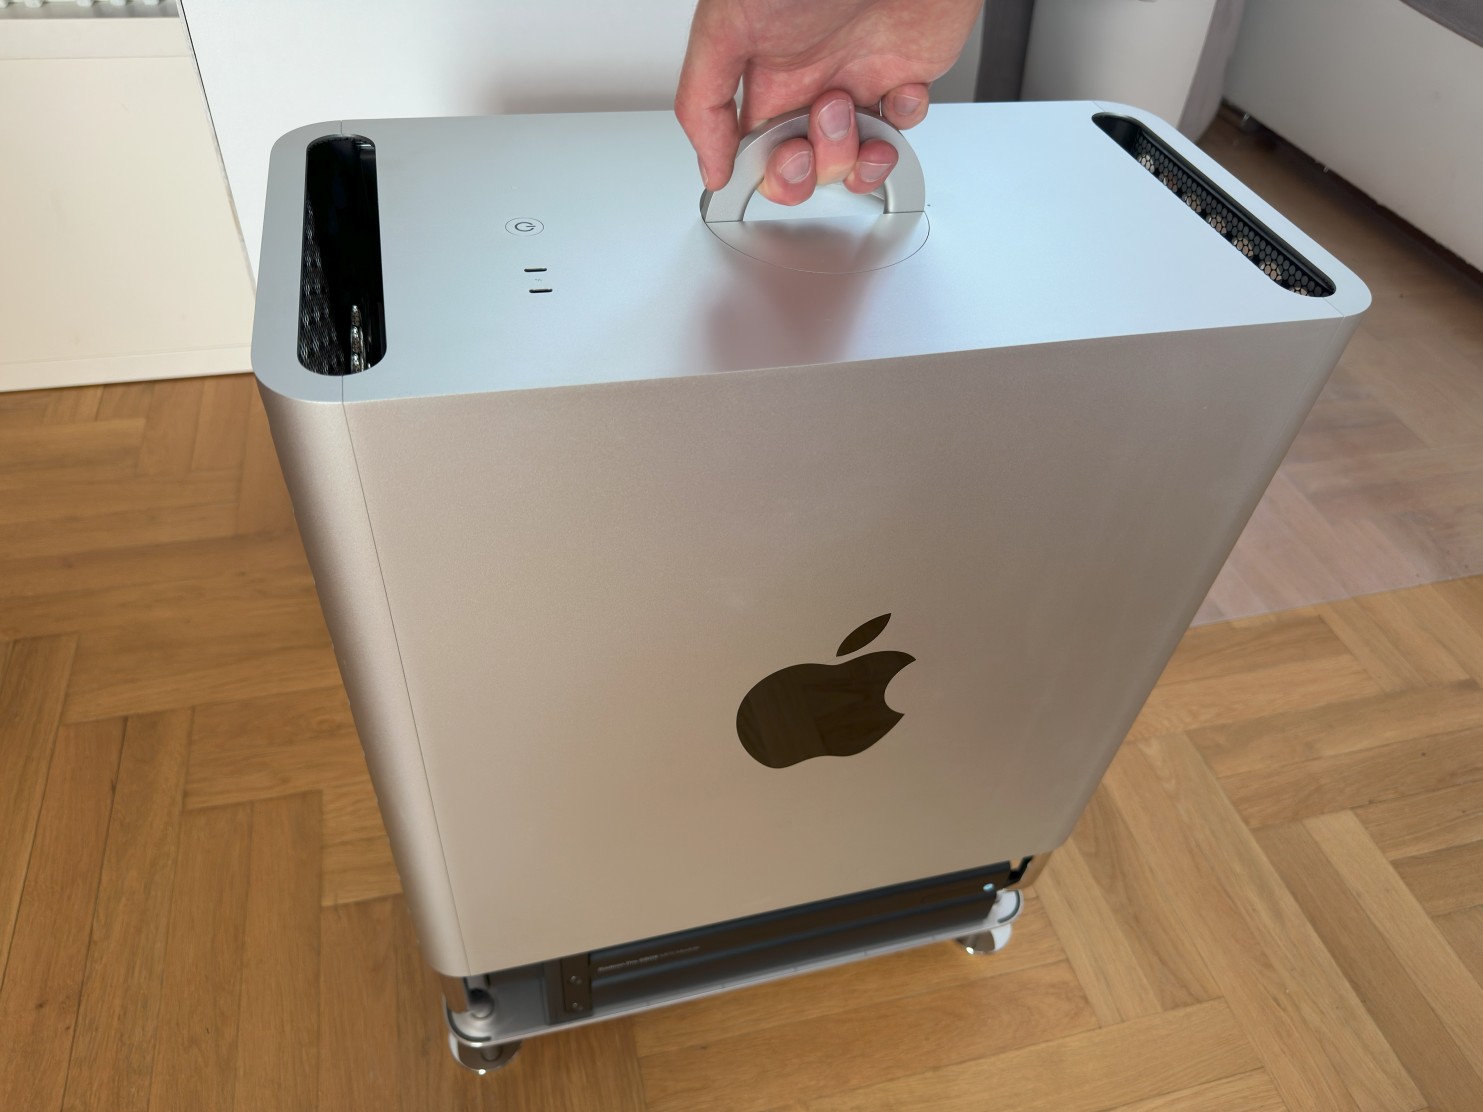
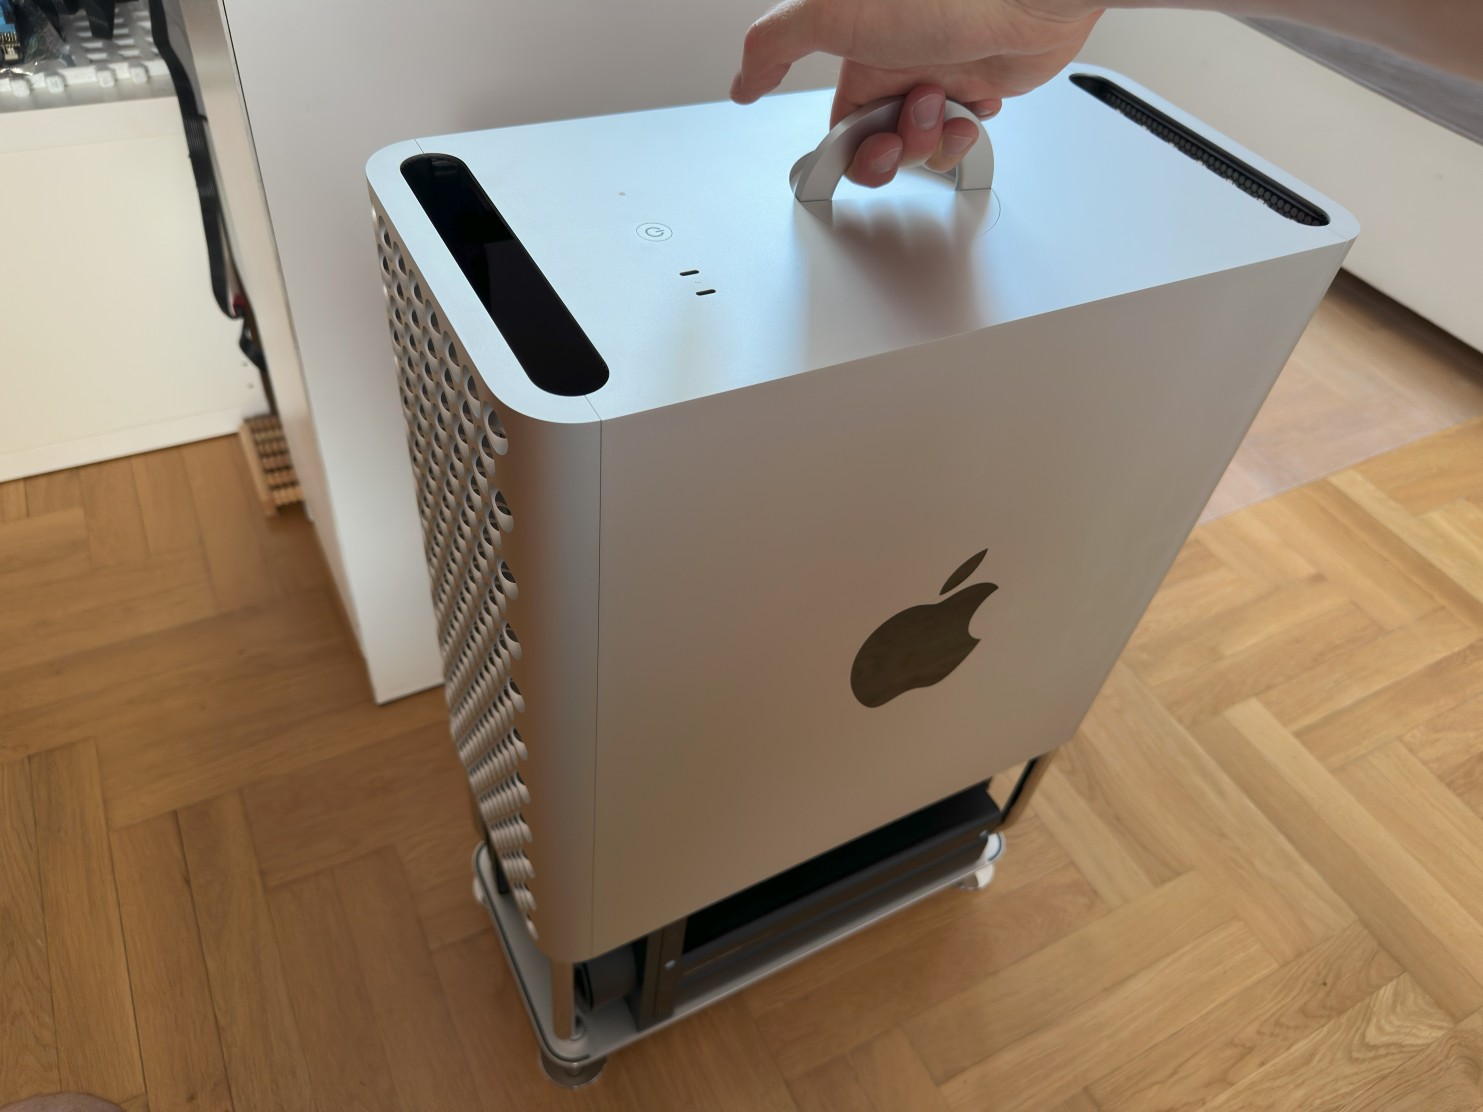
Step 3Lift the housing straight up and set it aside. |
 |
|
|
|
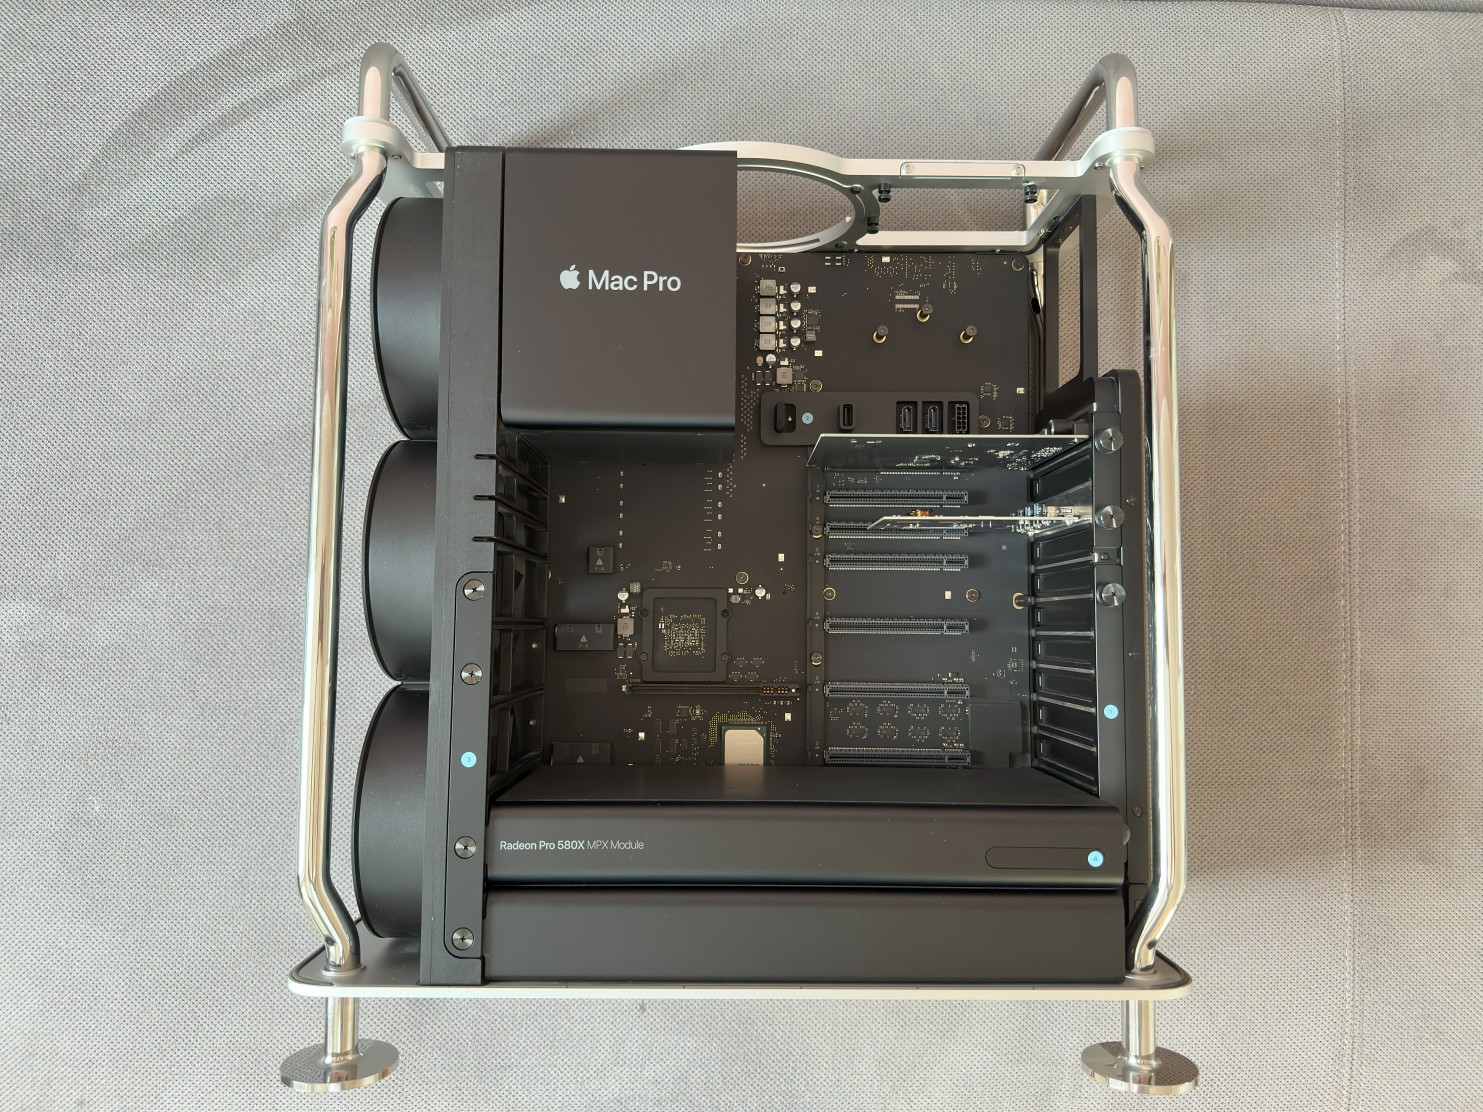
Step 4Put the computer horizontally on side. |
 |
|
|
|
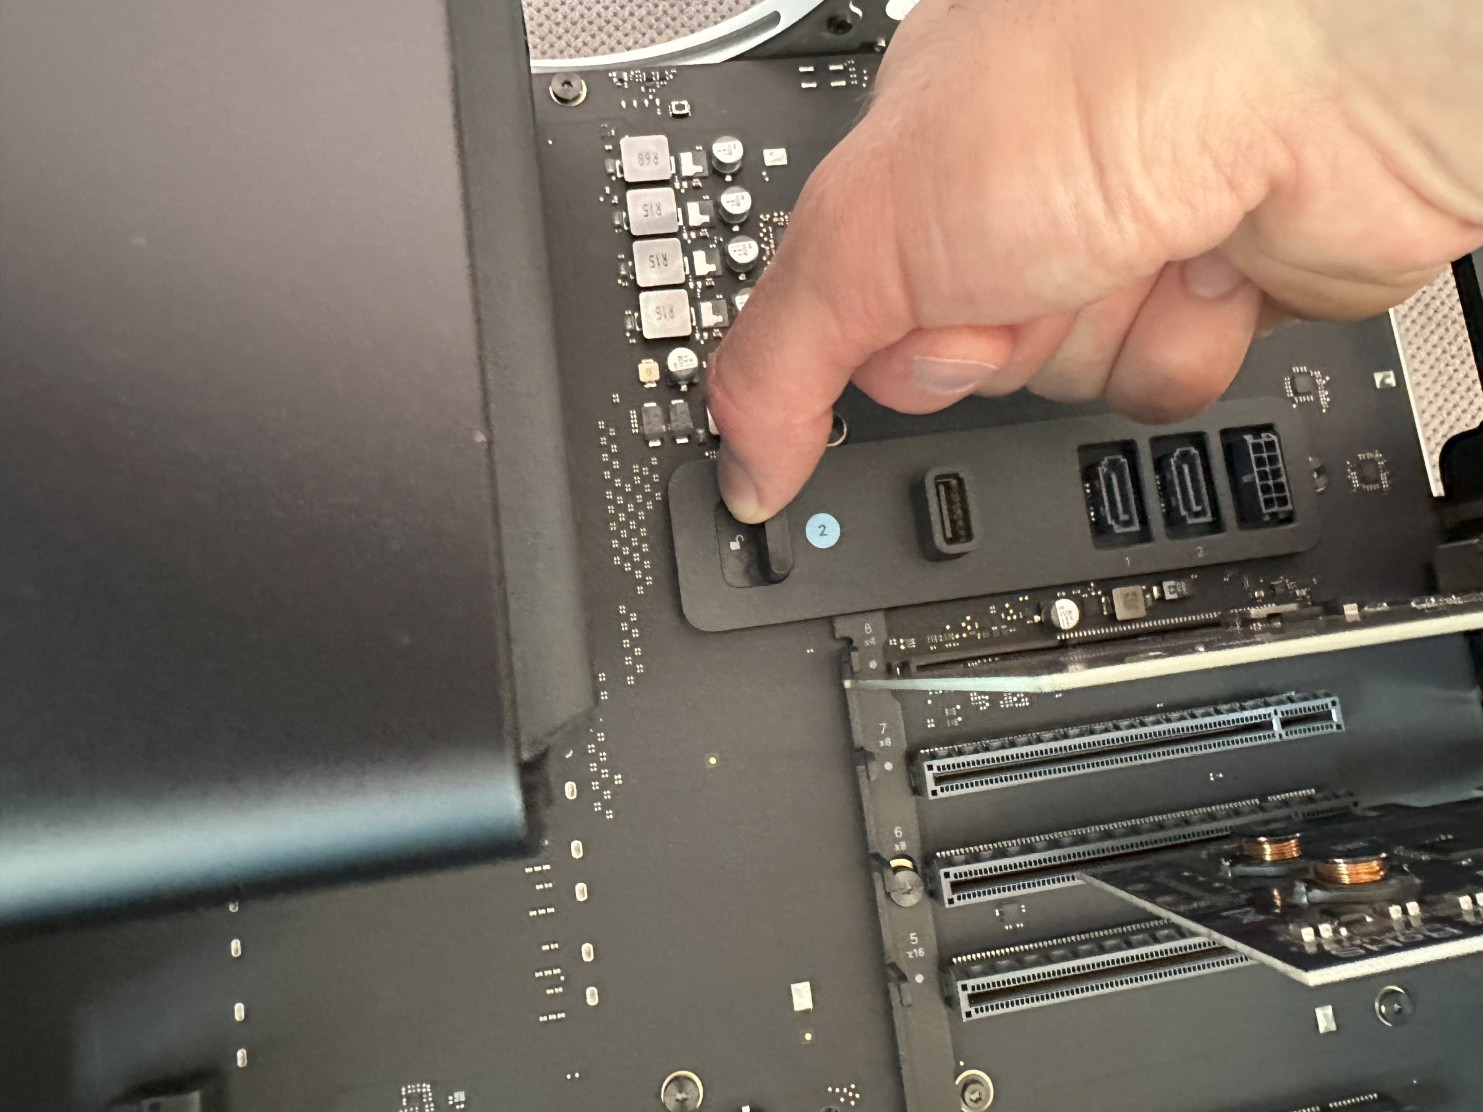
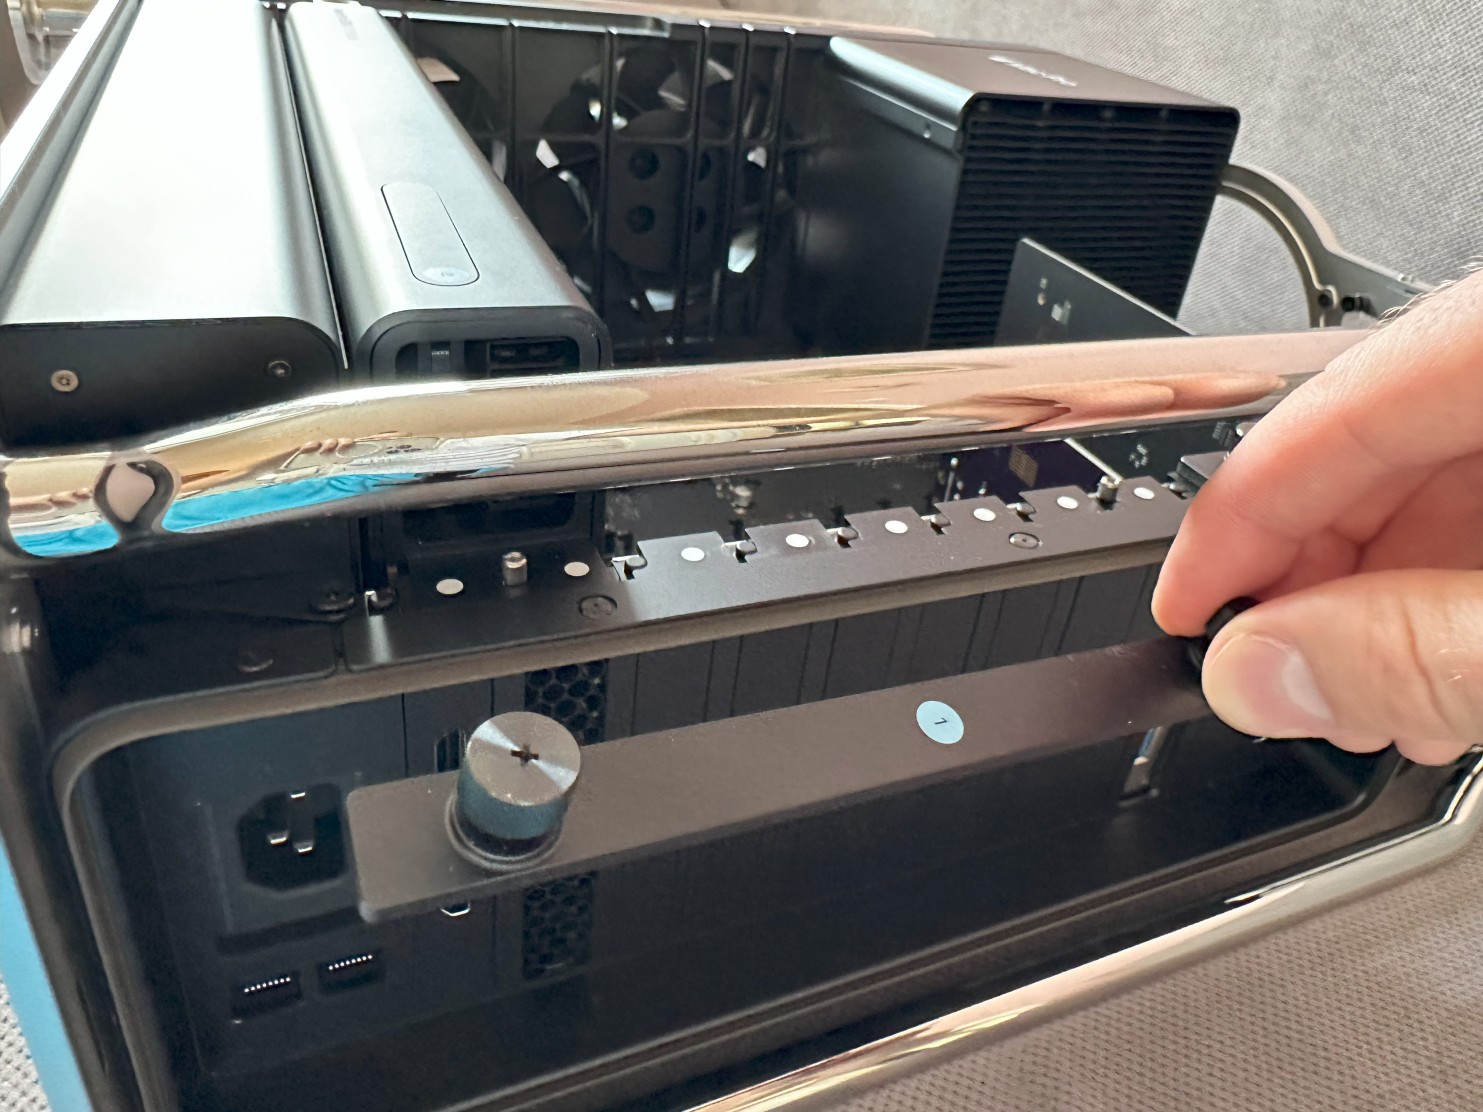
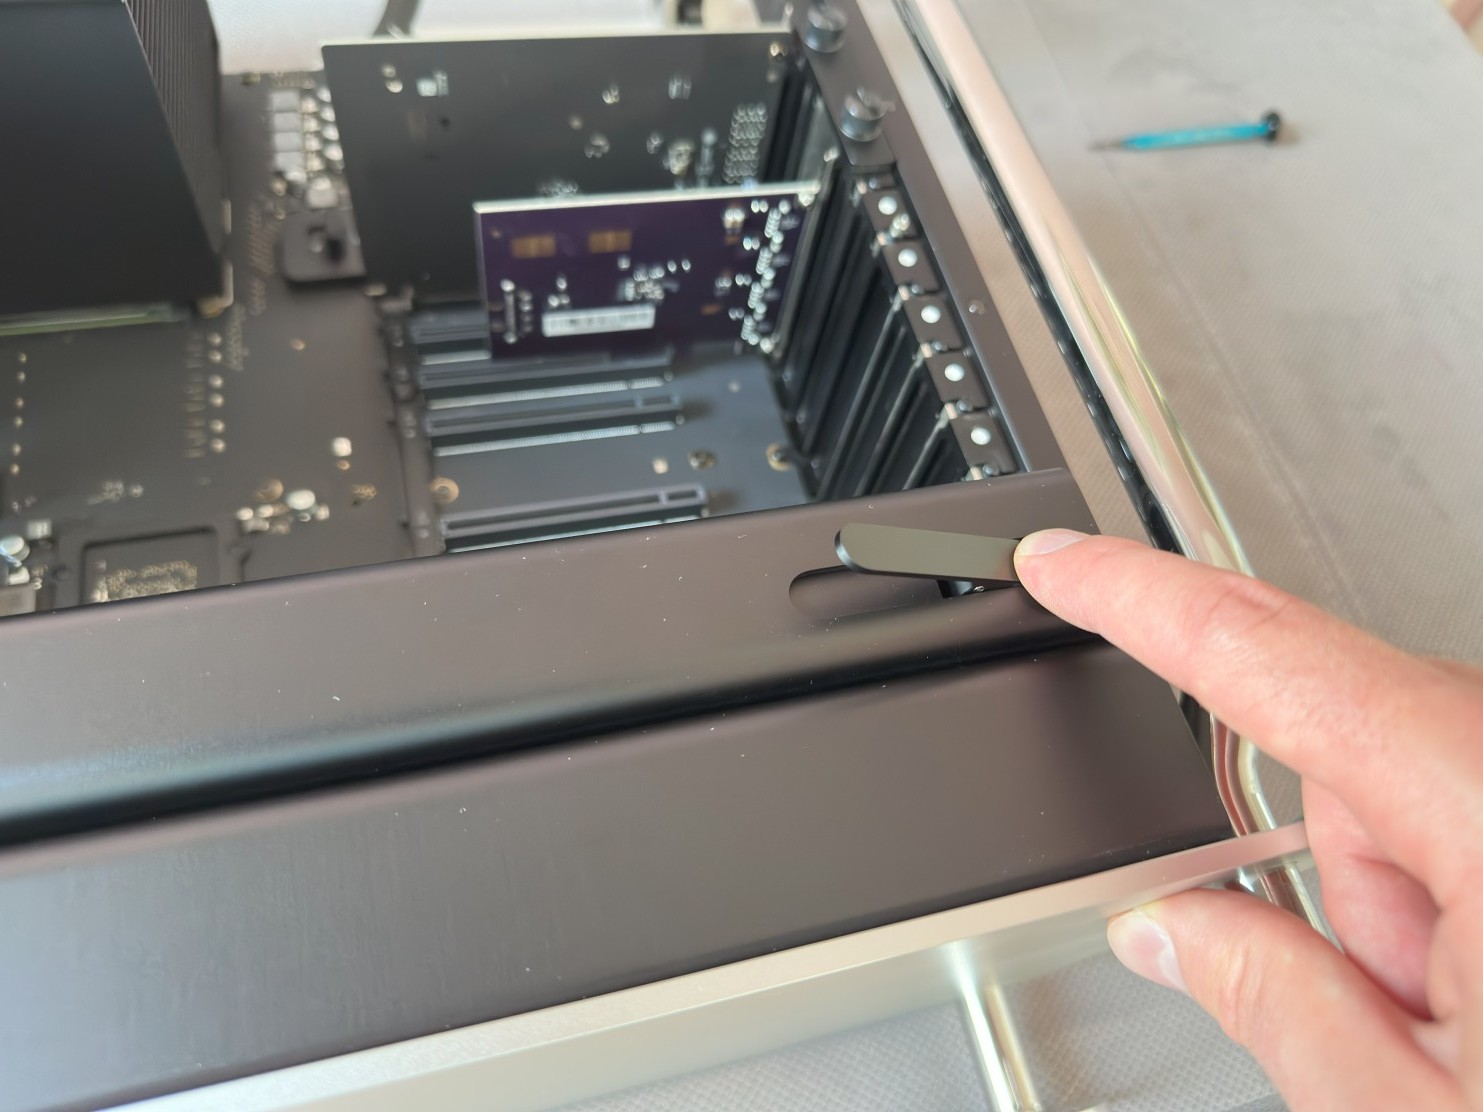
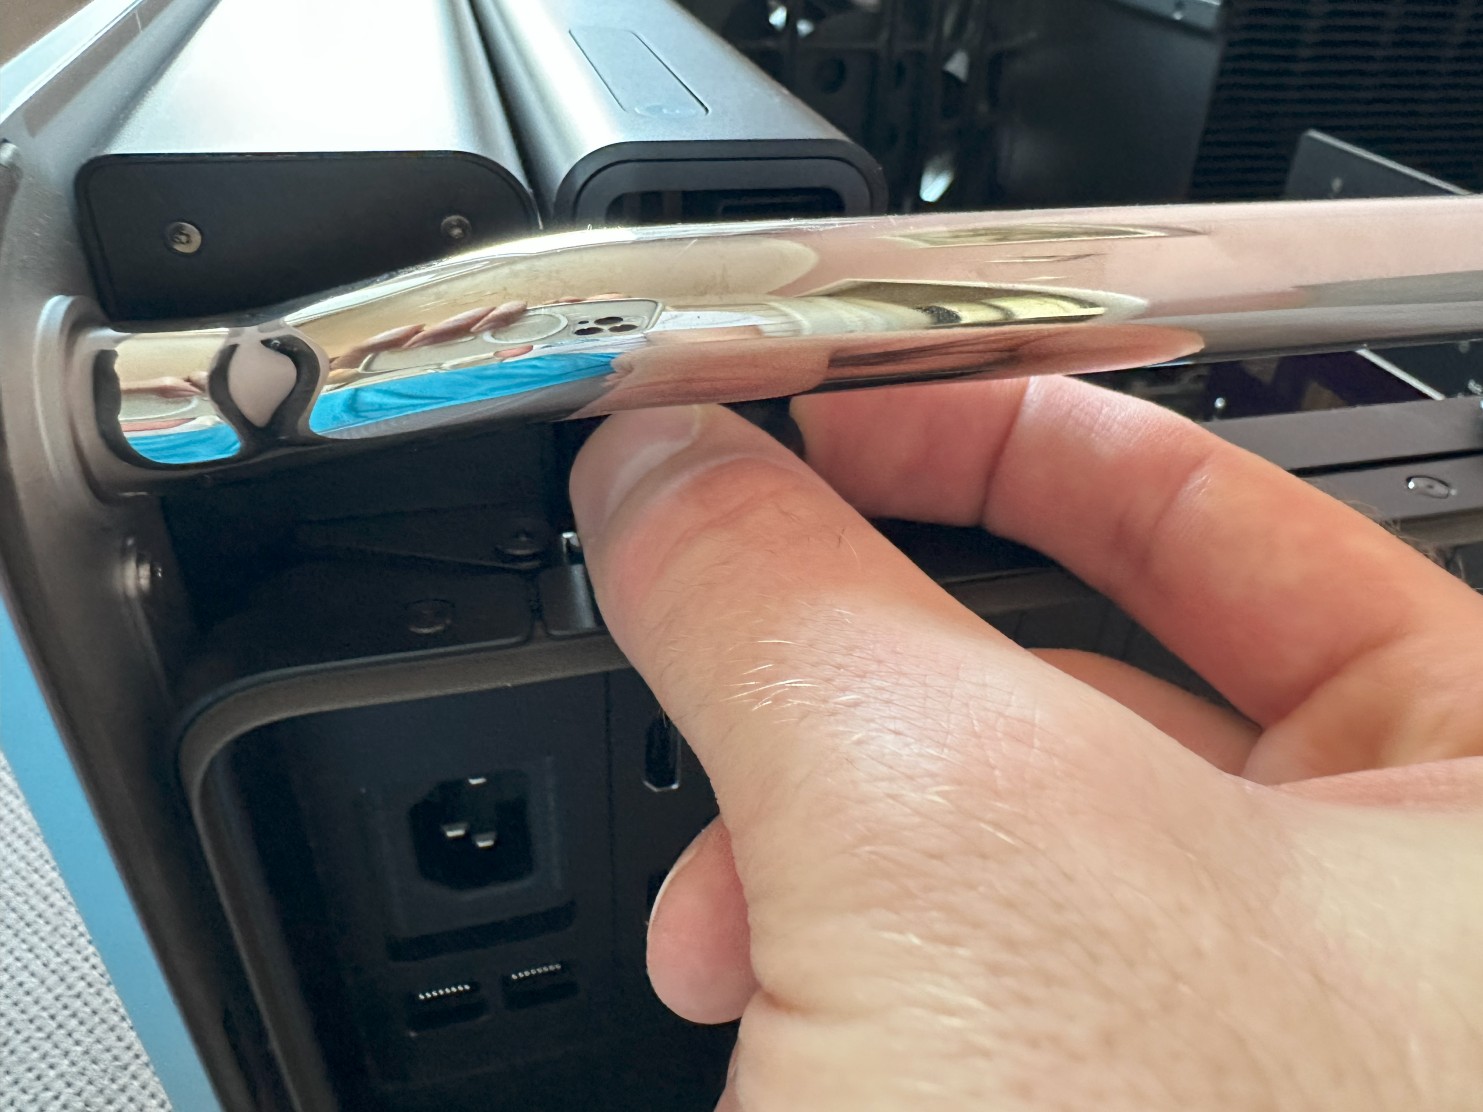
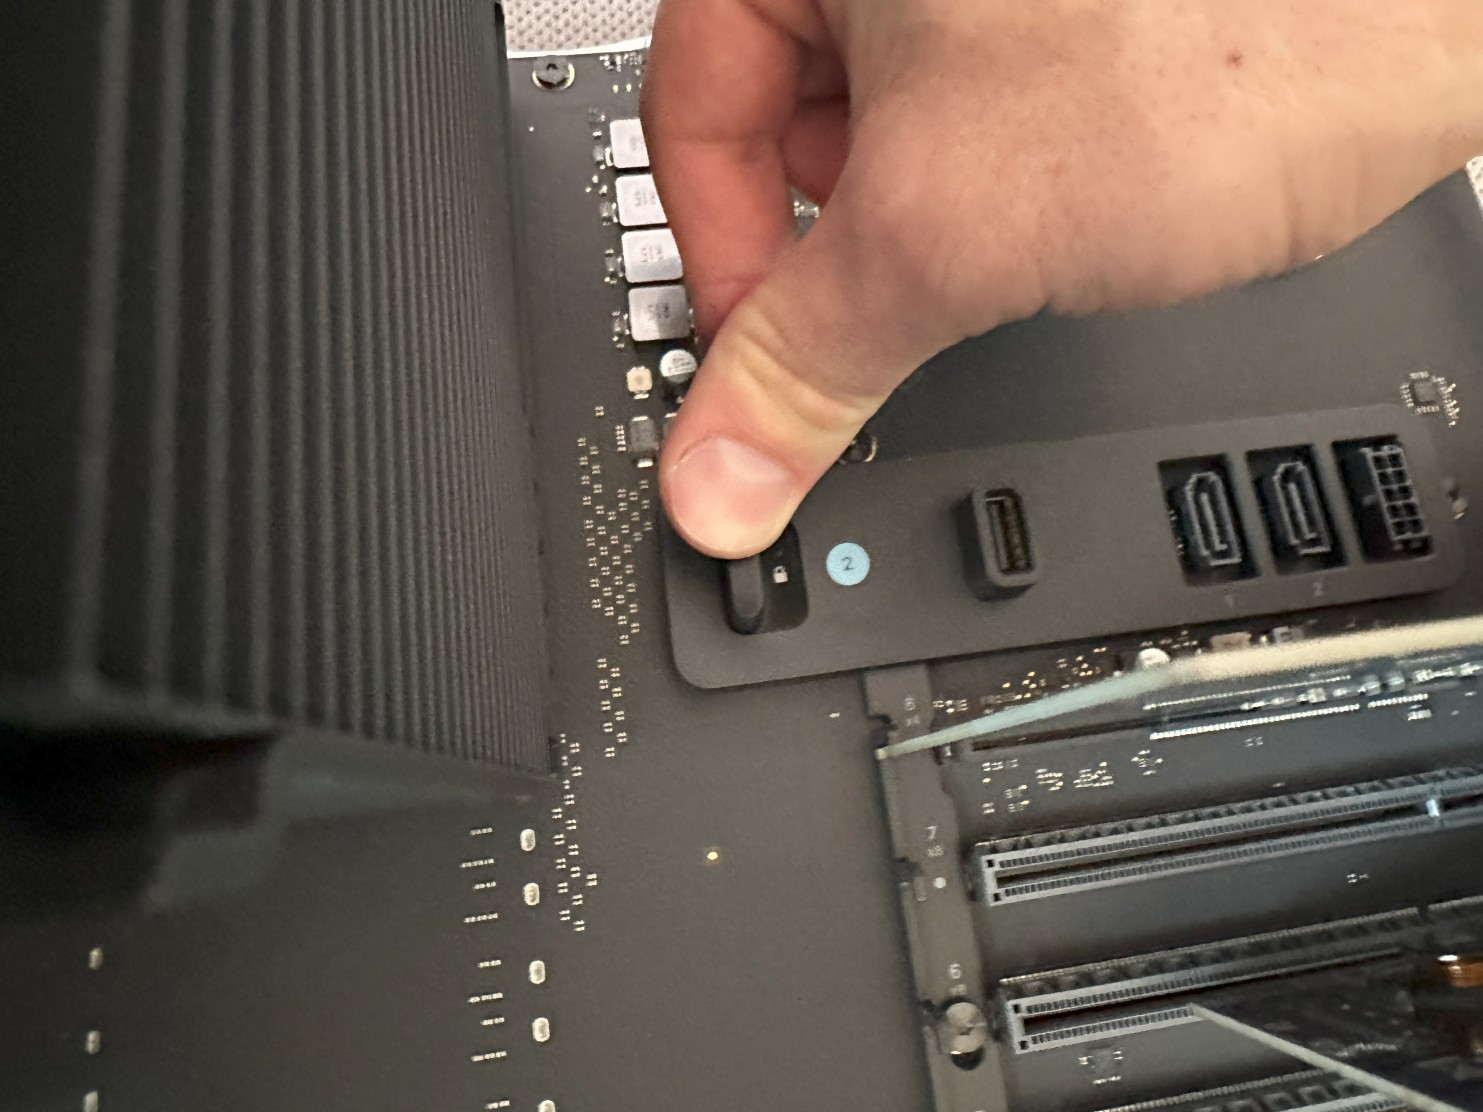
Step 5Slide the PCIe retention latch to the right (into unlocked position). |
 |
|
|
|
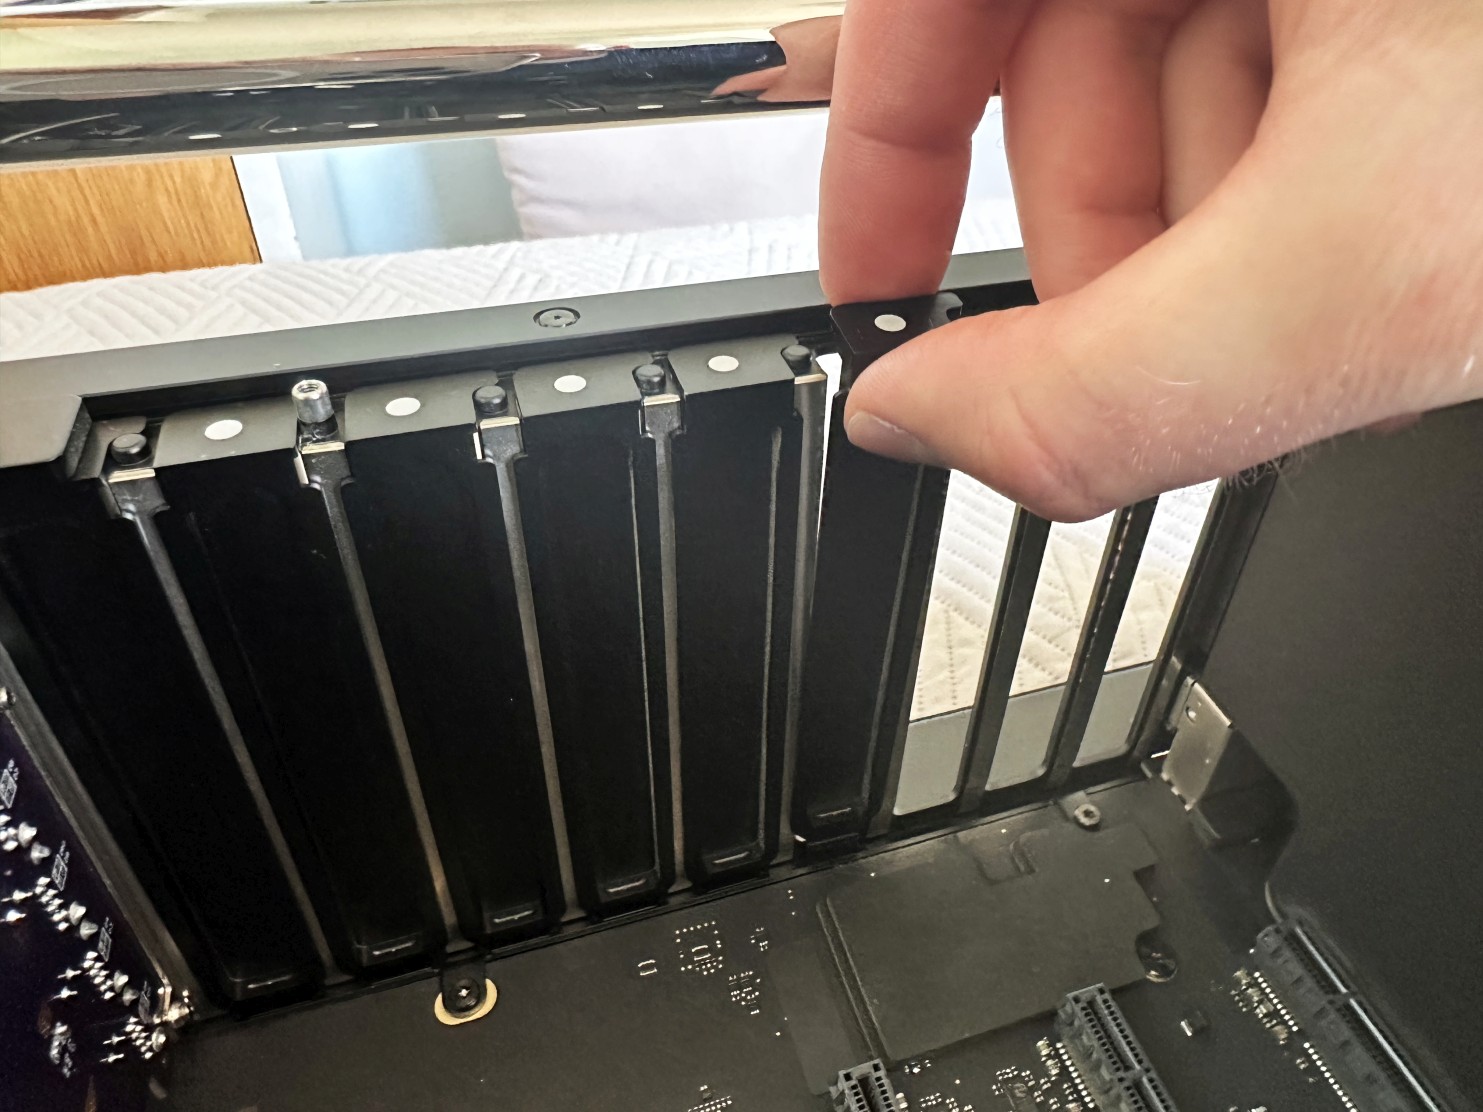
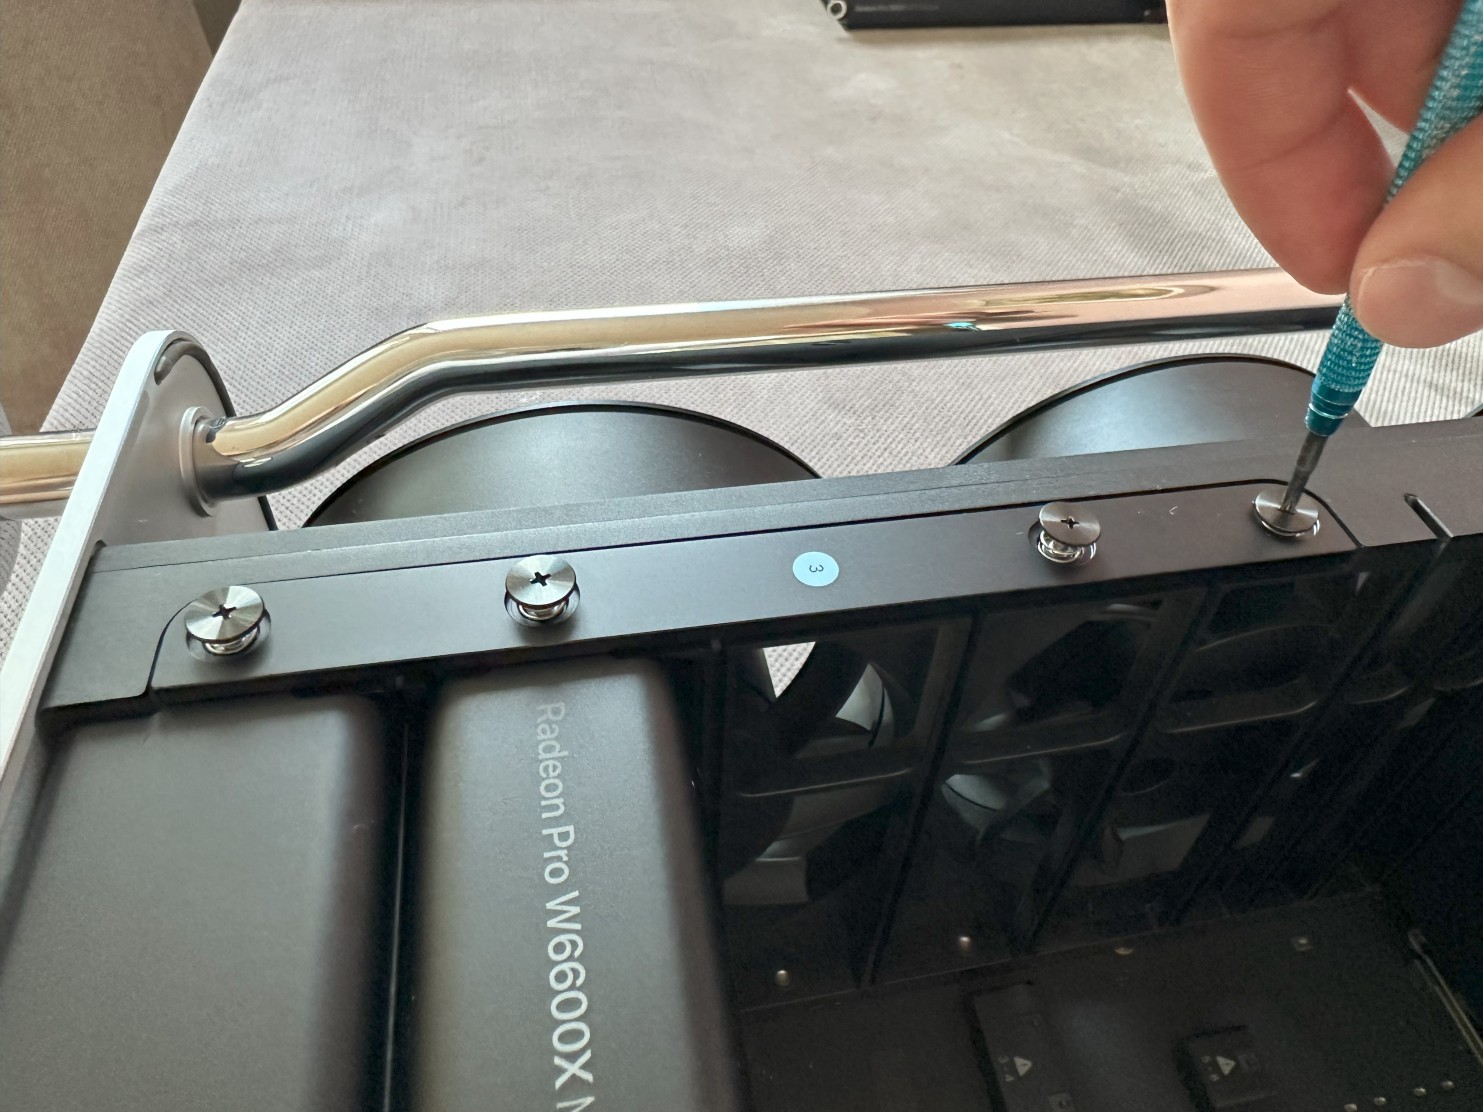
Step 6Remove the four captive Philips screws from the left clamp plate. |
 |
|
|
|
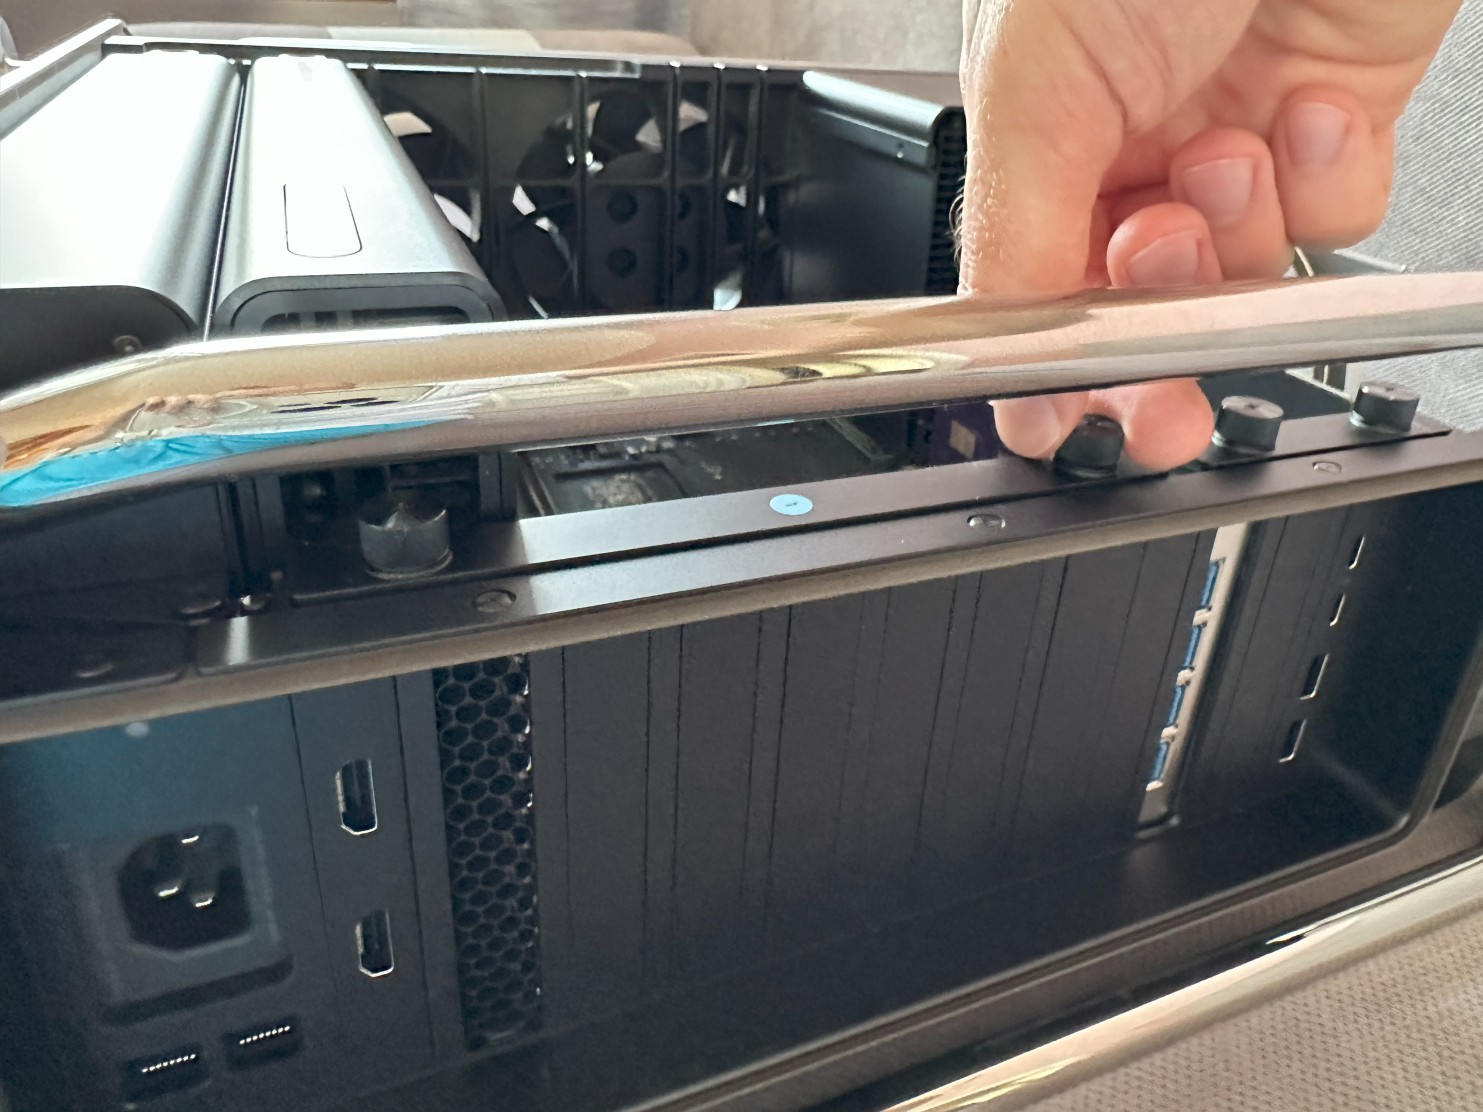
Step 7Lift the clamp plate and remove it. |
 |
|
|
|
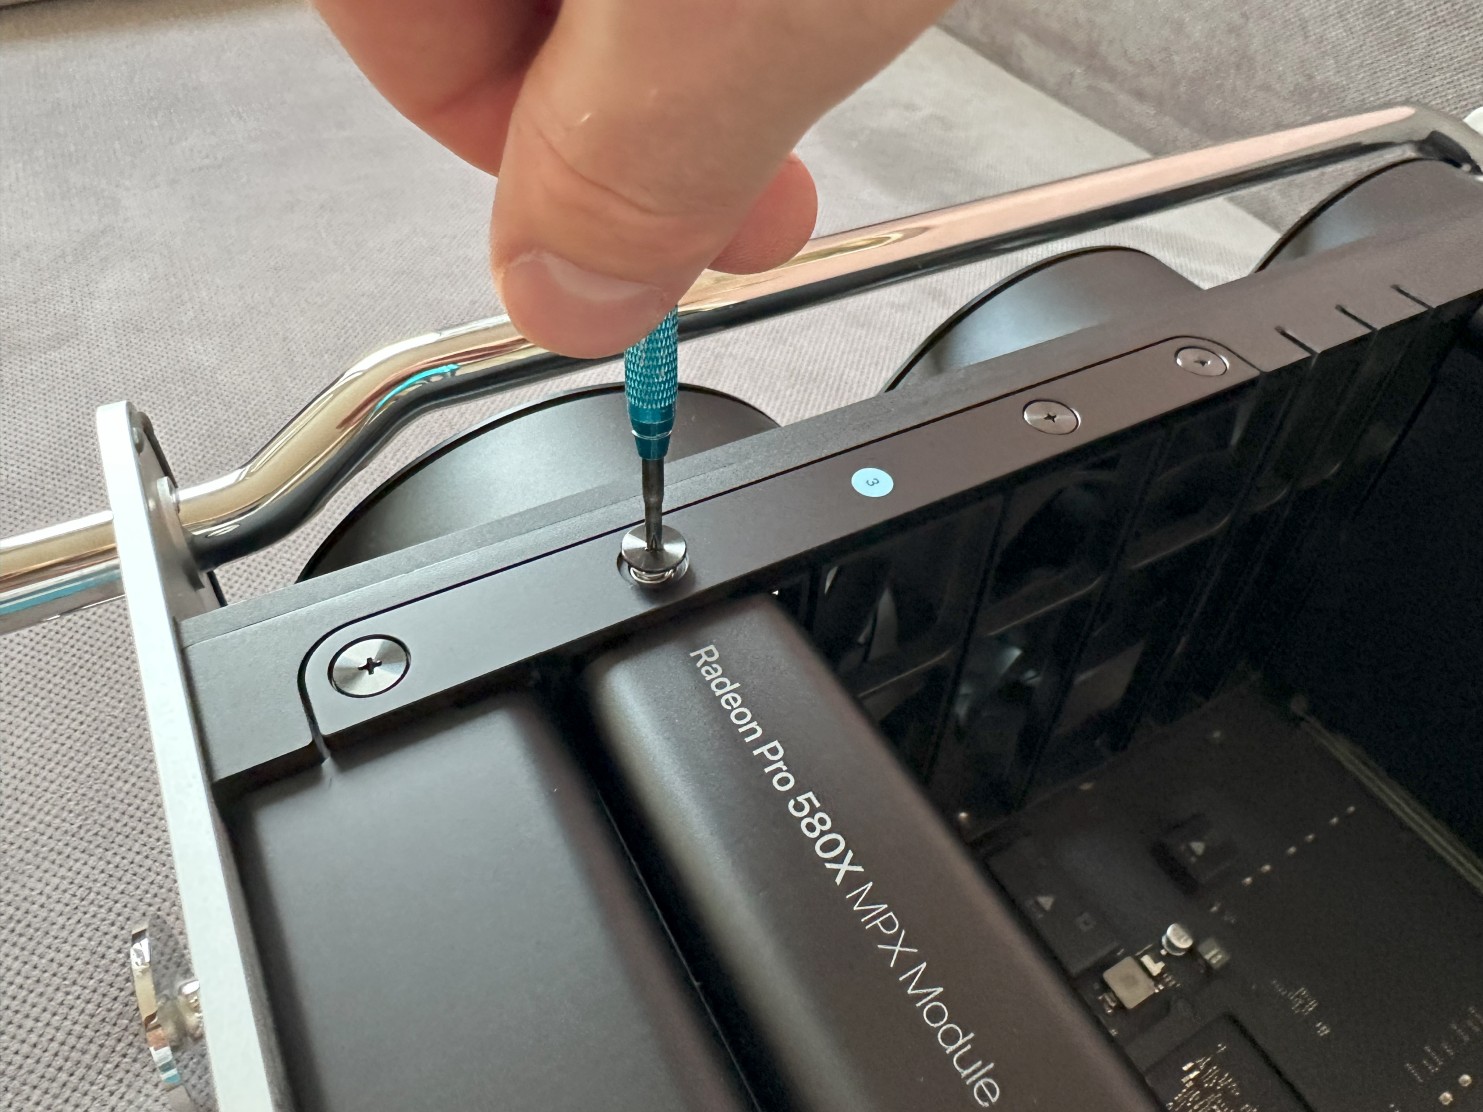
Step 8Unscrew another two captive screws this time from the right clamp plate using your fingers. If they are tightened too much you can use a Philips screw driver to unscrew them. |
 |
|
|
|
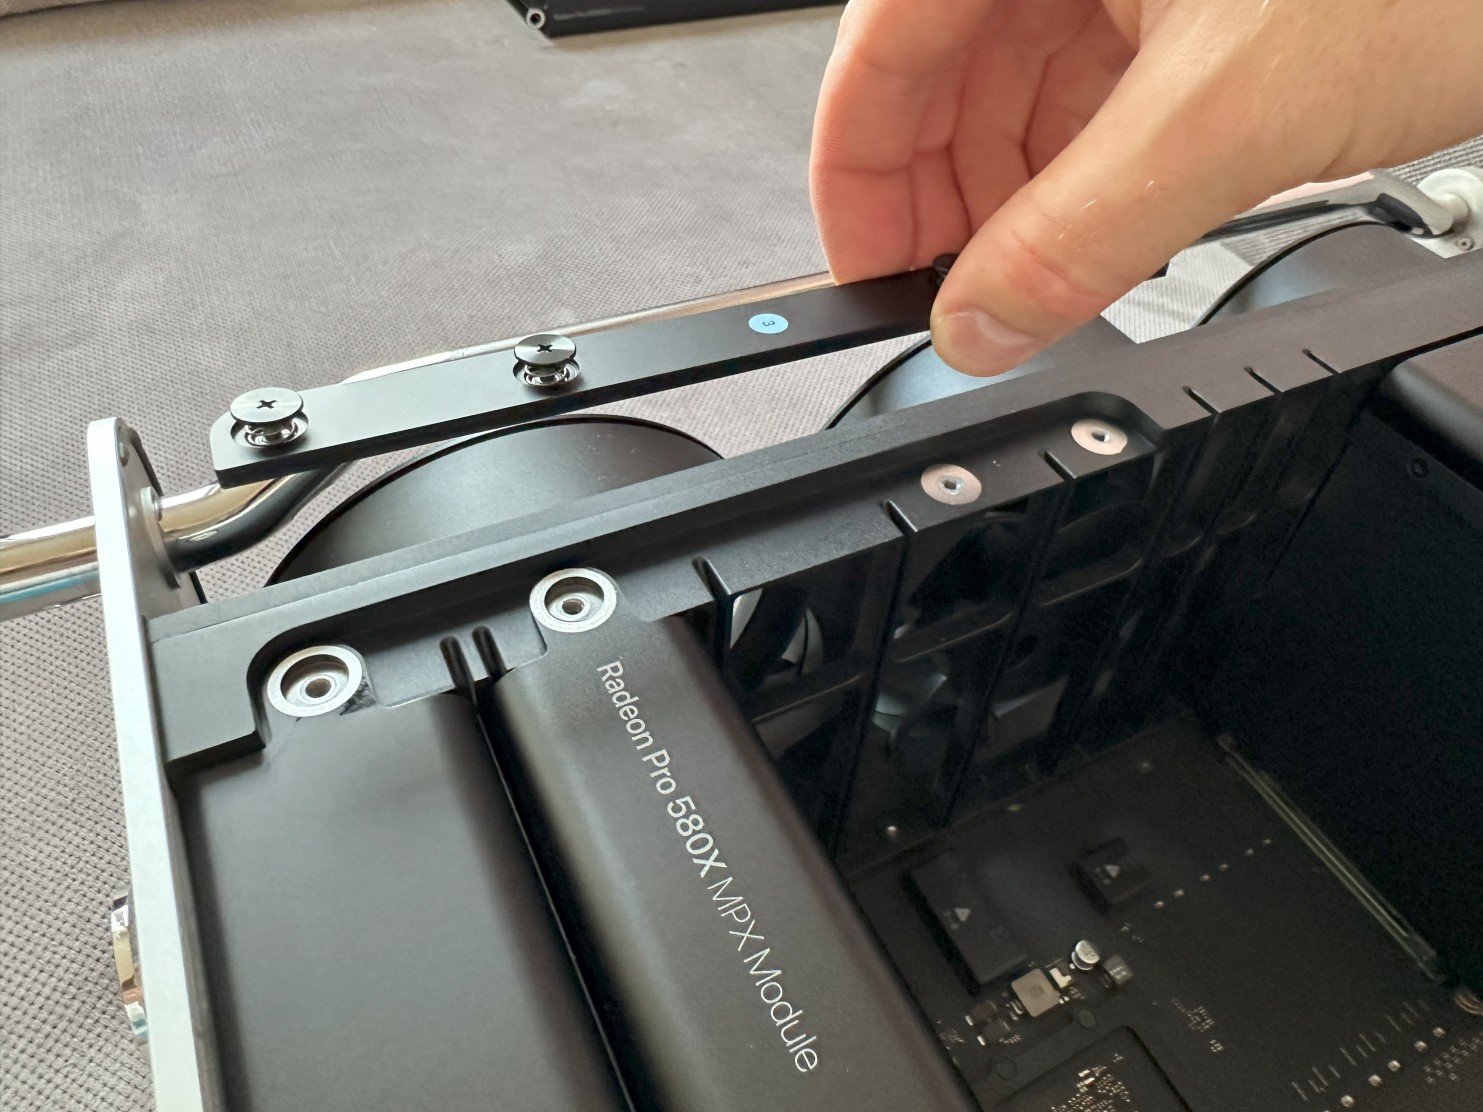
Step 9Remove the right clamp plate. |
 |
|
|
|
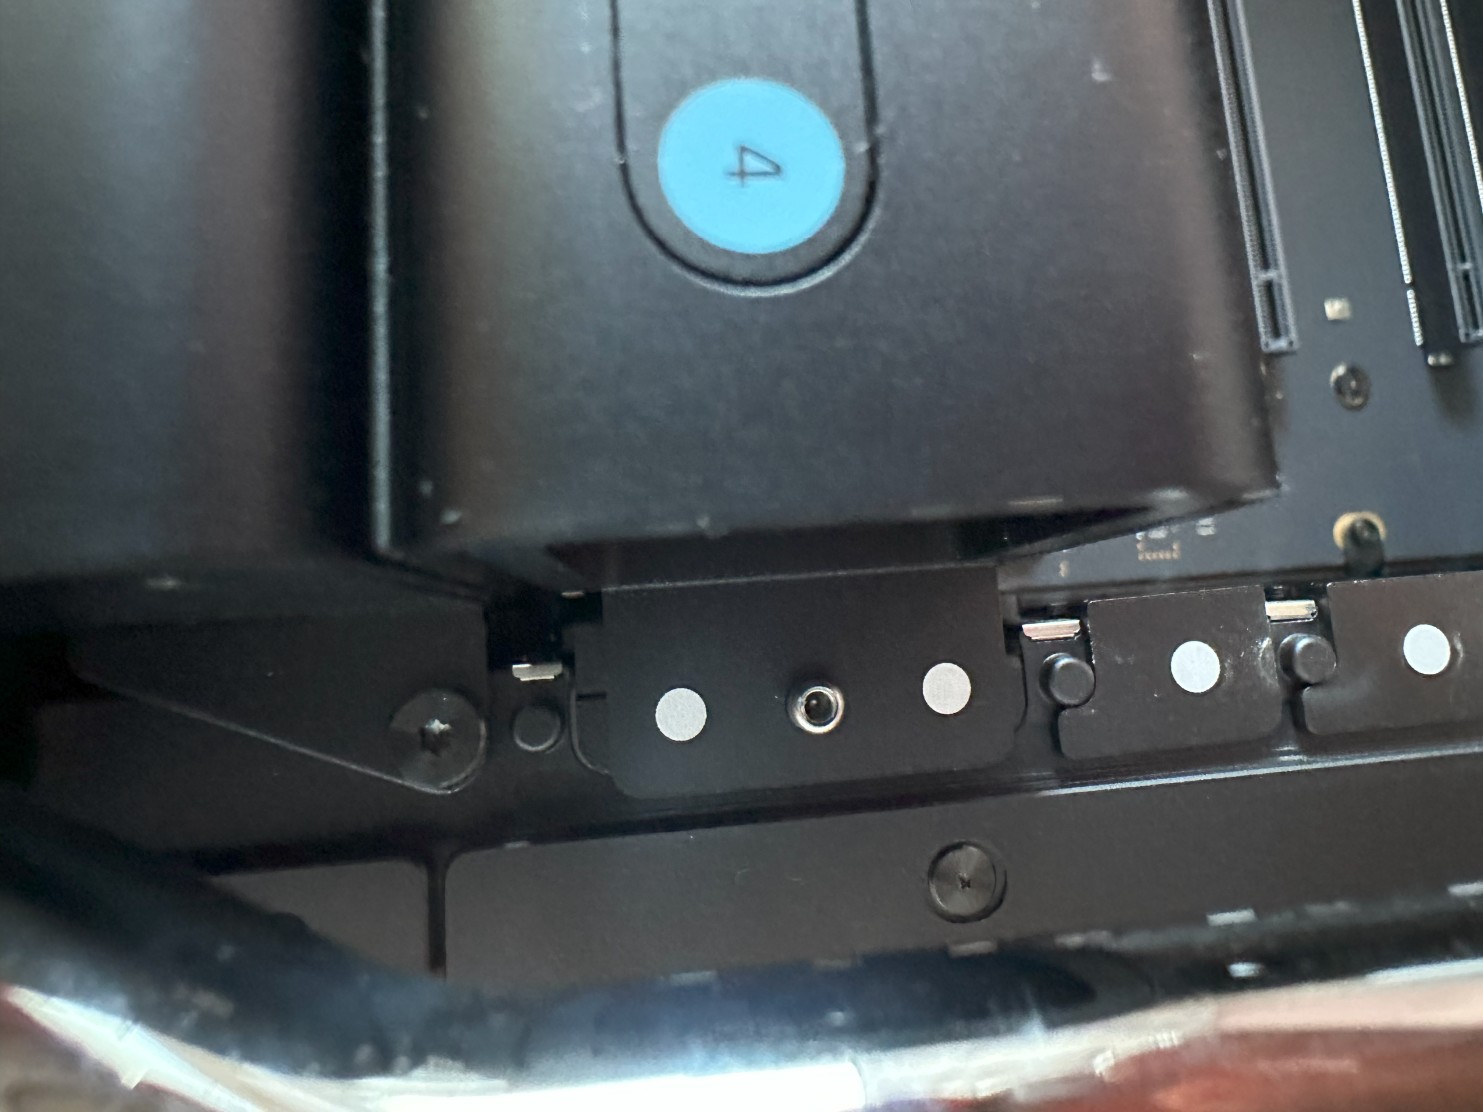
Step 10Push the eject lever on the MPX module on it to reveal it. |
 |
|
|
|
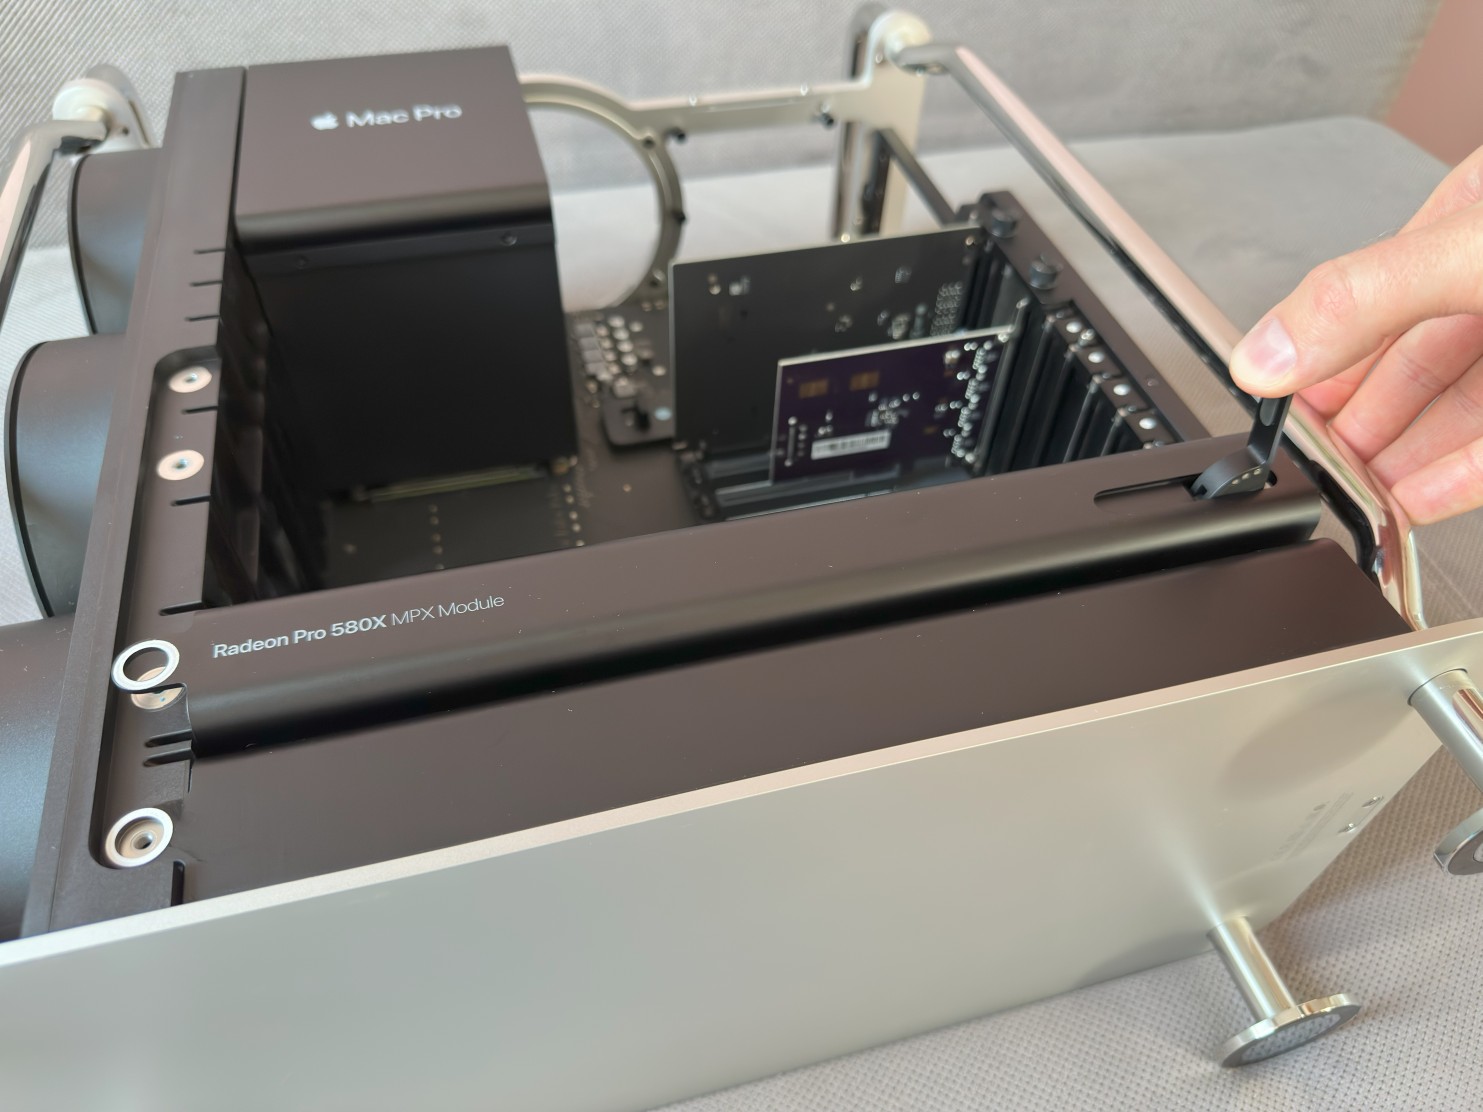
Step 11Pull the eject lever to disconnect the MPX module from the logic board. |
 |
|
|
|
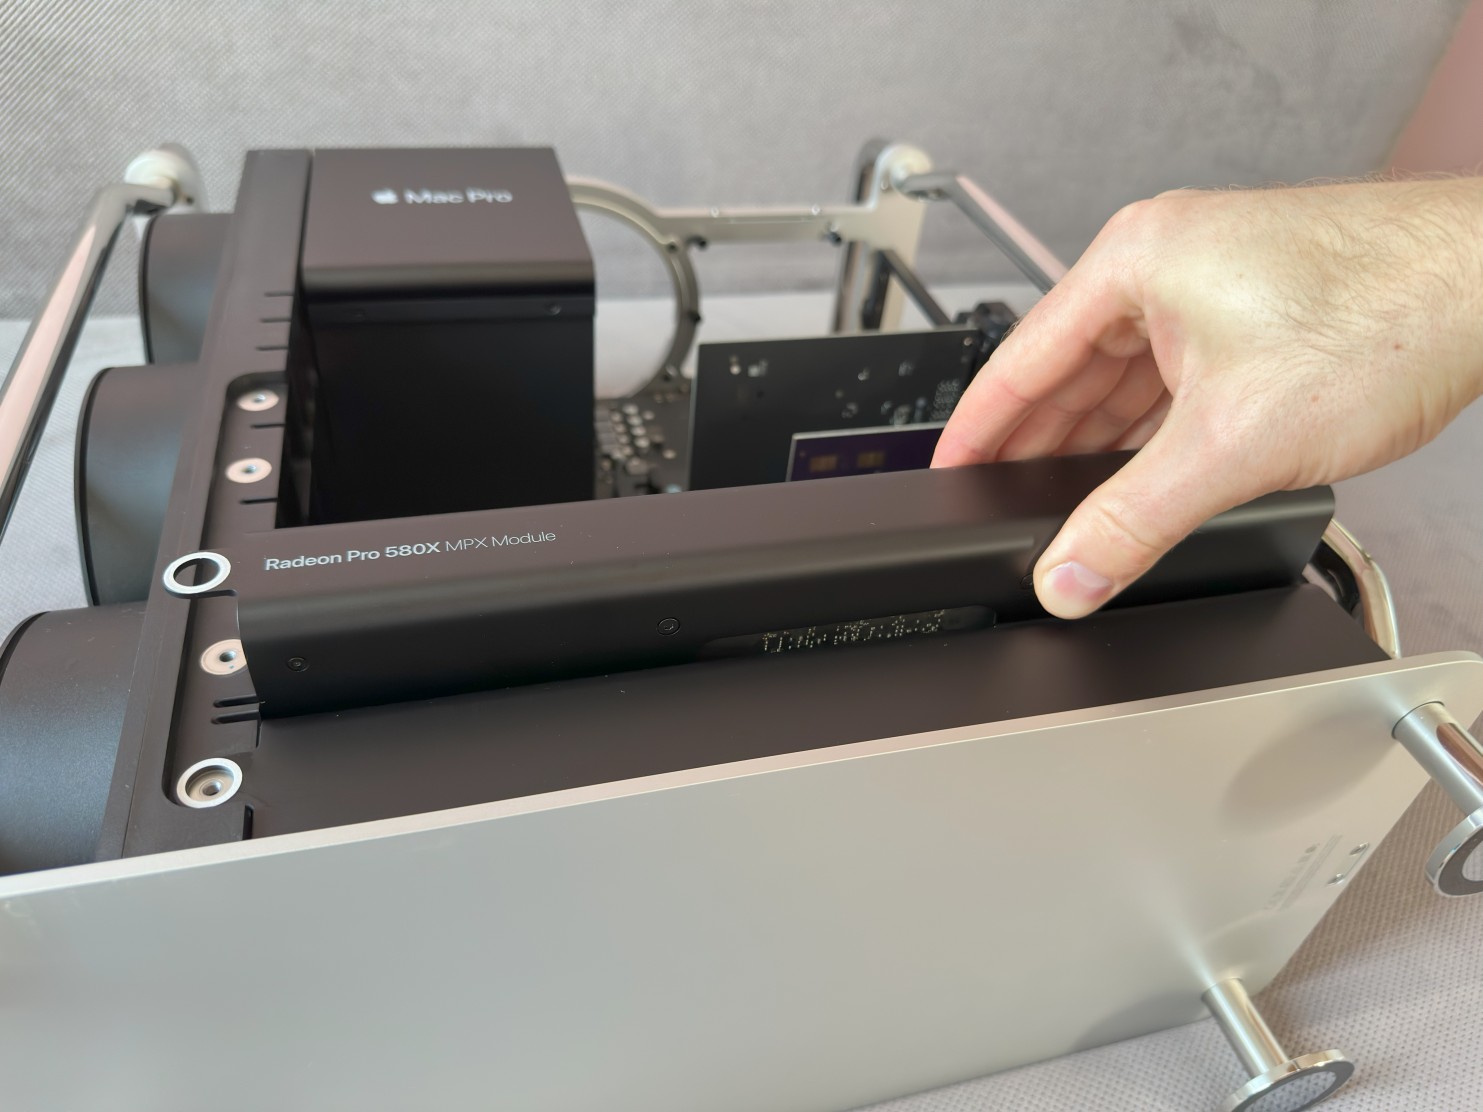
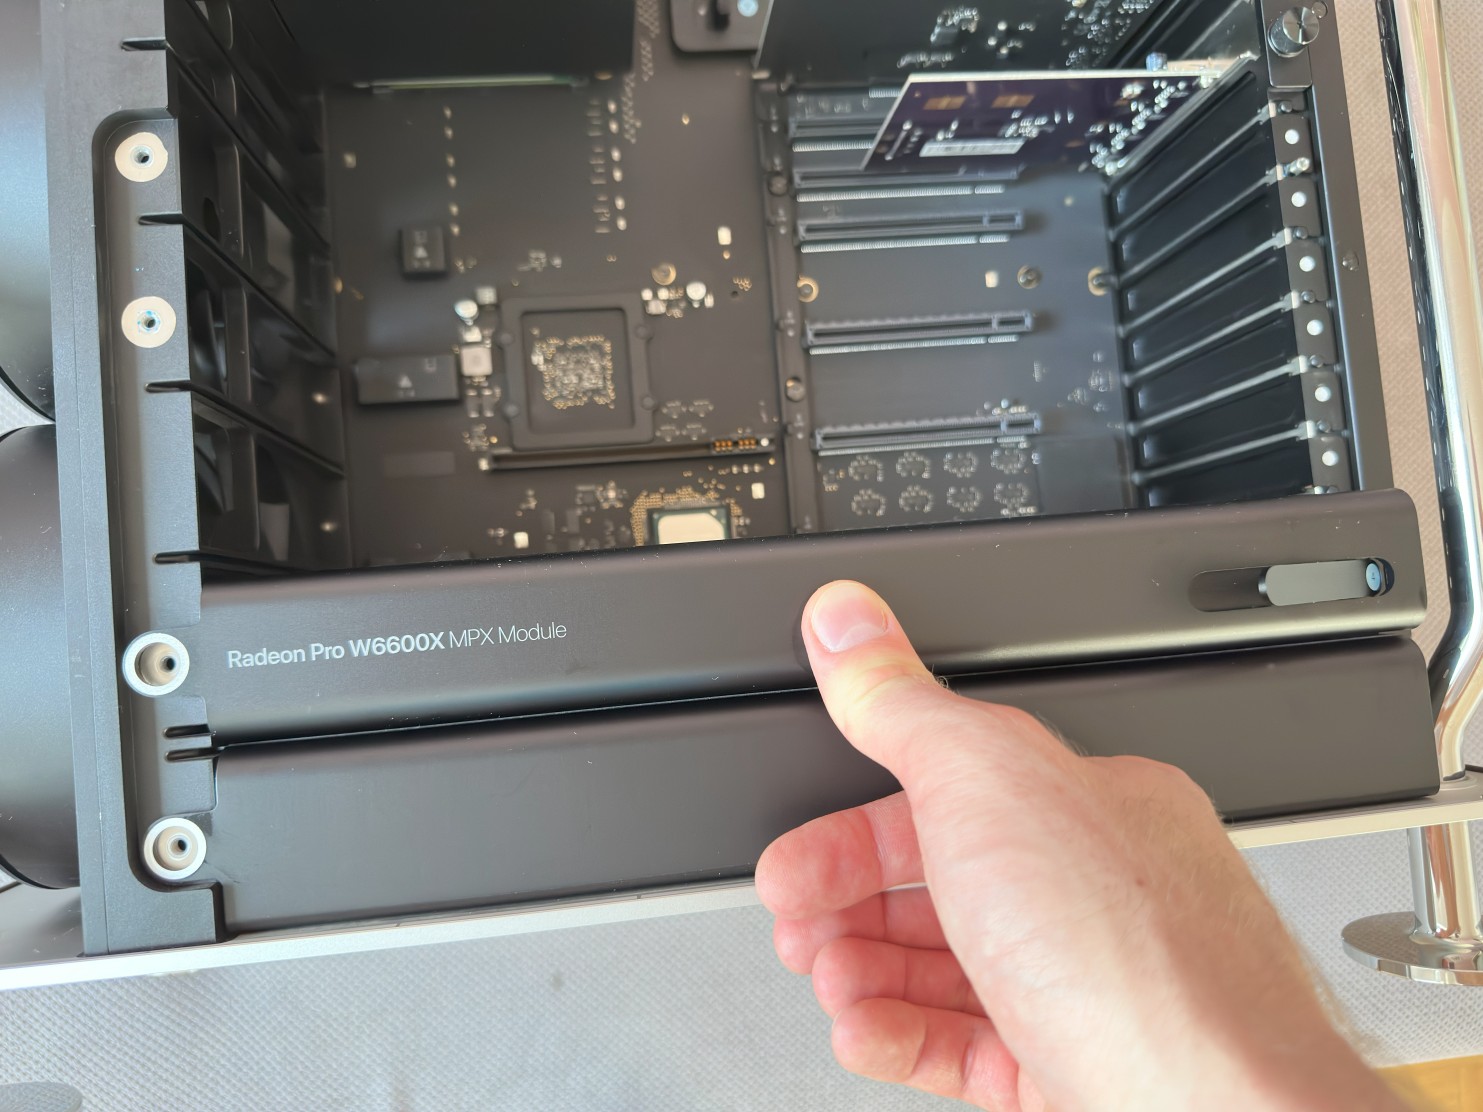
Step 12Use both hands to safely remove the MPX module from the computer. |
 |
|
|
|
Step 13If your card is four-slot wide like Vega II, Vega II Duo, W5700X, W6800X, W6800X Duo or W6900X, then you need to remove two PCIe brackets on the right side of the MPX module.
If your card is two-slot wide like 580X, W5500X, W6600X, then you don't need to remove any extra PCIe brackets. |
 |
|
|
|
Step 14Insert the new MPX module using two hands and push it firmly until it's fully inserted.
Make sure the eject lever is flush with the front edge of the module, otherwise you might damage the components. |
 |
|
|
|
Step 15Make sure the PCIe bracket is properly lined up, and that you can see the screw threads. |
 |
|
|
|
Step 16Reinstall the right clamp plate and tighten the two captive screws with your fingers or Philips screwdriver. |
 |
|
|
|
Step 17Reinstall the left clamp plate and tighten the four captive screws with Philips screwdriver. |
 |
|
|
|
Step 18Slide the PCIe retention latch to the left (into locked position). |
 |
|
|
|
Step 19Make sure the latch is in unlocked position and slowly slide back the housing over the frame. |
 |
|
|
|
Step 20Rotate the latch into locked position (filled dot). |
 |
|
|
|
Step 21Finally, lay the latch flat. |
 |
|
|
|
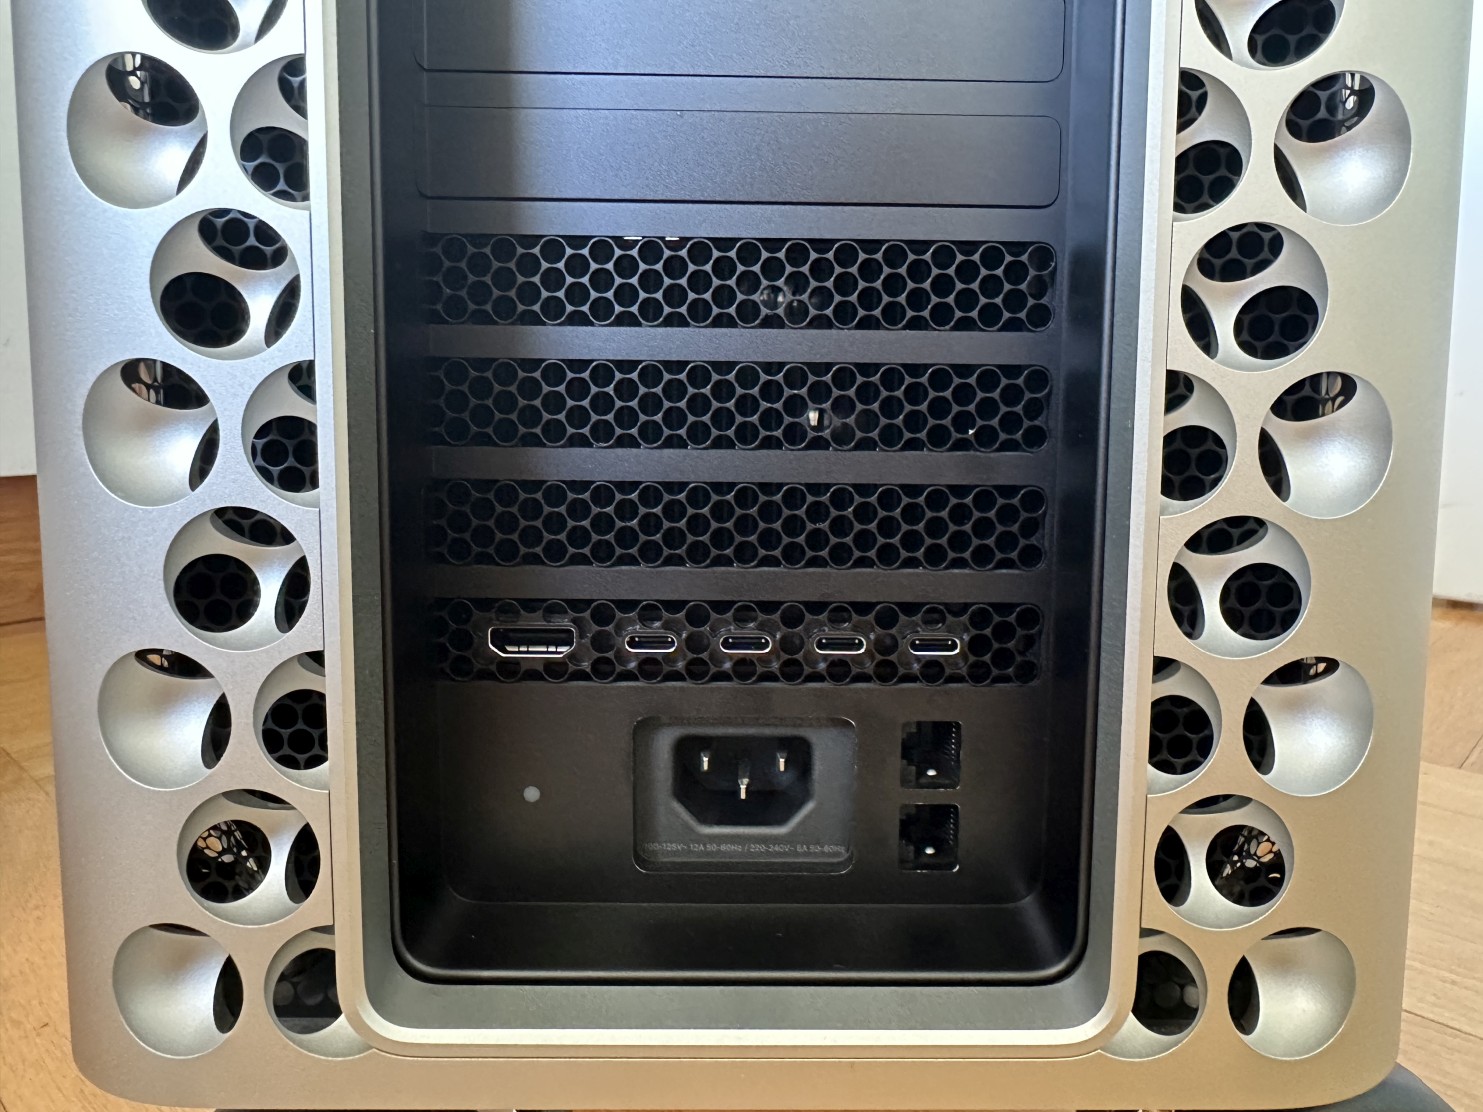
Step 22Radeon Vega II, Vega II Duo, W5700X, W6800X, W6800X Duo or W6900X offer one HDMI port, which can be used to connect two 4K displays with 60 Hz refresh rate and four Thunderbolt 3 ports, which can be used to connect two 5K/6K displays or four 4K displays.
Thunderbolt 3 ports 1,2 and 3,4 share the same bus (looking from the left side next to HDMI port).
Please note when there is a display connected to HDMI, the Thunderbolt 3 ports 1 and 2 will only support a 4K display, so if you have HDMI display and want to connect 5K/6K display please use Thunderbolt 3 port 3 or 4.
If you need to output audio to a display connected to the HDMI port and have other displays connected over Thunderbolt 3, don't connect a display to the Thunderbolt 3 port next to the HDMI port. |
 |
|
|
|
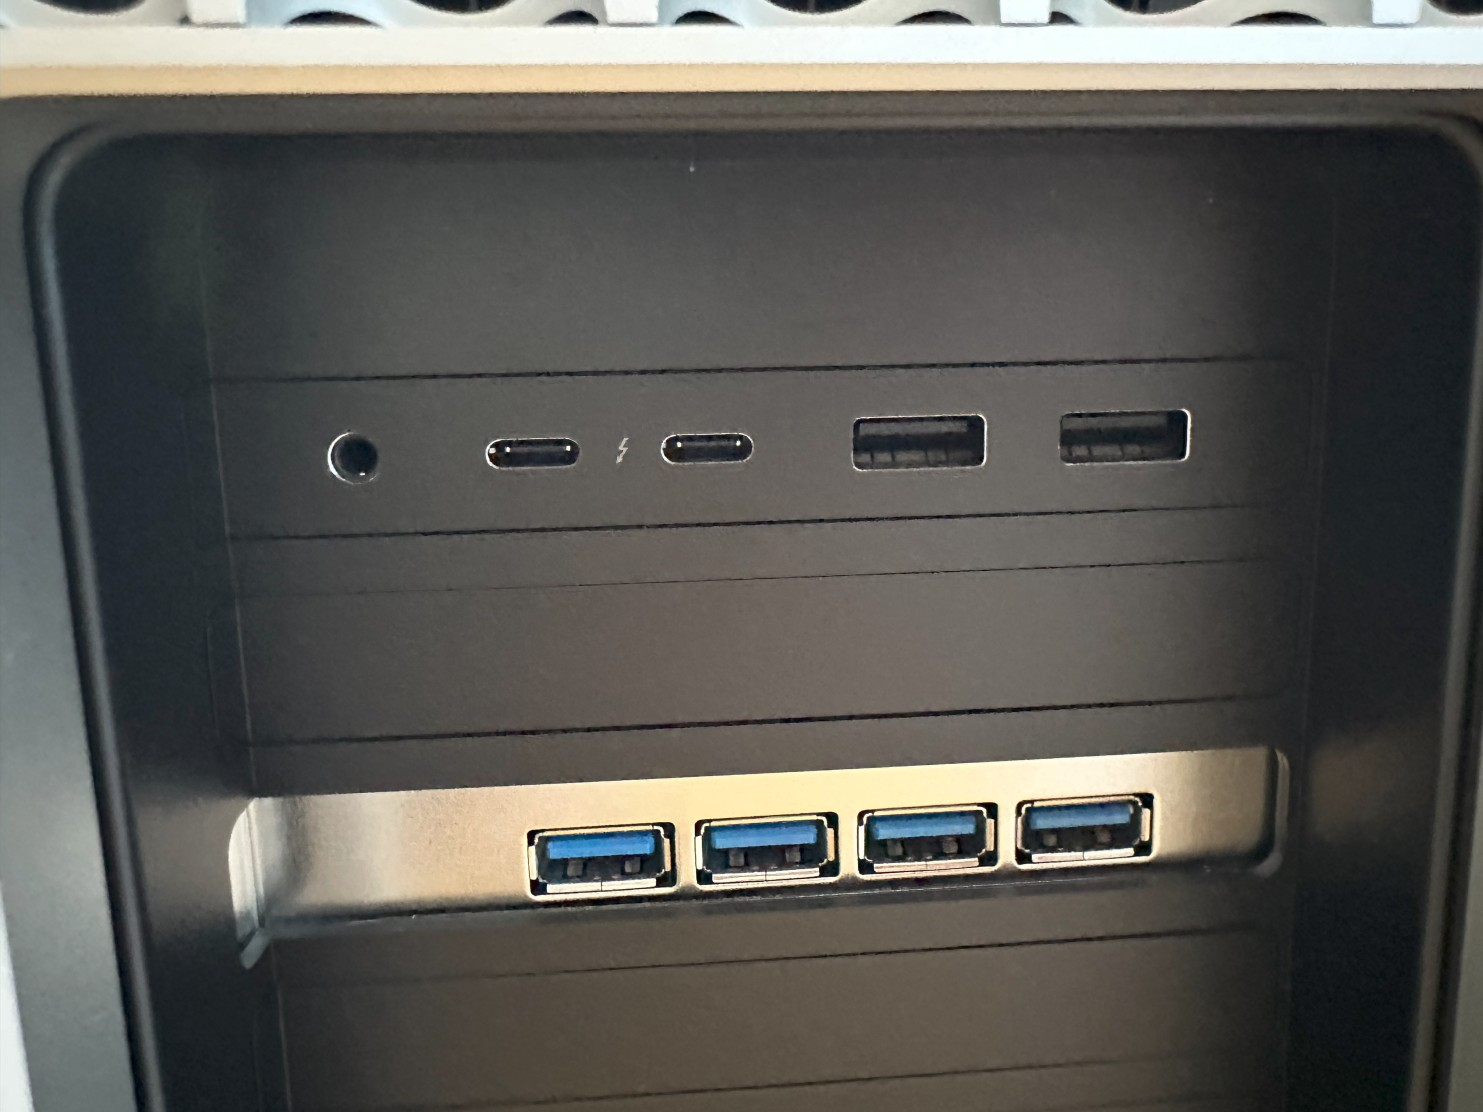
Step 23If you need three 5K/6K displays you can use one of the two additional ports on the Apple I/O card or one of the two additional Thunderbolt 3 ports on top of the Mac Pro.
These can be also used to connect 4K displays, then you can use all four Thunderbolt 3 ports on the MPX module + two on the Apple I/O card or two Thunderbolt 3 ports on top of the Mac Pro. |
 |
|
|
|
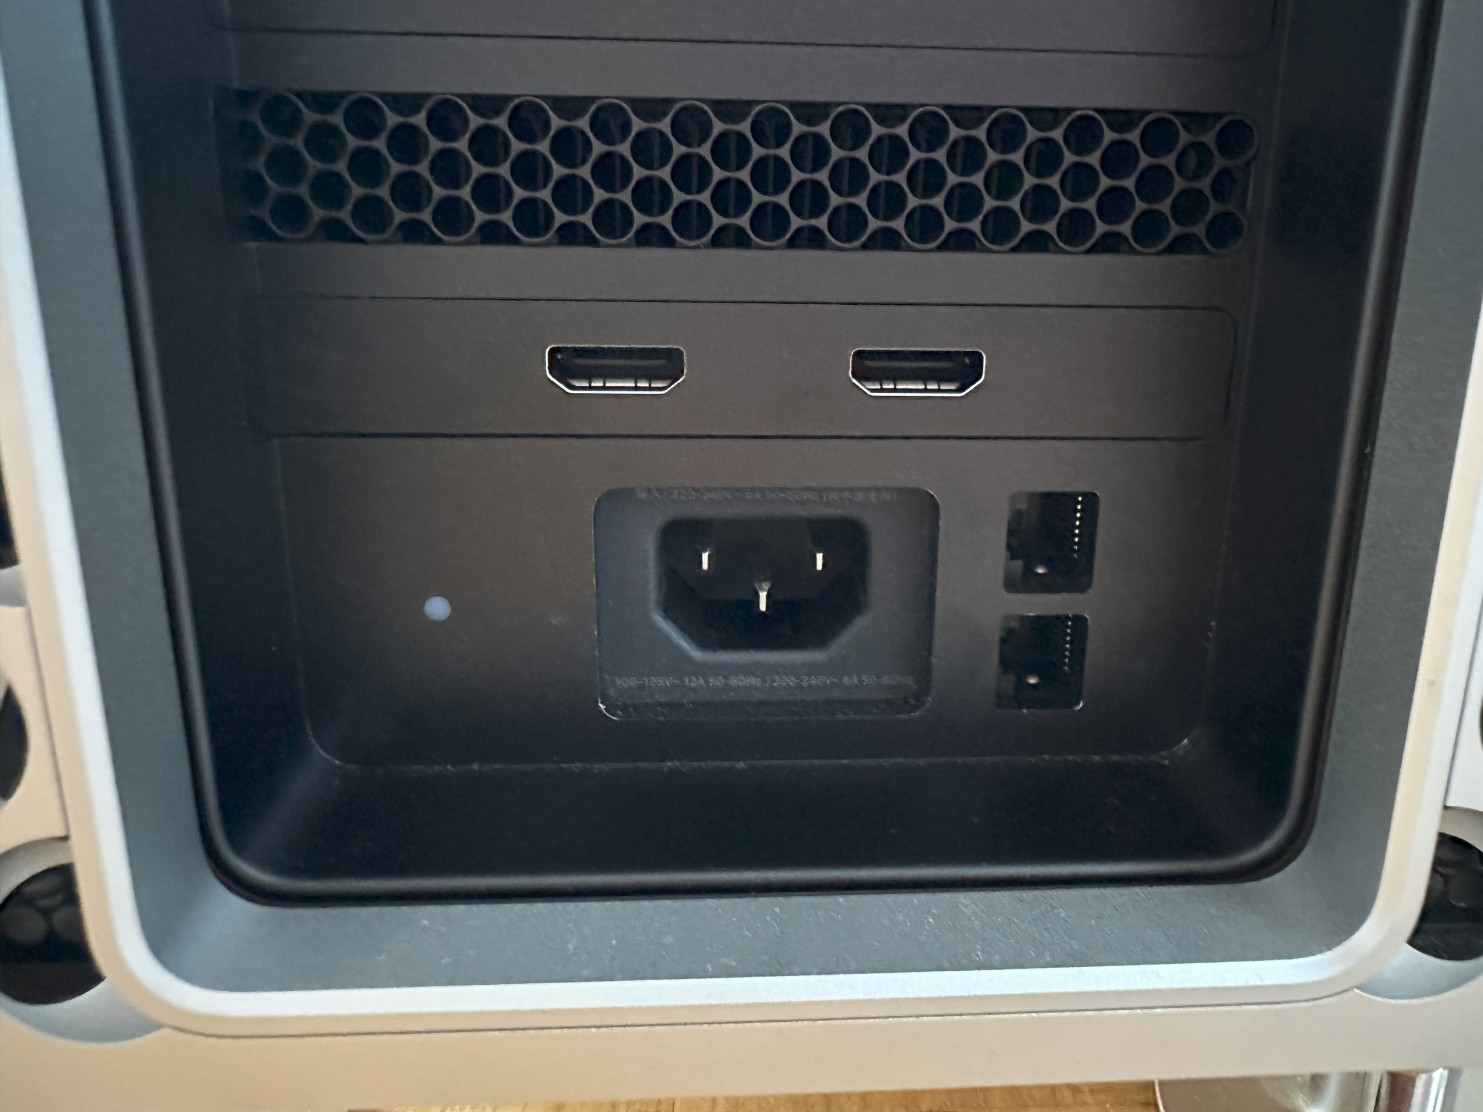
Step 24Radeon Pro 580X, W5500X and W6600X offer two HDMI ports, which can be used to connect two 4K displays with 60 Hz refresh rate.
Use the left HDMI port first.
If you have a 5K/6K display you can connect two such displays using one of the additional ports on the Apple I/O card and/or one of the additional Thunderbolt 3 ports on top of the Mac Pro.
If you connected one display via HDMI port you can use four 4K displays connected via Thunderbolt 3 ports (two on the Apple I/O card and two on top of the Mac Pro).
If you connected two displays via HDMI port you can use two 4K displays connected via Thunderbolt 3 ports (one on the Apple I/O card and one on top of the Mac Pro). |
 |